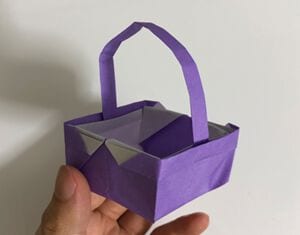
Origami Flower Basket
There’s a special satisfaction in folding something you can actually use, and this little origami flower basket delivers exactly that — a tidy container with a handle, ready to hold a few sweets or a sprig of greenery.
Best of all, it only takes two sheets of paper and a handful of basic folds, so it’s a wonderful project to share with kids or to mass-produce as party favors. Set out your favorite colors and let’s fold one together.
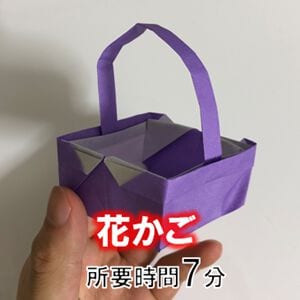 Here I’ll show you how to fold an origami flower basket.
It’s a practical piece of origami — you can put things inside it.
Anyone can make it easily, so be sure to give it a try!
How to Fold a Flower Basket
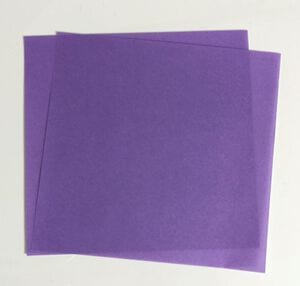
I’m using two sheets of origami paper.
 STEP 1.
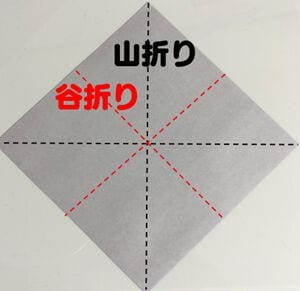
Make the mountain and valley folds as shown to create the crease pattern.
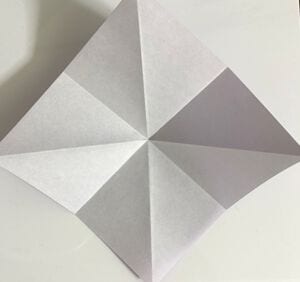 STEP 2.
Fold the paper along the creases.
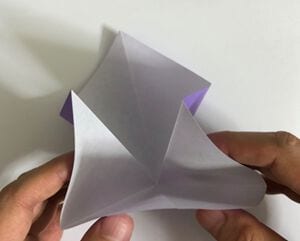
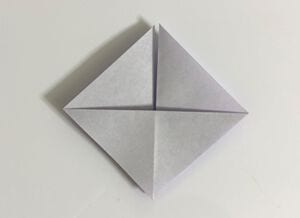
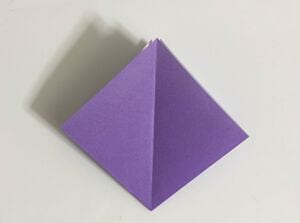 STEP 3.
Fold the corner down by one layer.
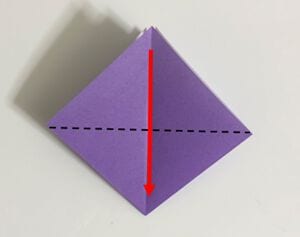
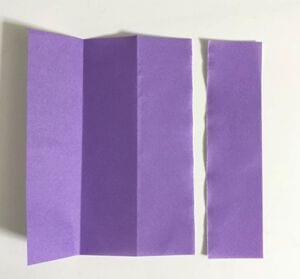
 STEP 4.
Cut the second sheet of origami paper to about one-quarter of its length.
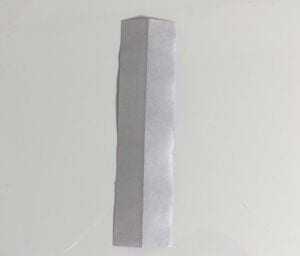
 STEP 5.
Fold it in half and make a crease.
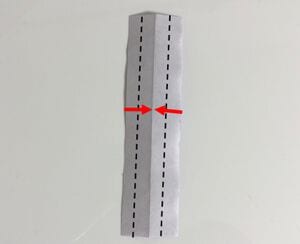
 STEP 6.
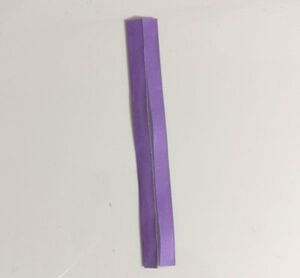
Fold the left and right edges along the creases.
 STEP 7.
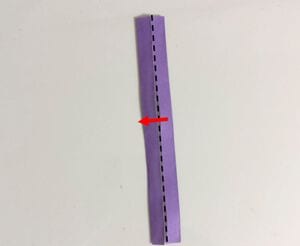
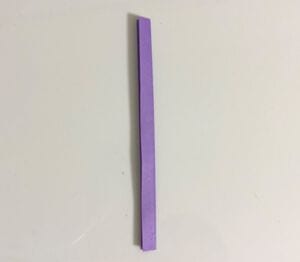
Fold it in half again.
 STEP 8.
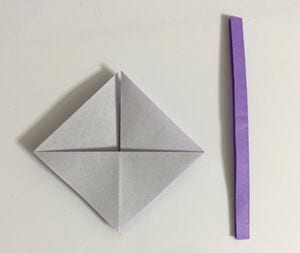
Hold the elongated part by hand at the position shown in the figure.
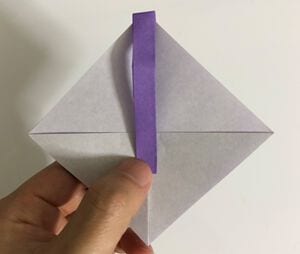 STEP 9.
Fold the bottom corner up.
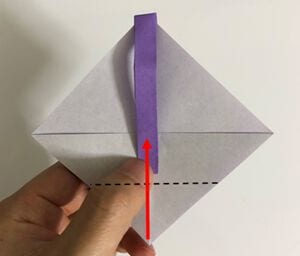
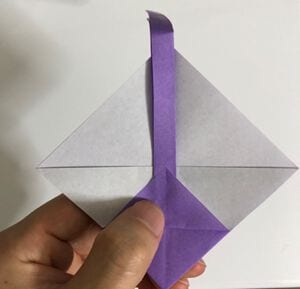 STEP 10.
Fold the edge over twice.
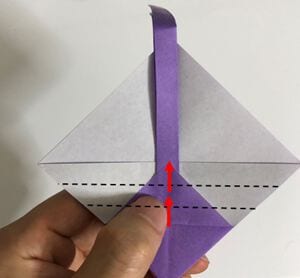
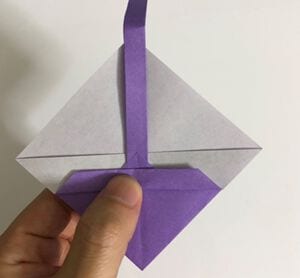
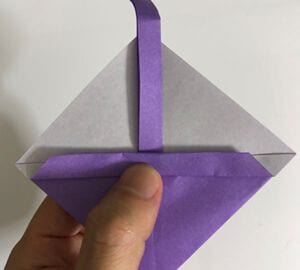 STEP 11.
Fold the other side in the same way.
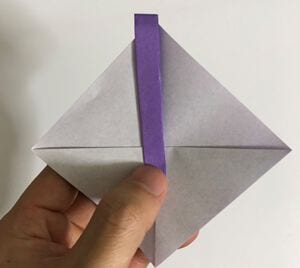
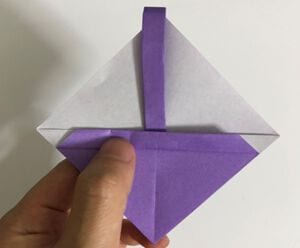 STEP 12.
Fold the corners inward.
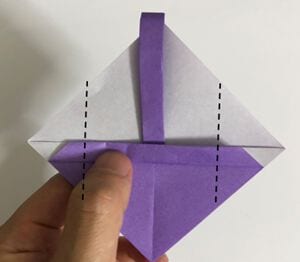
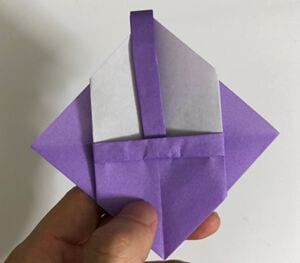 STEP 13.
Fold the other side in the same way.
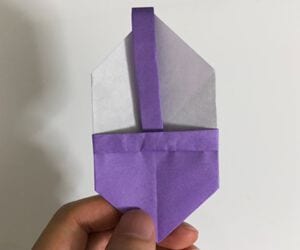 STEP 14.
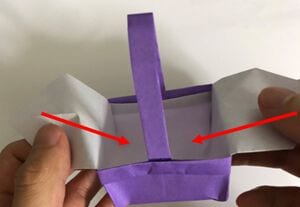
Open the inside to make it three-dimensional.
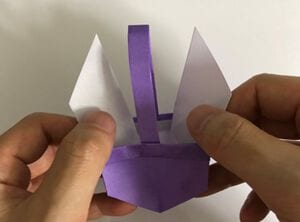
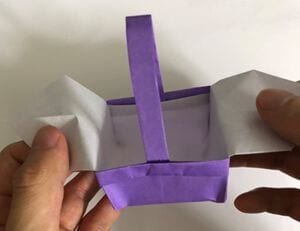 STEP 15.
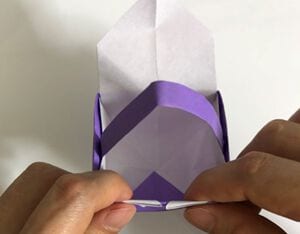
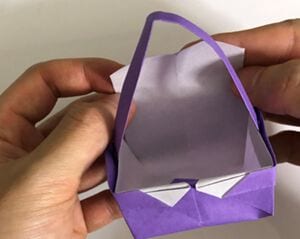
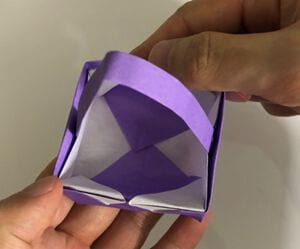
Fold the left and right corners inward to complete the flower basket.