Single Origami Bed
Have you ever wanted to fold your very own Single Origami Bed? There is something quietly satisfying about turning a flat square of paper into a little recognizable model using nothing but your hands and a few well-placed creases.
This Single Origami Bed is one of those classic folds that looks impressive but comes together one step at a time, so don't worry if it feels fiddly at first — the photos will keep you on track. Whether you are new to origami or just after a quick, rewarding build, you will have a finished Single Origami Bed before you know it. Let's get folding!
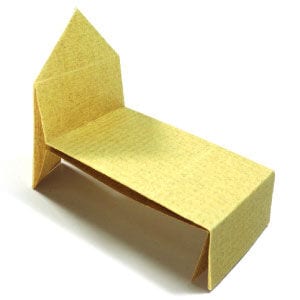
This page is for those who want the instruction to fold a single origami bed III.
This single origami bed III starts from 3x3 matrix base. You will need to learn how to apply an inside reverse-fold.
Before working on this model, you need to know what valley-fold and mountain-fold are. If you know these two folding techniques, then you will have no problem in making origami bed.
If you are ready, then let's get started.
The paper I am using here is 15cm x 15cm square one. It is a good size for those who are not experienced in paper folding. If you are become familiar with this model. Then you can try smaller size paper.
This is the front side of paper. You may use any kind of paper to fold this origami bed. Here I am using a paper with the same color and texture for both front and back sides. But you can use different color and/or texture.
This is the back side of paper.
STEP 1
Let's start with a square paper. Prepare to apply a horizontal “Z-fold” and then “unfold”.
STEP 2
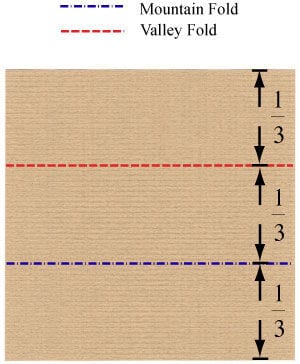
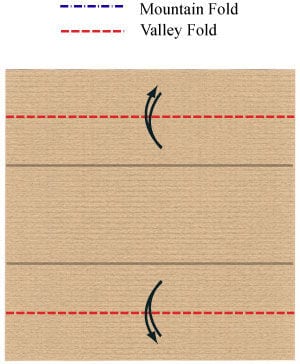
Apply a horizontal “Z-fold” of the step #1 and then unfold. Prepare to apply two horizontal “valley-folds” and then “unfold”.
STEP 3
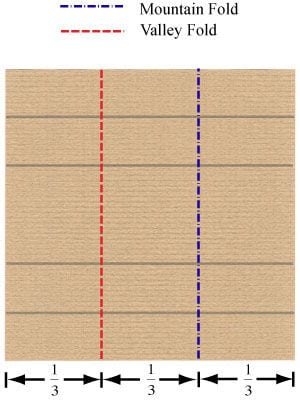
Apply two horizontal “valley-folds” of the step #2 and then “unfold”. Prepare to apply a vertical “Z-fold” and then “unfold”.
STEP 4
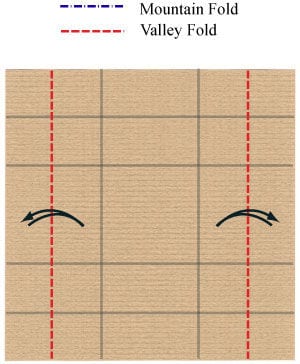
Apply the vertical “Z-fold” of the step #3 and then “unfold”. Prepare to apply two vertical “valley-folds” and then “unfold”.
STEP 5
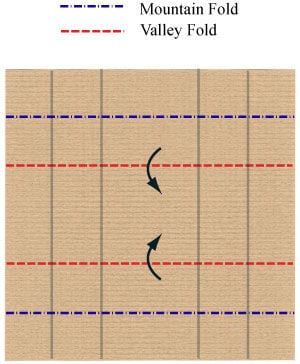
Apply two vertical “valley-folds” of the step #4 and then “unfold”. Prepare to apply two sets of “valley-fold” and “mountain-fold”.
STEP 6
Start applying two sets of “valley-fold” and “mountain-fold” of the step #5.
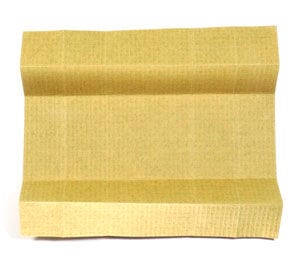
STEP 7
Continue applying two sets of “valley-fold” and “mountain-fold” of the step #5.
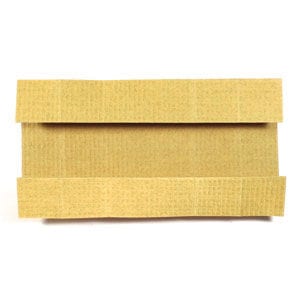
STEP 8
Complete applying two sets of “valley-fold” and “mountain-fold” of the step #5. Prepare to apply a “valley-fold”.
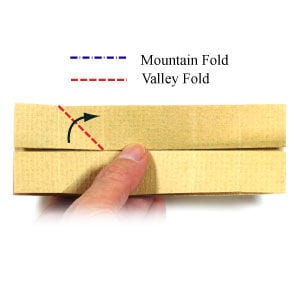
STEP 9
Apply the “valley-fold” of the step #8. Prepare to unfold the valley-fold that you have just applied.
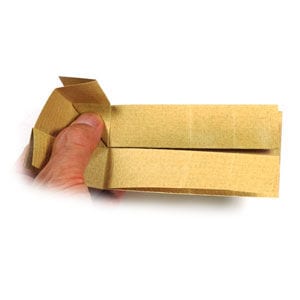
STEP 10
Unfold the valley-fold of the step #9. Prepare to apply an “inside reverse-fold”.
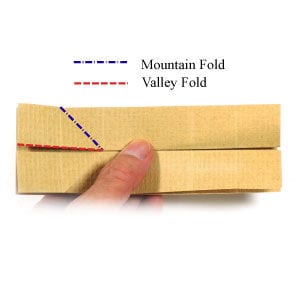
STEP 11
Start applying the “inside reverse-fold” of the step #10.
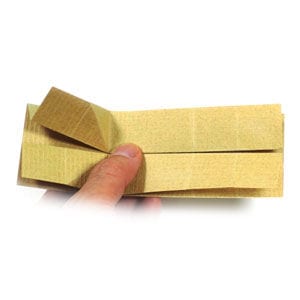
STEP 12
Complete applying the “inside reverse-fold” of the step #10. Prepare to apply two “valley-folds”.
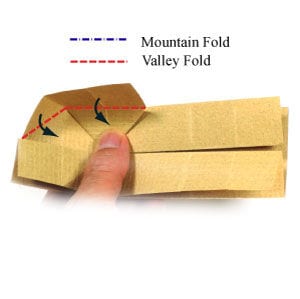
STEP 13
Apply two “valley-folds” of the step #12. Prepare to rotate the model by 180 degrees.
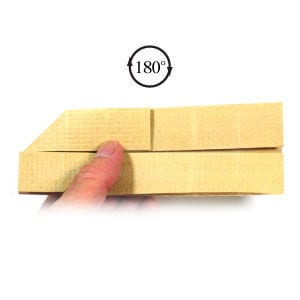
STEP 14
Rotate the model by 180 degrees. Prepare to apply a “valley-fold”.
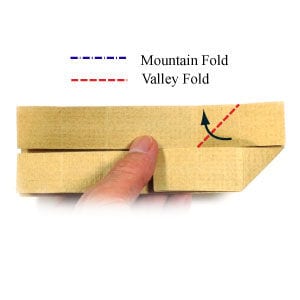
STEP 15
Apply the “valley-fold” of the step #14. Prepare to unfold the valley-fold that you have just applied.
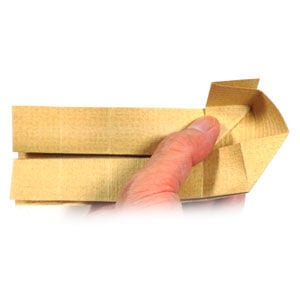
STEP 16
Unfold the valley-fold of the step #15. Prepare to apply an “inside reverse-fold”.
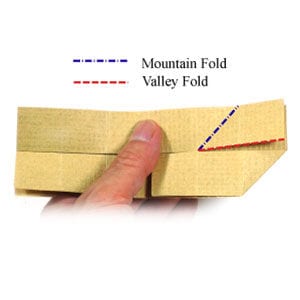
STEP 17
Start applying the “inside reverse-fold” of the step #16.
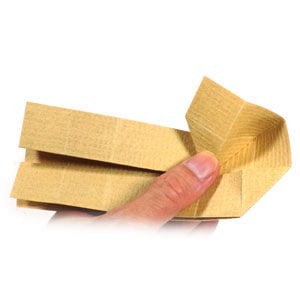
STEP 18
Complete applying the “inside reverse-fold” of the step #16. Prepare to apply two “valley-folds”.
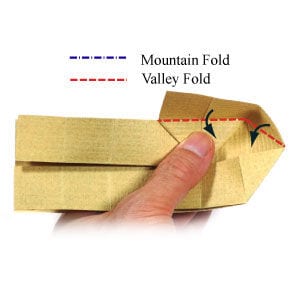
STEP 19
Apply two “valley-folds” of the step #18. Prepare to apply two 90 degrees “valley-folds”.
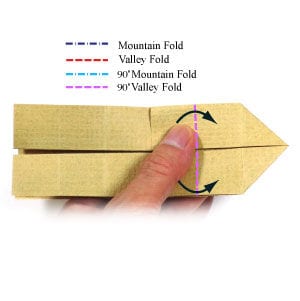
STEP 20
Apply two 90 degrees “valley-folds” of the step #19. Prepare to apply a 90 degrees “valley-fold”.
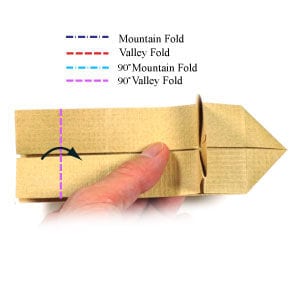
STEP 21
Apply the 90 degrees “valley-fold” of the step #20. Prepare to turn the model over.
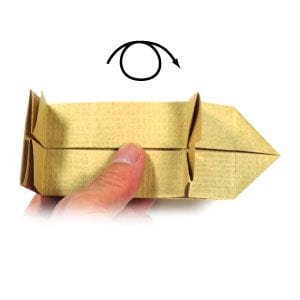
STEP 22
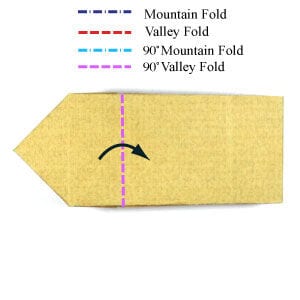
Turn the model over. Prepare to apply a 90 degrees “valley-fold”.
STEP 23
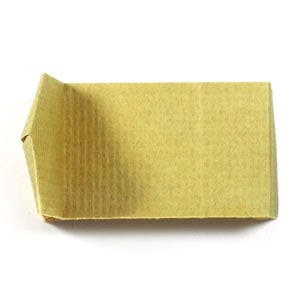
Apply the 90 degrees “valley-fold” of the step #22. This is the top view of the origami bed.
STEP 24
This is the front view of the origami bed.
STEP 25
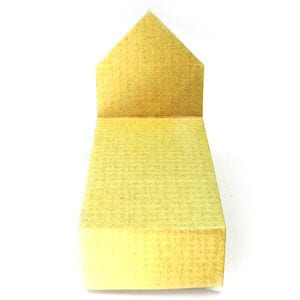
Congratulation! You have just completed making a single origami bed III.