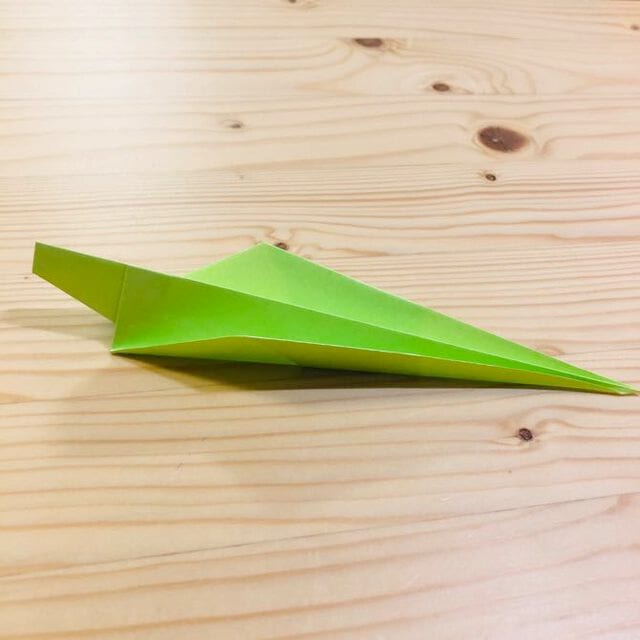
Dive-Bomber
Have you ever wanted to fold your very own Dive-Bomber? There is something quietly satisfying about turning a flat square of paper into a little recognizable model using nothing but your hands and a few well-placed creases.
This Dive-Bomber is one of those classic folds that looks impressive but comes together one step at a time, so don't worry if it feels fiddly at first — the photos will keep you on track. Whether you are new to origami or just after a quick, rewarding build, you will have a finished Dive-Bomber before you know it. Let's get folding!

STEP 1
Take a sheet of A4 (or letter) size paper, fold the upper corners to meet the center line and unfold.




STEP 2
Fold the upper corners inward, forming a 90° angle between the flaps.



STEP 3
Fold to the right, so that the right edge of the top part met the right edge of the whole item. Then unfold.



STEP 4
Do the same fold to the left.



STEP 5
Fold the top part downward through the cross point of two previous folds.



STEP 6
Fold after the made creases.




STEP 7
Fold the upper layers of the side corners towards each other and unfold.






STEP 8
Fold the upper layers of the side corners again: outer edges should meet the previous creases. Unfold.



STEP 9
Open the corners inward.



STEP 10
Open the flaps upward, making a fold in the middle.



STEP 11
Turn the item over.
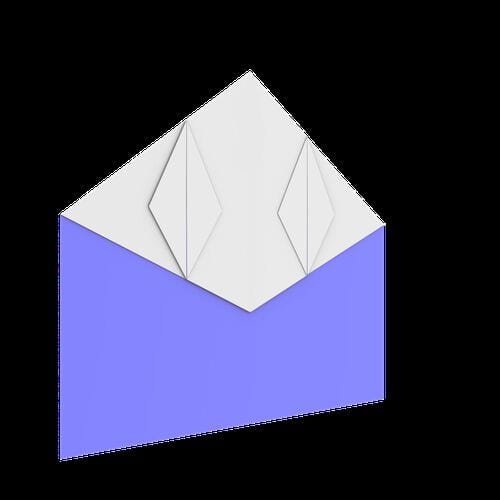



STEP 12
Fold the side parts towards the center, creasing from the top to the bottom corners.



STEP 13
Fold the top flap downward.



STEP 14
Fold the item in half backward.


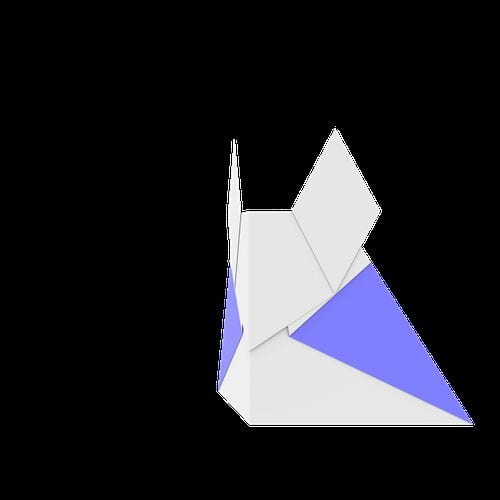


STEP 15
Fold the left wing.
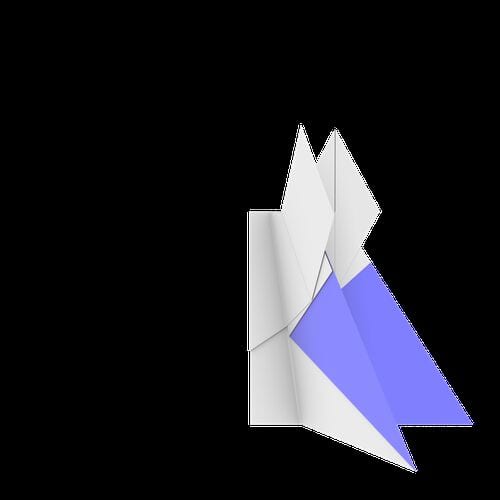


STEP 16
Fold the right wing.



STEP 17
Fold both wings upward.




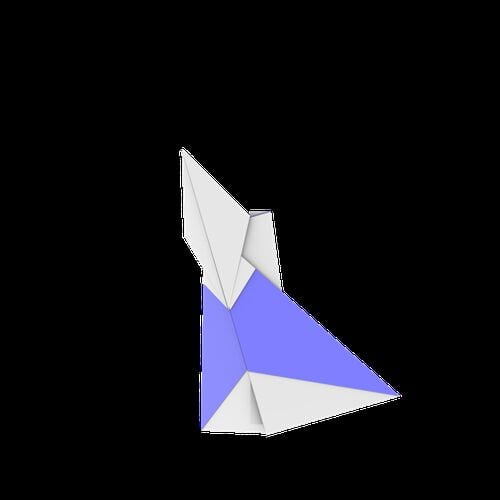
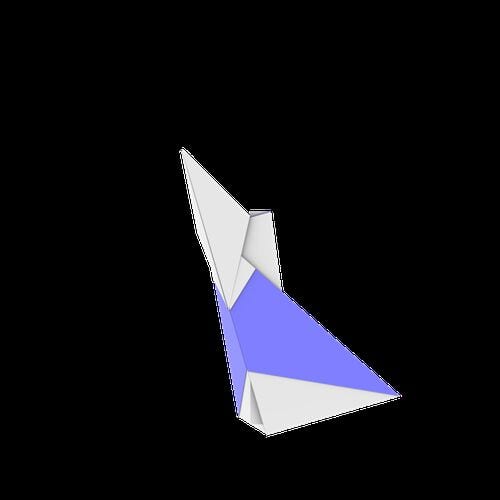

STEP 18
Open the airplane.

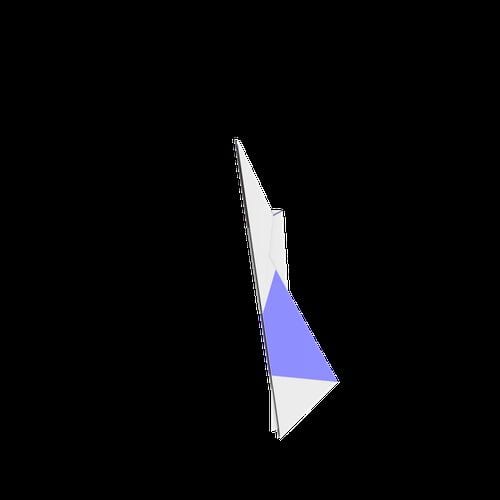
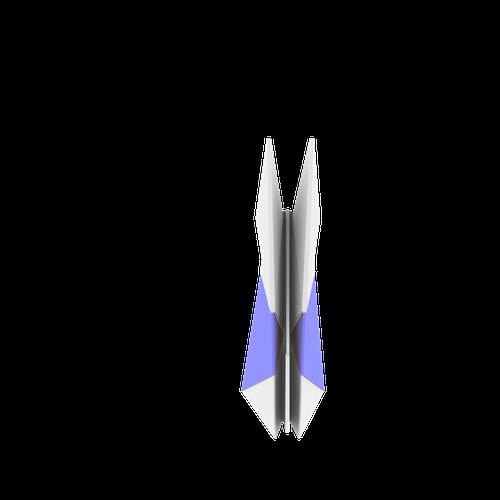
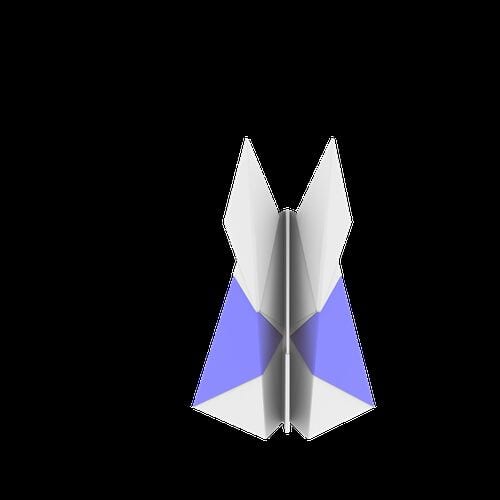

STEP 19
The Dive-Bomber is complete! Launch it and watch it dive!