
How to Fold a Modular Origami Poinsettia
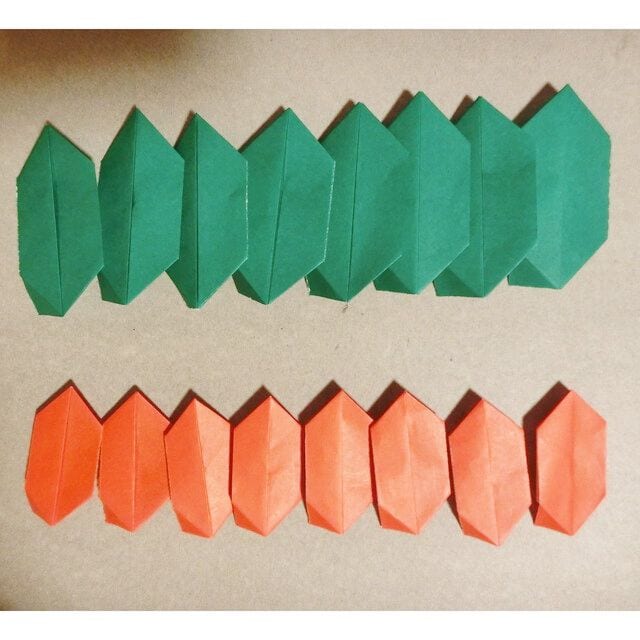
This one is not folded from a single sheet. It is built from sixteen identical units — eight red, eight green — glued together into two rings, one stacked on the other. If you have ever folded a modular kusudama, the rhythm will be familiar: learn one unit, then make it sixteen times.
The upside of that approach is that nothing has to be perfect. A unit that comes out slightly wrong just gets swapped for a better one, which is not something you can often say about origami. It also makes the model genuinely good to fold with children, since the unit is simple enough to teach once and then repeat.
The one thing to plan for is paper: you need both red and green, and the red squares should be cut to three quarters of the side length of the green ones. Glue is required — this is one of the rare origami models where that is not considered cheating.
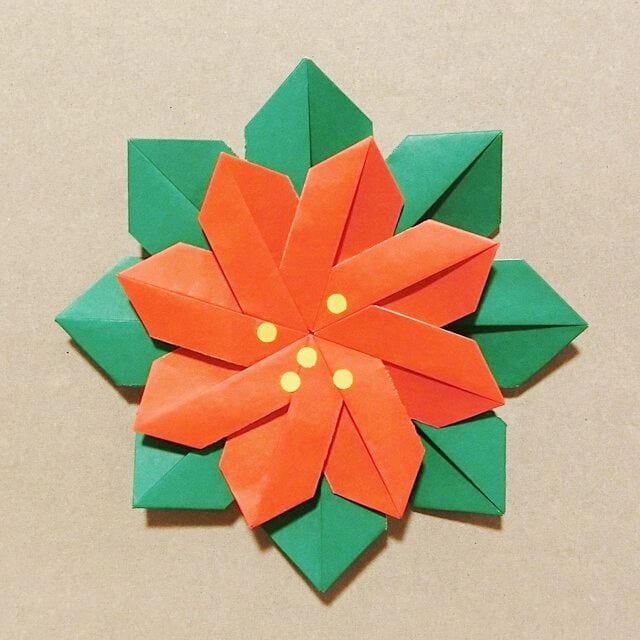
Children love folding the same thing over and over again, and this poinsettia is built exactly that way: eight identical red units and eight identical green ones.
Christmas origami tends to need both red and green paper, which is not always easy to have to hand. Once you have both, though, the rest is repetition.
How to fold an easy origami poinsettia
STEP 1. Prepare eight green squares, plus eight red squares cut to three quarters of the side length of a green one.
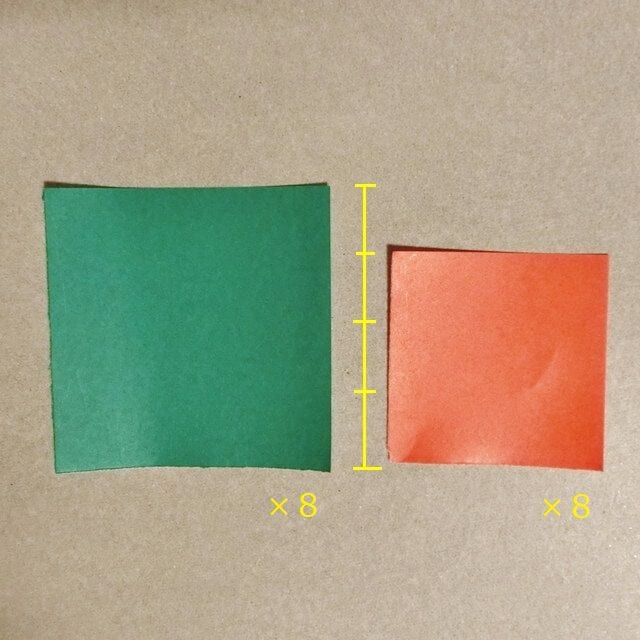
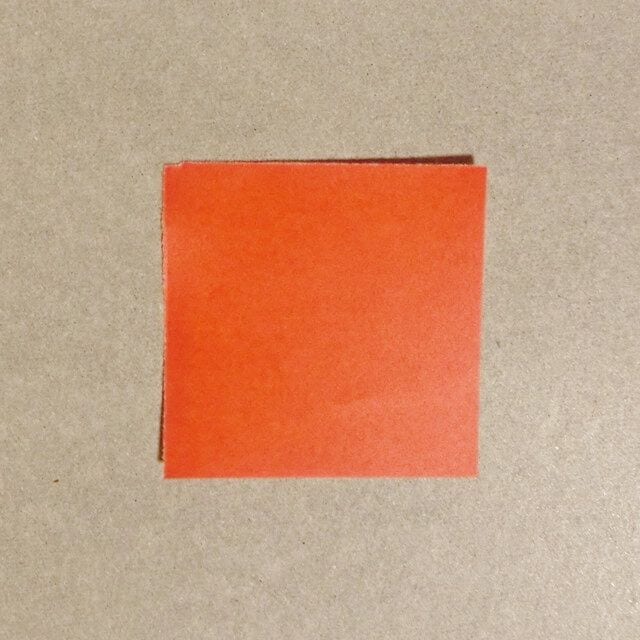
STEP 2. Start with the red paper. Place it coloured side up and fold it in half.
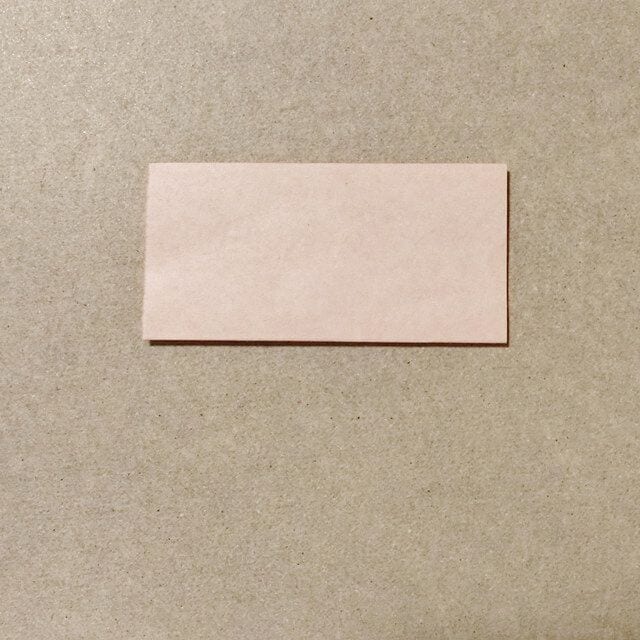
STEP 3. Fold down one layer only.
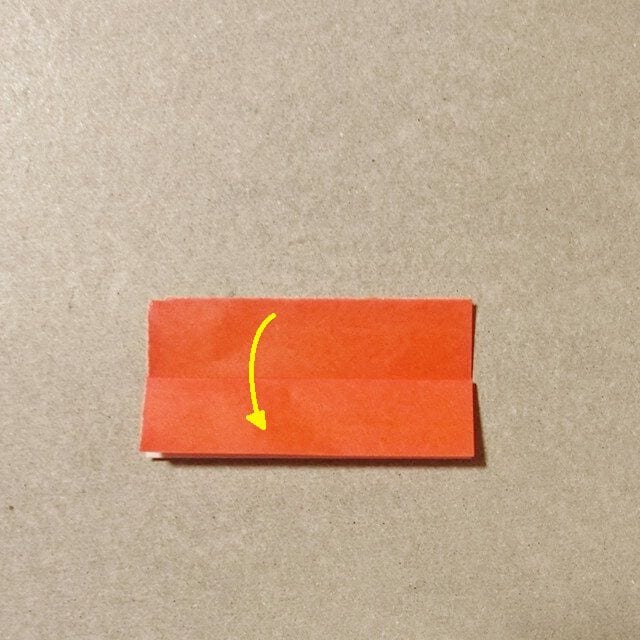
STEP 4. Turn the paper over and fold it in half to make a crease.
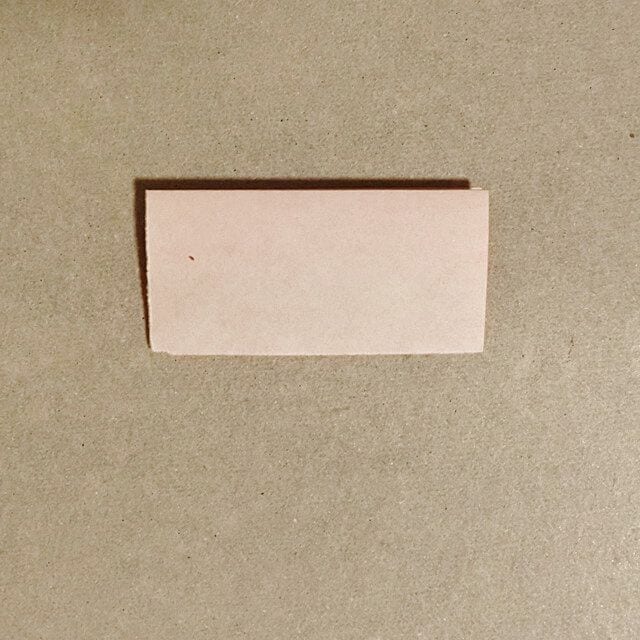
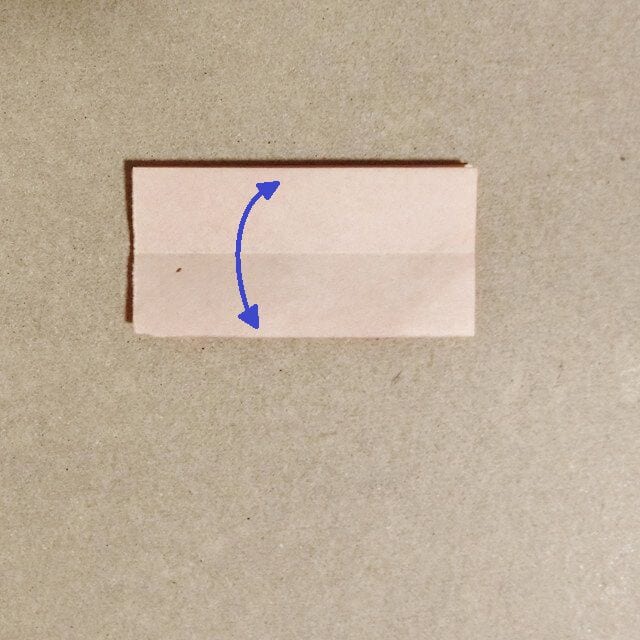
STEP 5. Rotate the paper 90 degrees to the right, and fold the top and bottom corners in along the fold line.
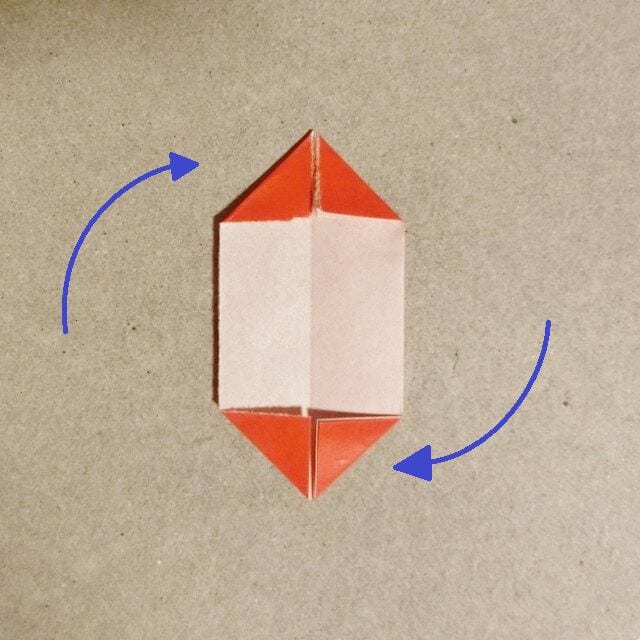
STEP 6. Fold back only the lower right corner.
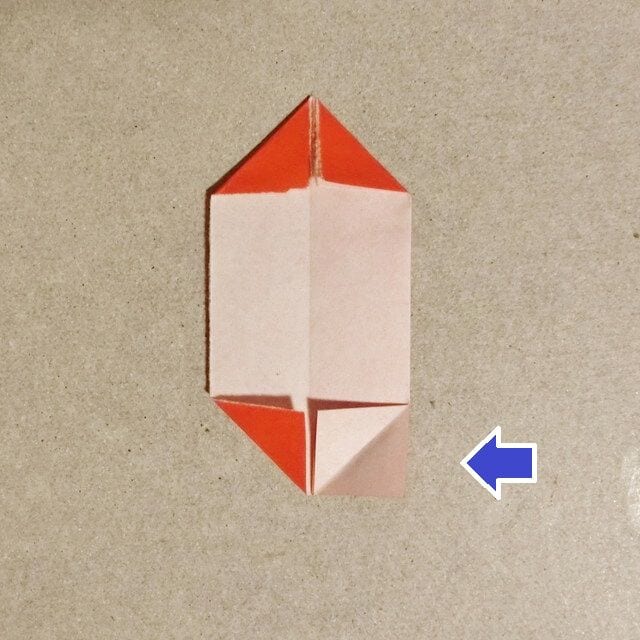
STEP 7. Turn it back to the original side. One unit is finished.
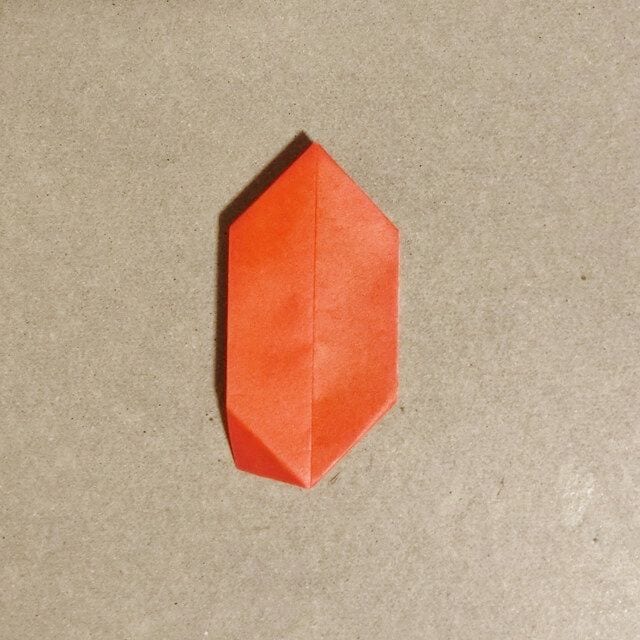
STEP 8. Fold eight red units and eight green units this way.
STEP 9. Put glue on the lower left corner of a red unit and slot it into the middle of another unit.
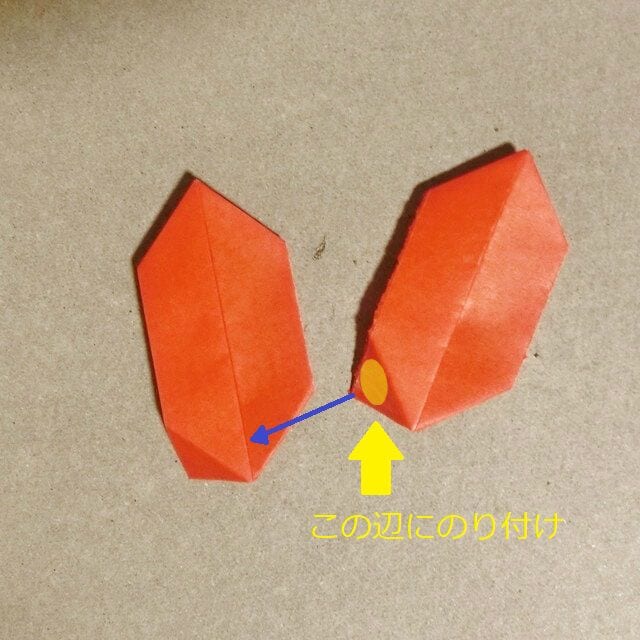
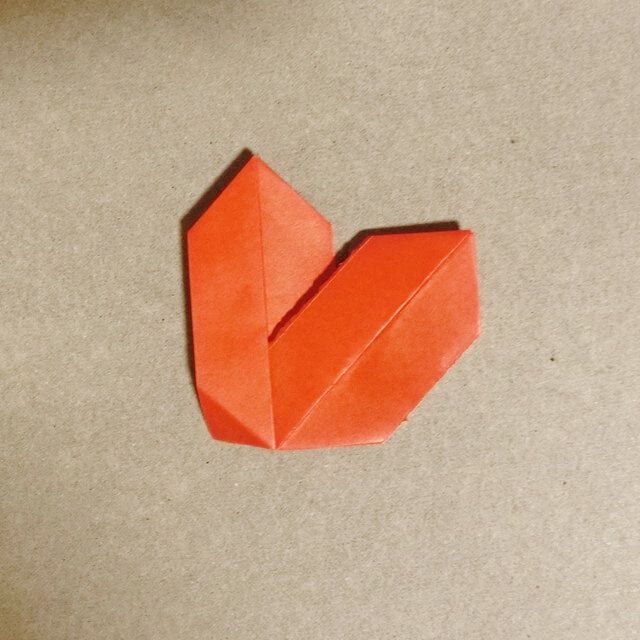
STEP 10. Glue all eight red units together the same way.
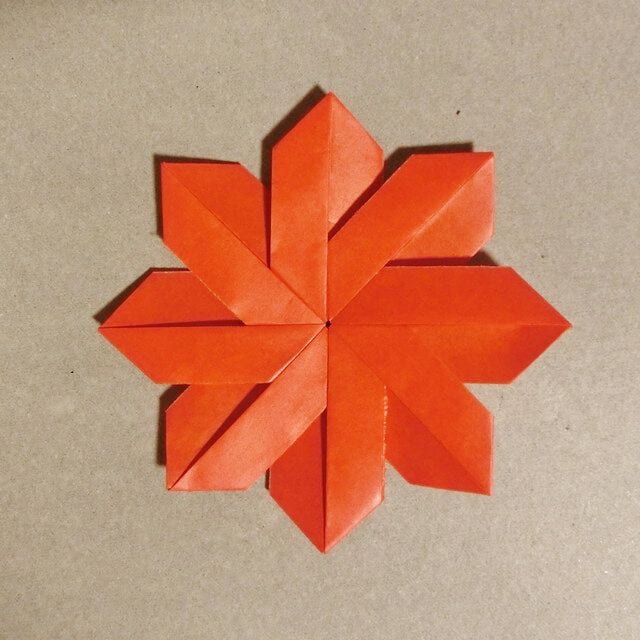
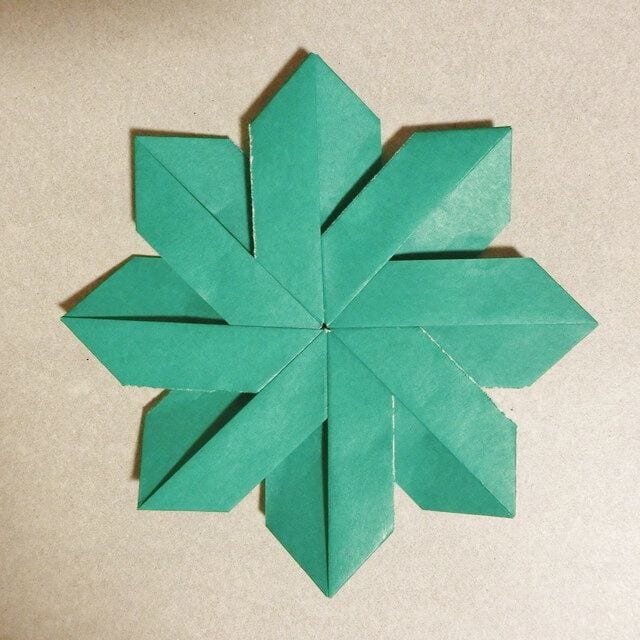
STEP 11. Glue the eight green units together the same way.
STEP 12. Line up the centres and glue the red ring on top of the green one.
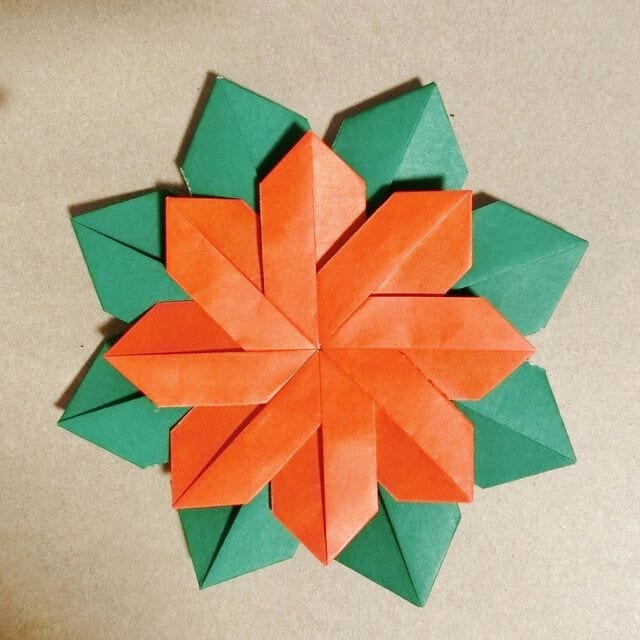
STEP 13. Glue a small yellow circle near the centre of the red, and the poinsettia is finished.
How did it turn out? This is a method that small children tend to enjoy, so it is well worth trying with them.




