
Origami Crane Box
Some origami boxes are plain and practical; this one is anything but. Tucked into a single square of paper, you'll build a little crane-shaped box complete with spread wings, a heart at its center, and a tiny folded head — the kind of piece that makes people pick it up and say "wait, that's paper?".
It's a long fold at 44 steps, but don't be put off: the tutorial pairs every move with clear photos (and a video), so you're never guessing. Think of it as a relaxed afternoon project. By the end you'll have an ornamental box lovely enough to hold a ring, a few earrings, or just sit on a shelf and show off.
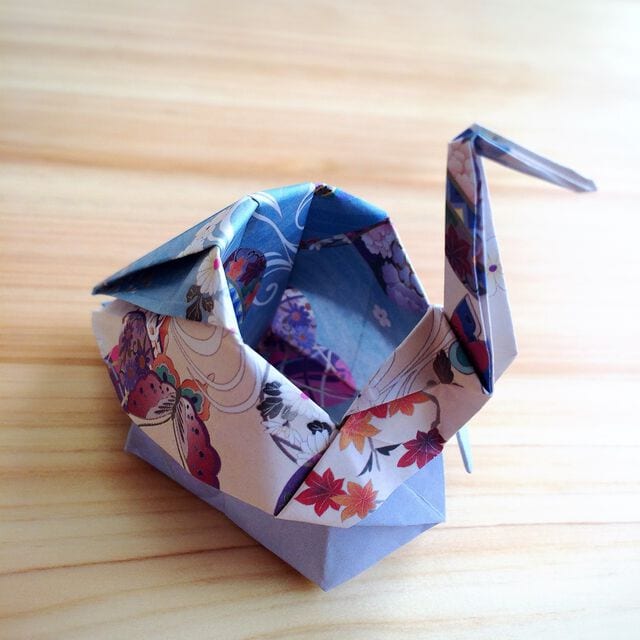
Because this is a fairly challenging fold, it is explained in detail with both a video and photos of the actual folding process.
It looks like it could be used for decoration or as a little case for small accessories.
How to Make an Origami Crane Box
Let’s start folding right away.
STEP 1. Fold it in half and crease it so that it becomes a rectangle.
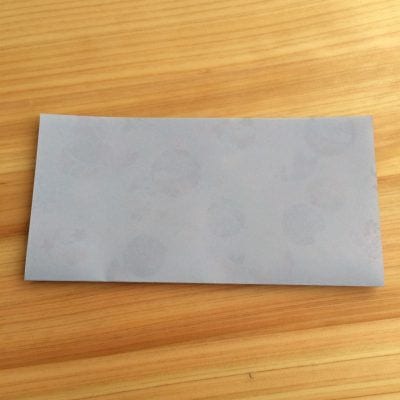
STEP 2. Make a crease on the other side in the same way.
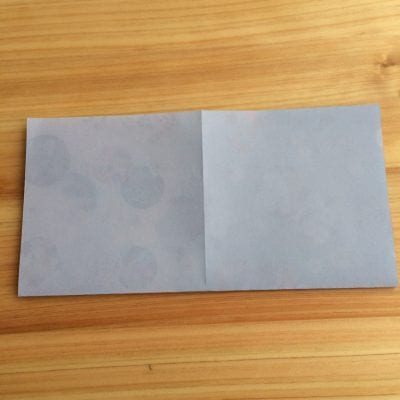
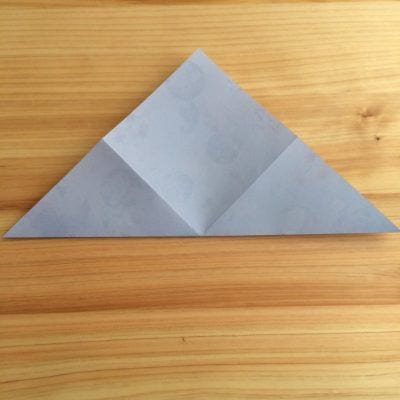
STEP 4. Make a triangular crease on the other side in the same way.
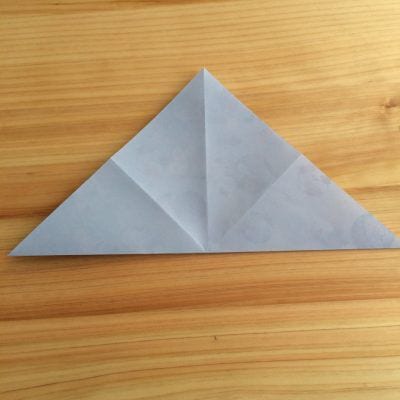
STEP 5. After opening, fold it into a square along the creases.
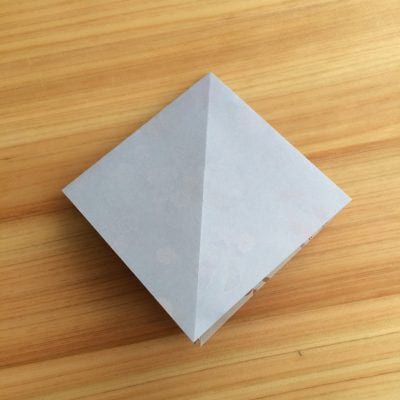
STEP 6. Fold the lower left and right edges toward the center line.
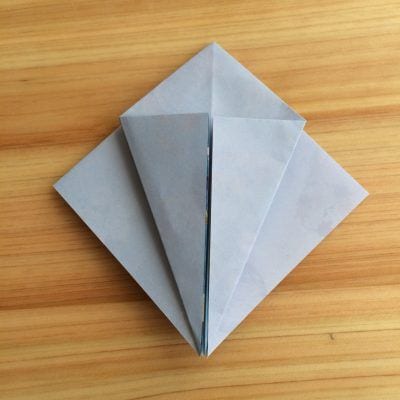
STEP 7. Turn it over and fold the other side in the same way.
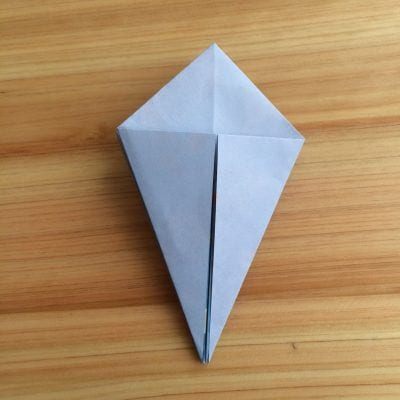
STEP 8. Put your fingers into the left and right triangles and open them out as you fold.
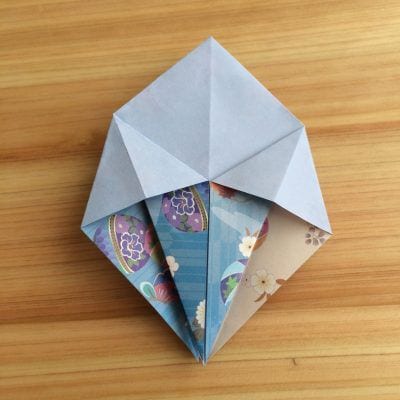
STEP 9. Turn it over and fold the other side in the same way.
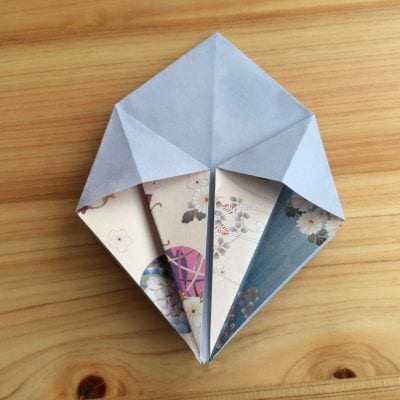
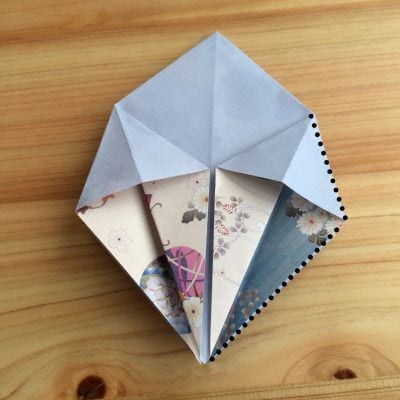
STEP 10. Valley-fold the dotted line on the right side and tuck it between the layers of paper.
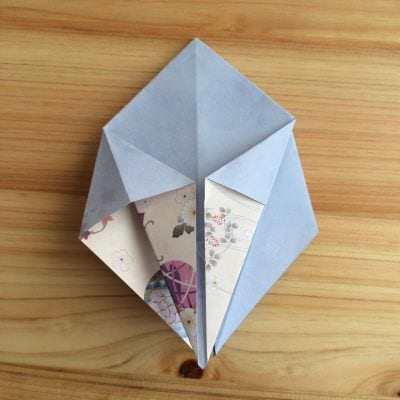
STEP 11. Tuck the left side between the layers of paper in the same way.
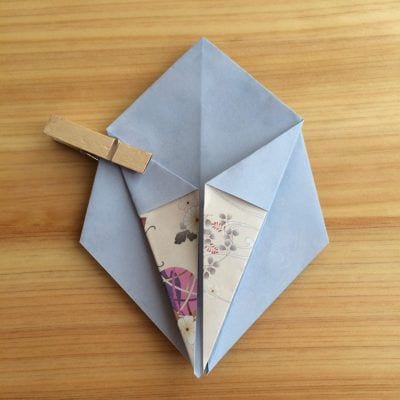
STEP 12. Turn it over and fold the other two spots in the same way.
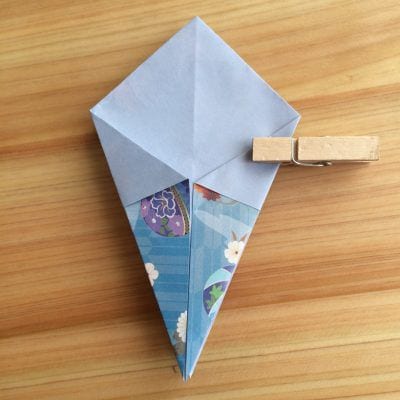
STEP 13. Open the space between the left and right layers of paper.
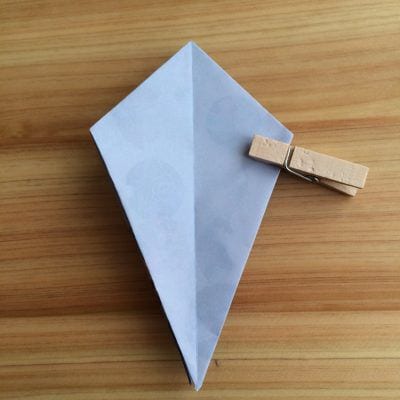
STEP 14. Fold the lower left and right edges toward the center line.
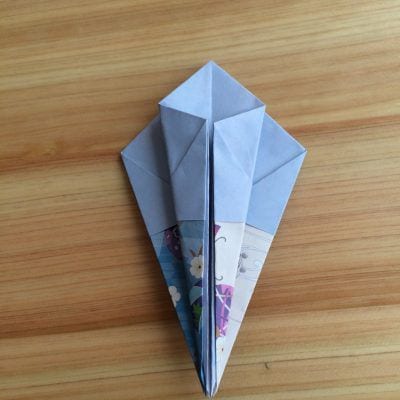
STEP 15. Turn it over and fold the other side in the same way.
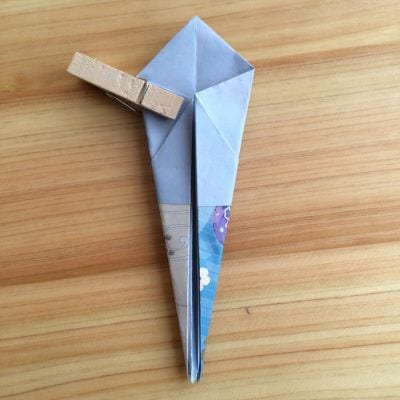
STEP 16. Fold the top corner down to make a crease.
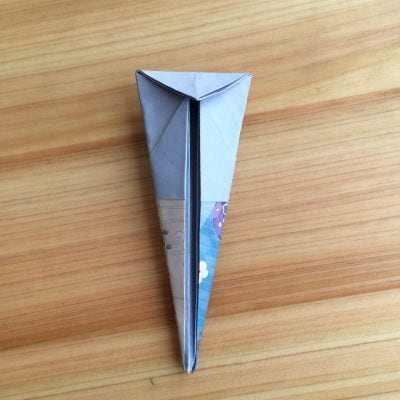
STEP 17. Open the crease back up.
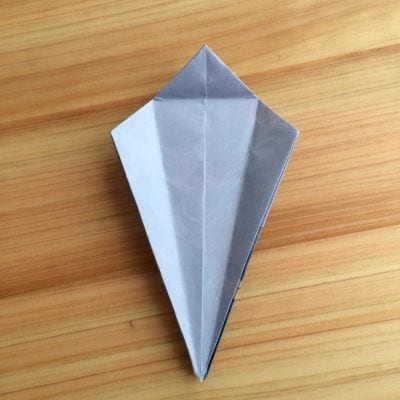
STEP 18. Turn it over and open it out.
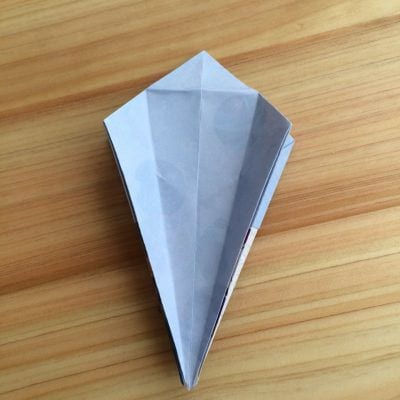
STEP 19. Swap the top and bottom, then fold it to the right so the left side passes through the left and right corners.
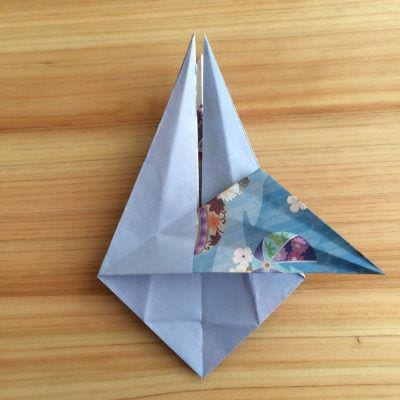
STEP 20. Fold it back once, then fold the right side in the same way.
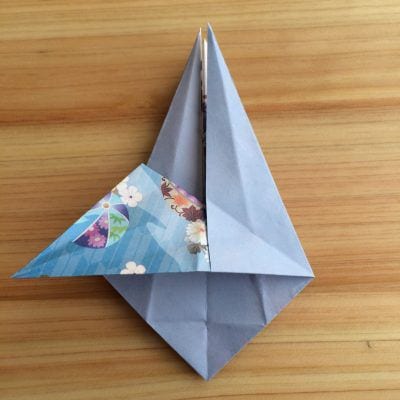
STEP 21. Turn it over and make a crease in the same way.
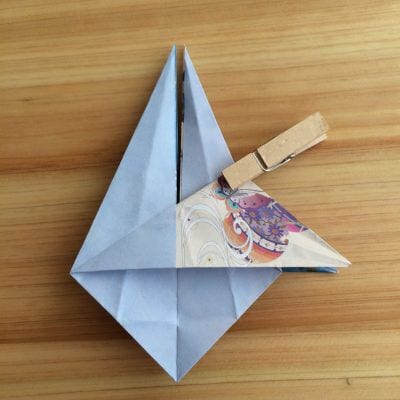
STEP 22. Fold the right side in the same way.
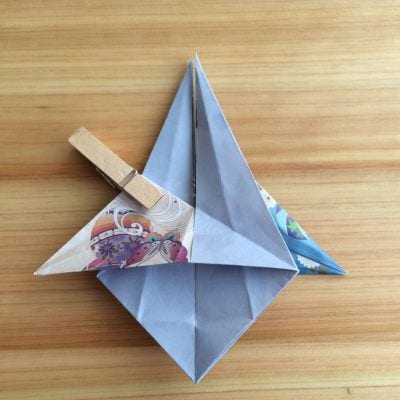
STEP 23. Spread the front and back open along the creases. At this point, open the bottom into a square shape so it stands stable.
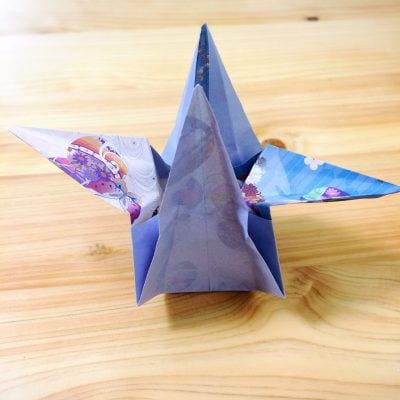
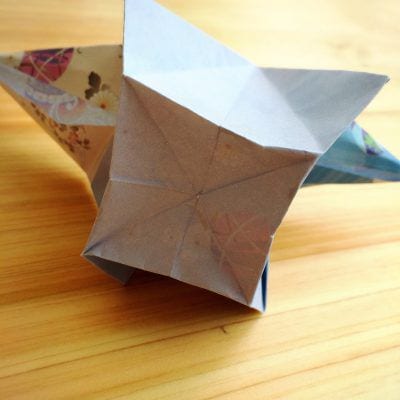
STEP 24. Fold the right side toward the center line.
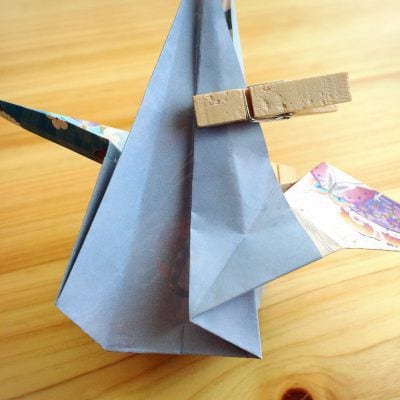
STEP 25. Fold the left side toward the center line in the same way.
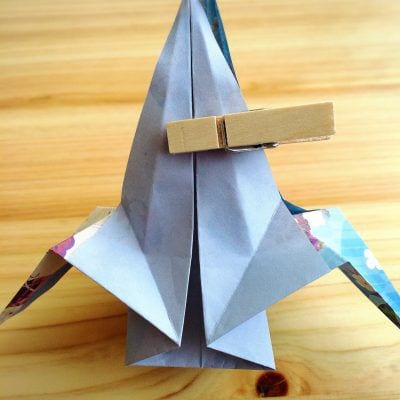
STEP 26. Pull the paper out from behind the wings at the lower right and spread it open.
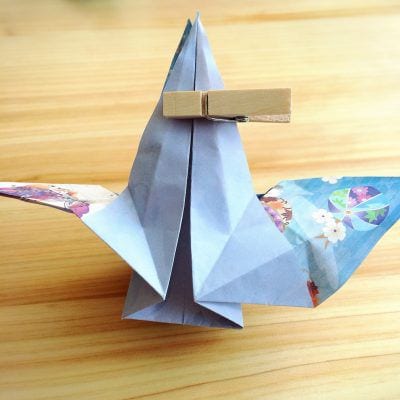
STEP 27. Open the lower left in the same way.
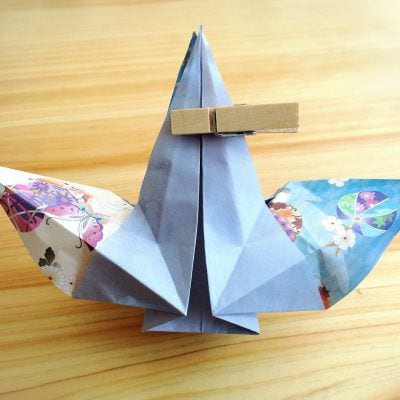
STEP 28. Fold the right side to the left along the dotted line shown in the photo.
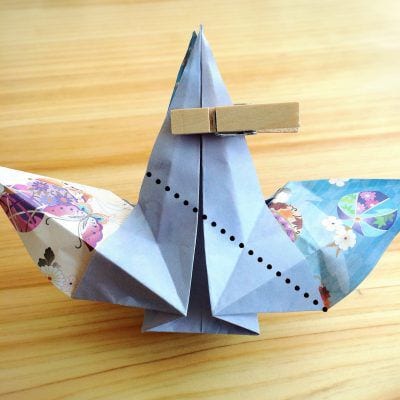
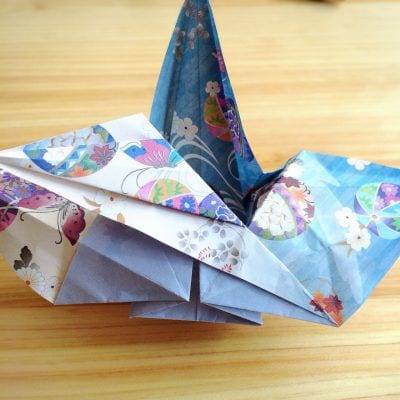
STEP 29. Return it to the previous position, then fold the left side to the right in the same way.
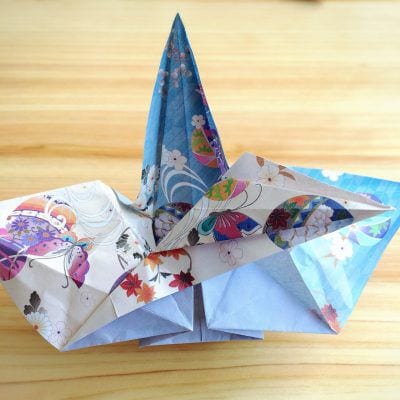
STEP 30. Fold it down using the crease you just made.
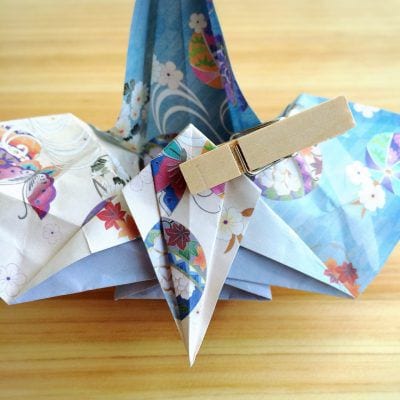
STEP 31. Fold the left and right sides toward the center line.
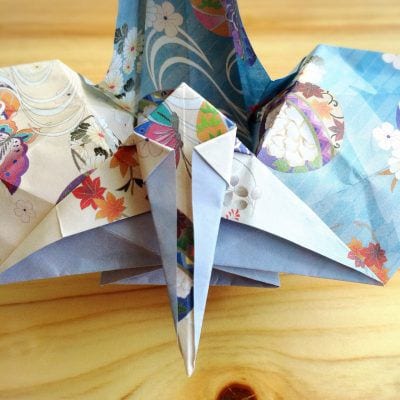
STEP 32. Fold the top corner down.
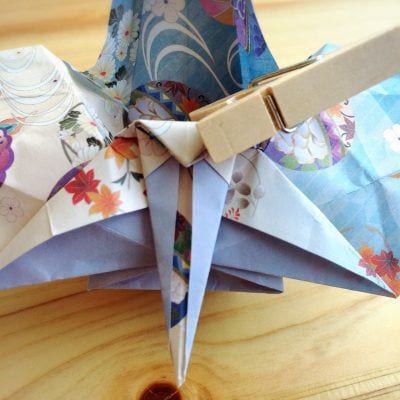
STEP 33. Lift the bottom tip upward.
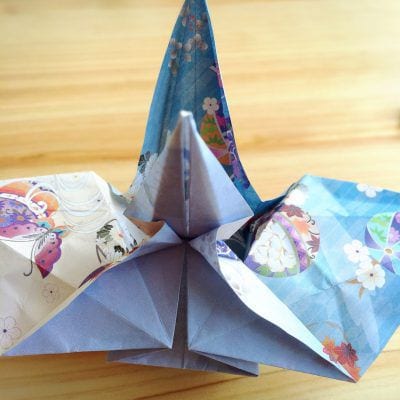
STEP 34. Fold the right side toward the center line.
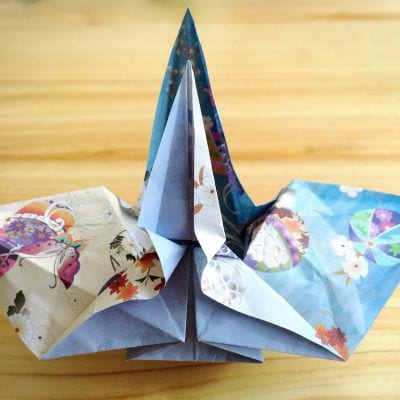
STEP 35. Fold the left side toward the center line in the same way.
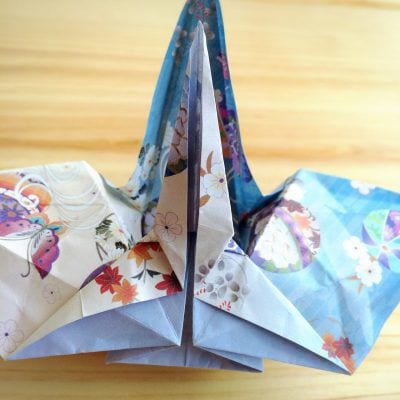
STEP 36. Fold the lower right corner inward so it sits behind the side wings.
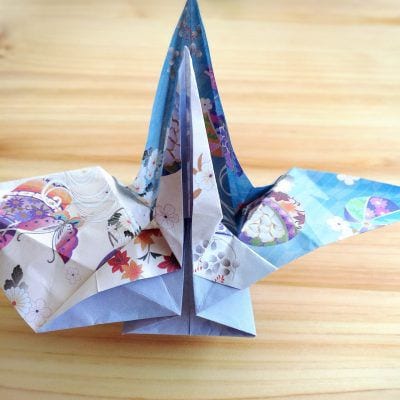
STEP 37. Fold the lower left corner inward in the same way.
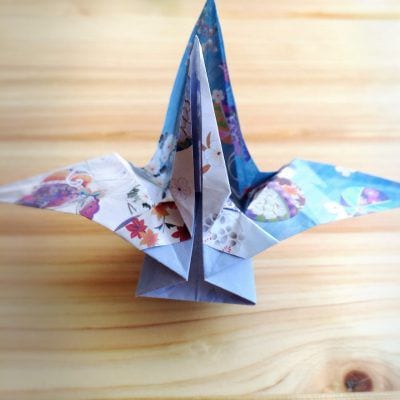
STEP 38. Fold the heart-shaped part in half vertically at the center.
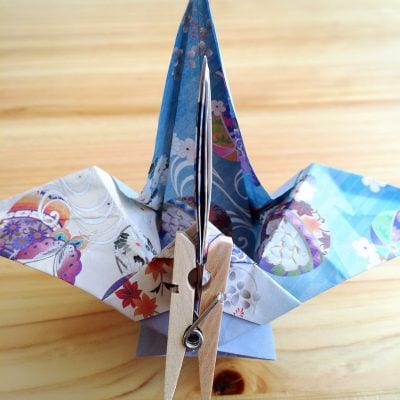
STEP 39. Rotate 90 degrees to the right and fold the wings to the right.
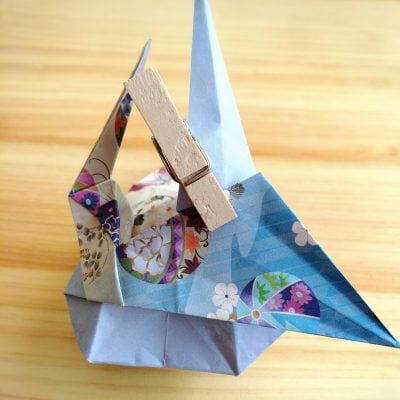
STEP 40. Turn it over and fold the wings on the other side to the left in the same way.
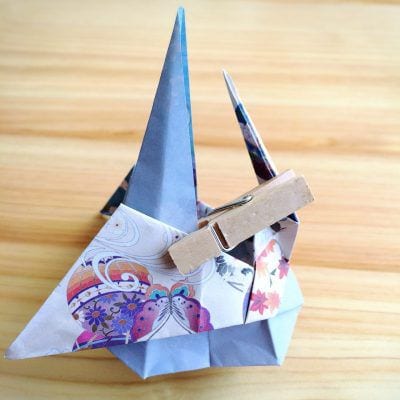
STEP 41. Rotate 90 degrees to the left and line up the two points.
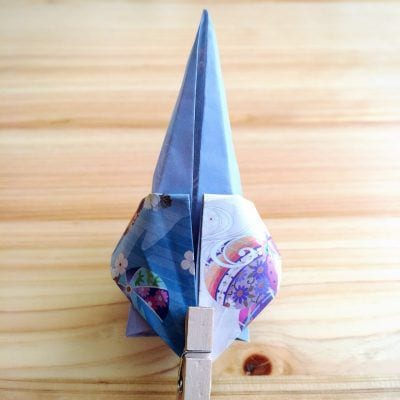
STEP 42. Fold it down so the top tip meets the bottom tip.
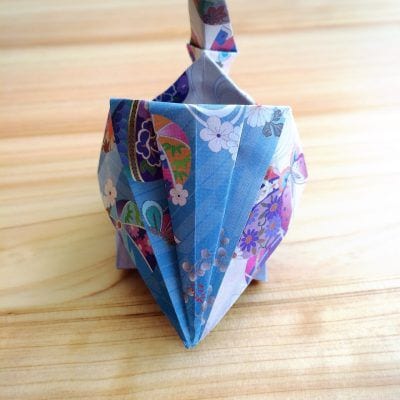
Make the head by folding the tip of the section folded in step 43 and step 38 diagonally.
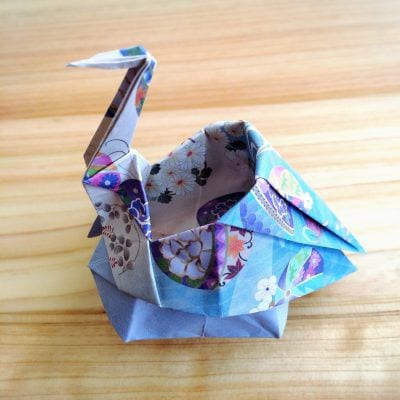
STEP 44. Once you have shaped it, it is complete.
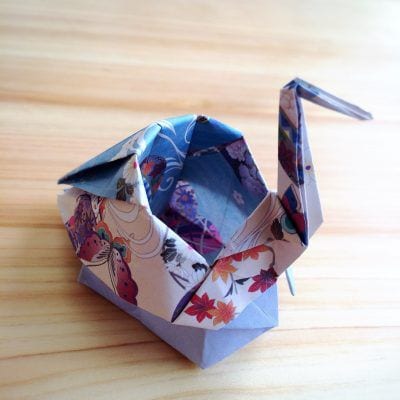
Thank you for your hard work.
How did it go?




