
Shinkansen
There's a reason the Shinkansen shows up in so many childhood craft boxes: that long nose and those rows of windows are instantly recognizable, and somehow a flat square of paper turns into something that looks like it's about to zoom off the table.
This little fold is less about precision and more about play. You'll make the body in a handful of steps, then grab a pen and add the windows yourself — and from there it's yours to extend, line up, or send racing across a hand-drawn landscape.
How to Fold
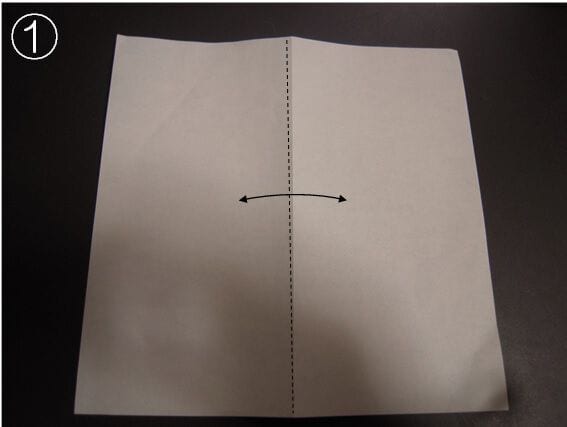
STEP 1. Fold it in half to make a crease, then unfold.
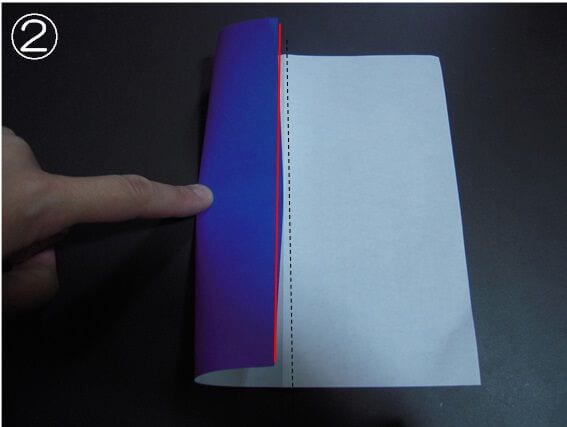
STEP 2. Align the red line with the crease you just made. Press with your fingertips to leave a small mark.
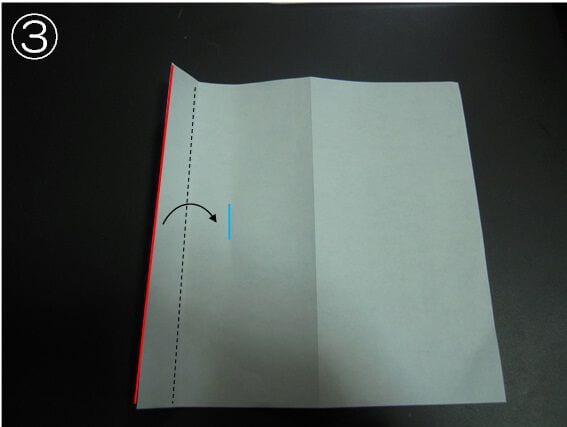
STEP 3. Align the red line with the mark (blue line) you just made, then fold. Do the same on the other side: leave a step-2 style mark, then fold it the same way.
STEP 4. Fold it in half.
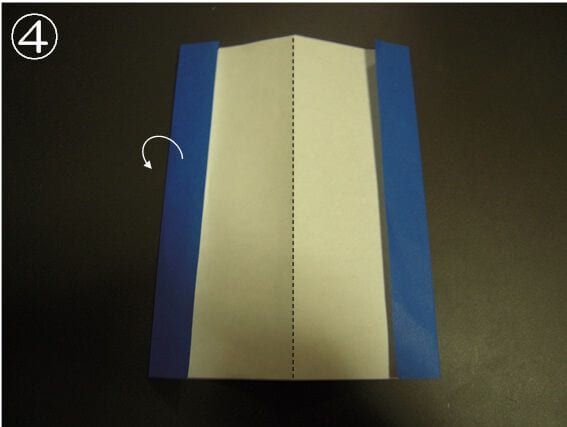
STEP 5. Fold along the dotted line to crease it, then unfold.
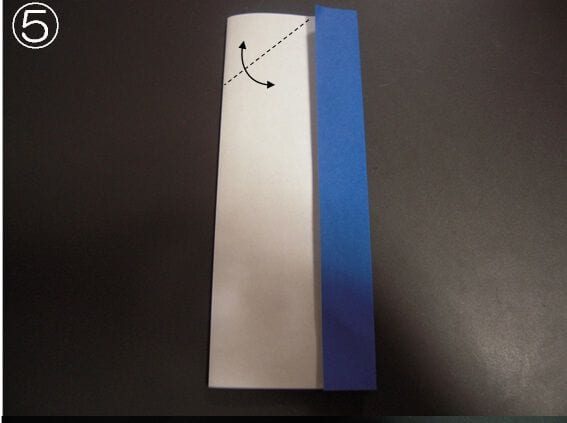
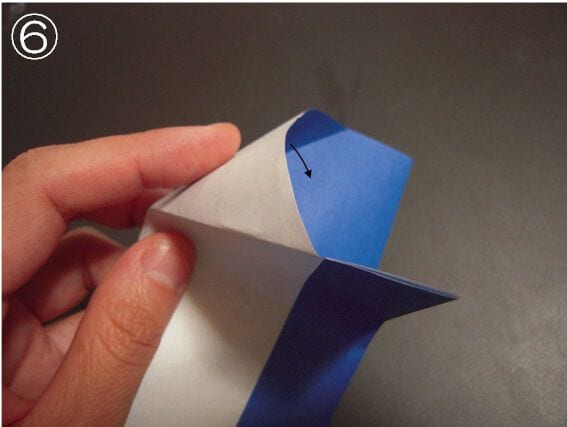
STEP 6. Fold it inward along the crease you just made (a book fold).
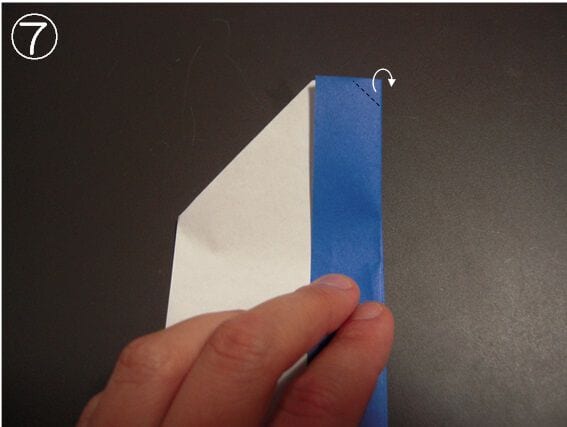
STEP 7. Fold the dotted line inward.
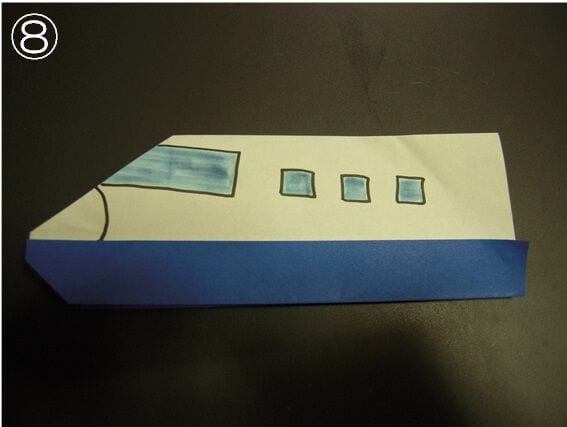
STEP 8. Draw on the windows, and your Shinkansen is complete!
After You Fold
How did it go? It comes together in no time!
You can stick it onto paper, or stand it up on its own.
If you stop after step ④ instead of going to step ⑤, you’ll get a simple vehicle instead.
After drawing the windows, you can also attach it behind the front car to make a longer train.
Sketch some tracks and scenery on a sheet of paper, set your train running across it, and let your imagination take over!
Tips for Folding
There’s nothing tricky here, so just enjoy drawing the windows once it’s done.




