
Kayak
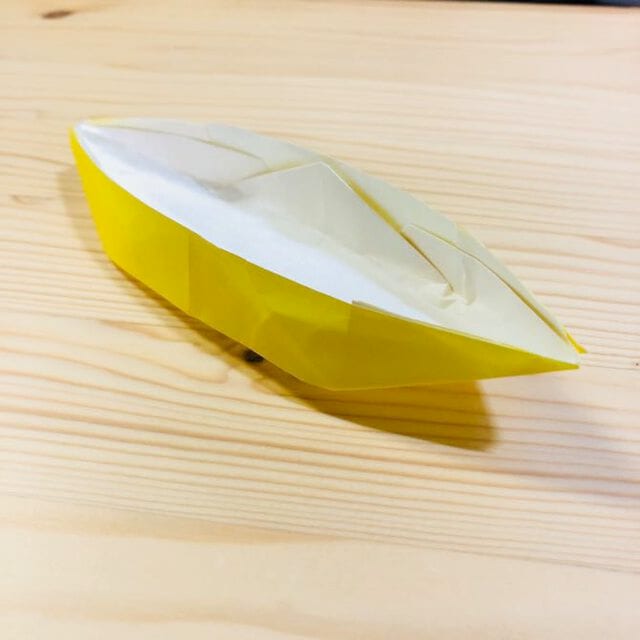
Take a single square of paper and, a few minutes later, you can be holding a little kayak - long, low, and clearly ready for the water. Kayaks are one of those shapes that catch the eye at a glance, yet this version comes together with remarkably few folds, so it is a favorite of mine for quick craft sessions and for introducing paper boats to beginners.
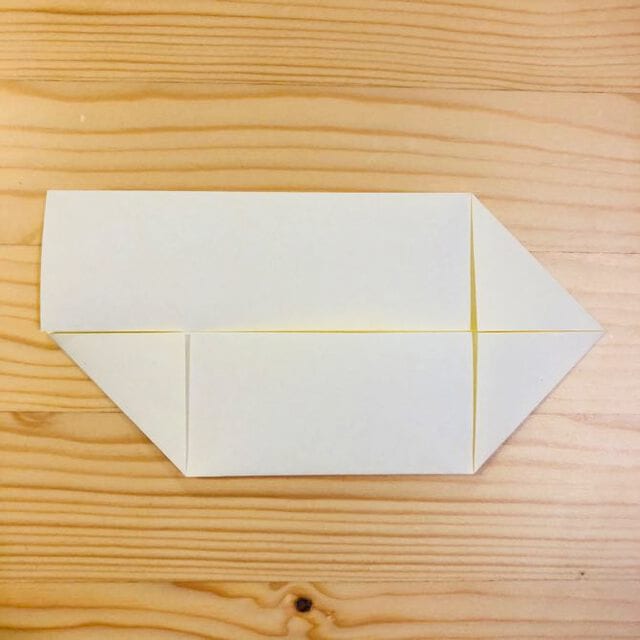
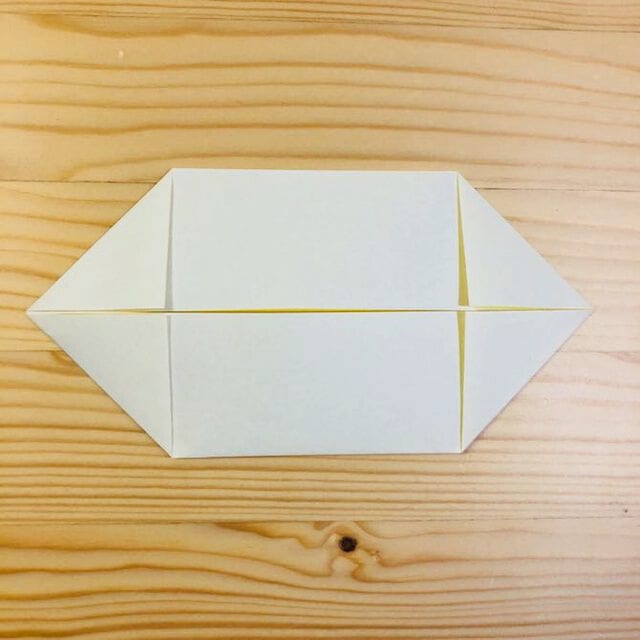
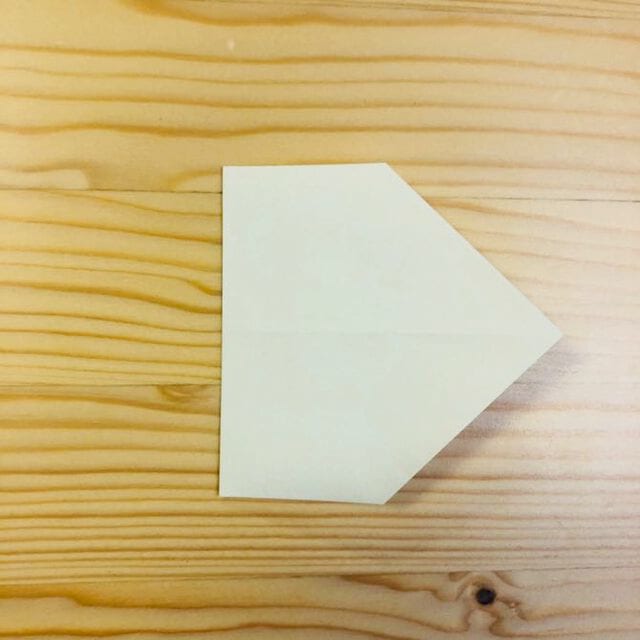
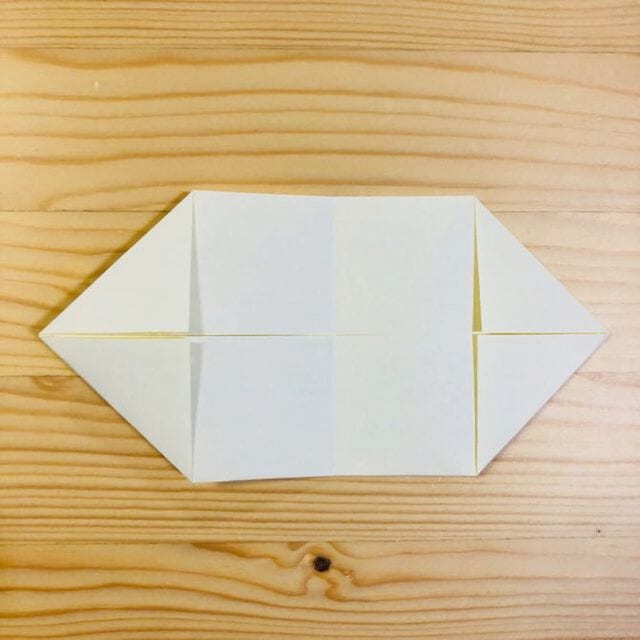
The instructions rely on photos rather than abstract diagram symbols, so each step simply asks you to fold at the spot you see in the picture. When you are done, set your kayak on a sheet of blue paper to suggest a lake, or fold two or three in different colors and launch a whole fleet across the table.
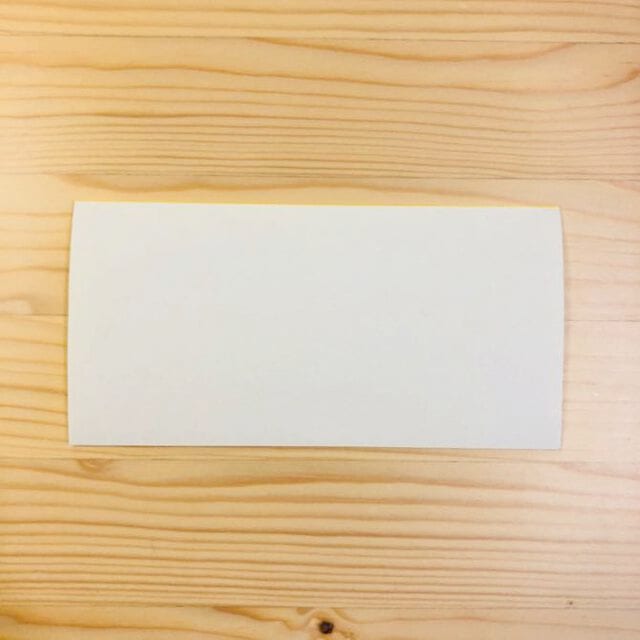
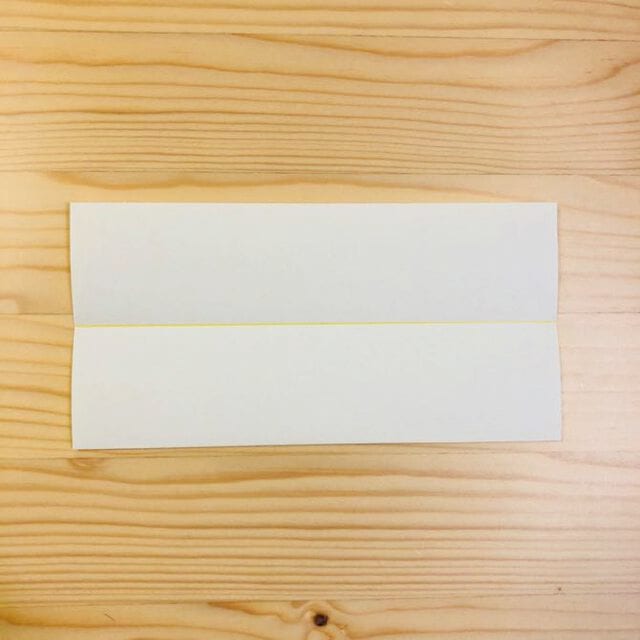
STEP 1
Fold it in half and make a crease.
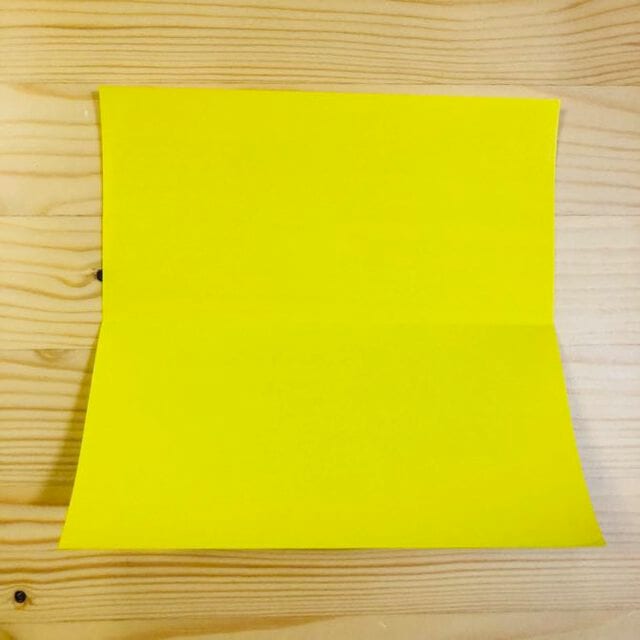
STEP 2
Fold it along the crease.
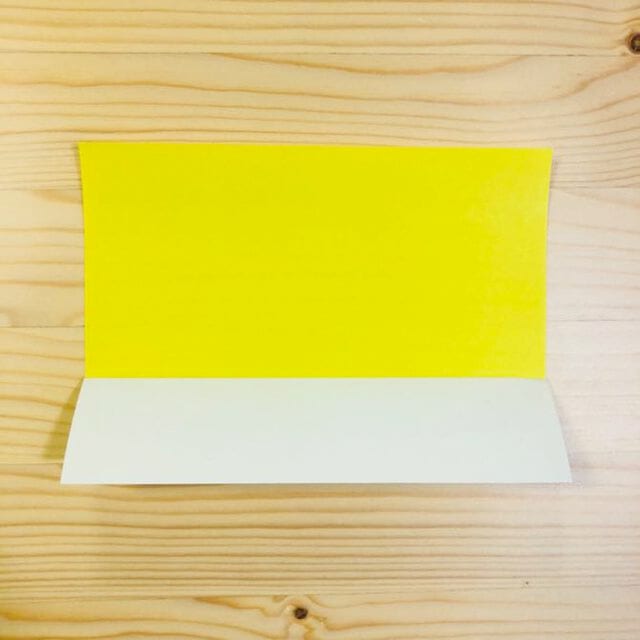
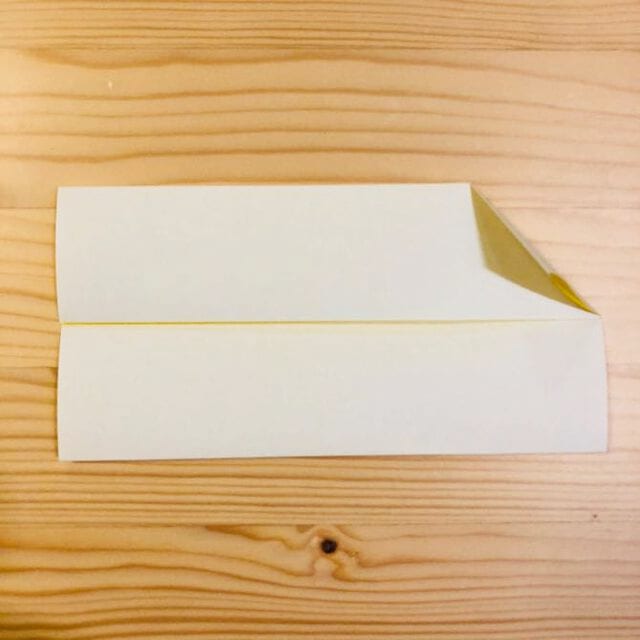
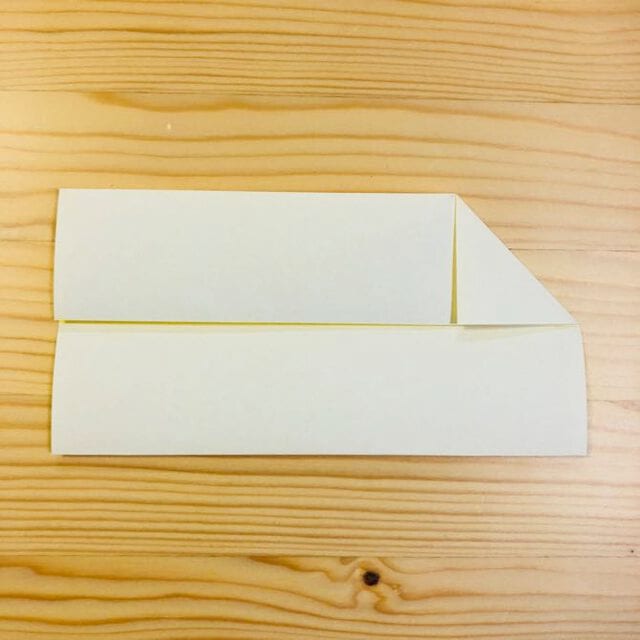
STEP 3
Fold it at the position shown in the photo.
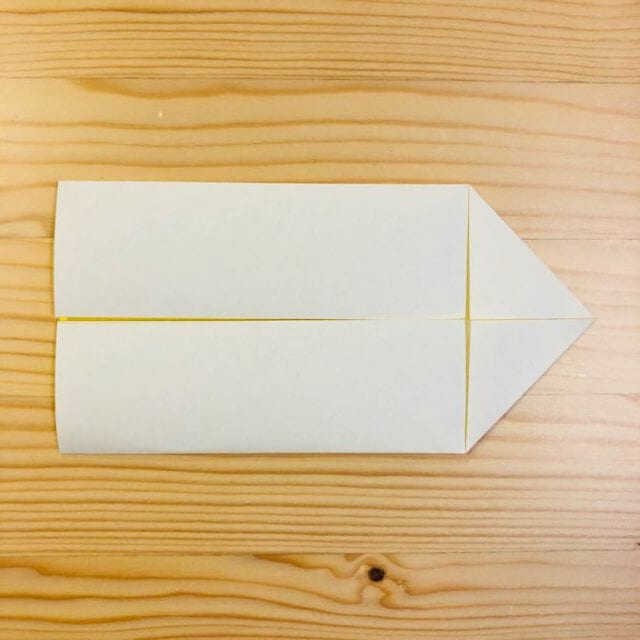
STEP 4
Fold the other side in the same way.
STEP 5
Fold it in half and make a crease.
STEP 6
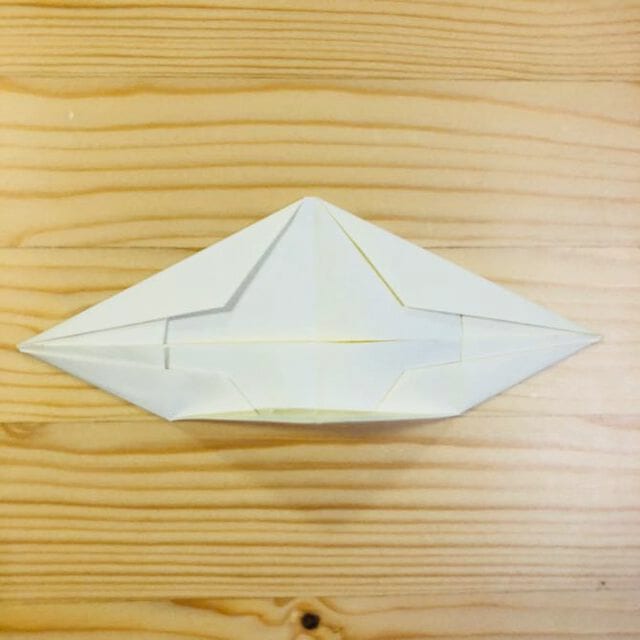
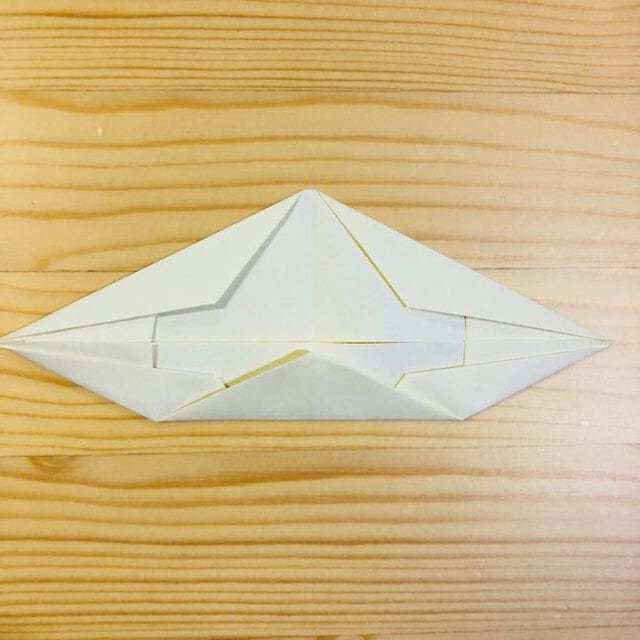
Fold it at the position shown in the photo.
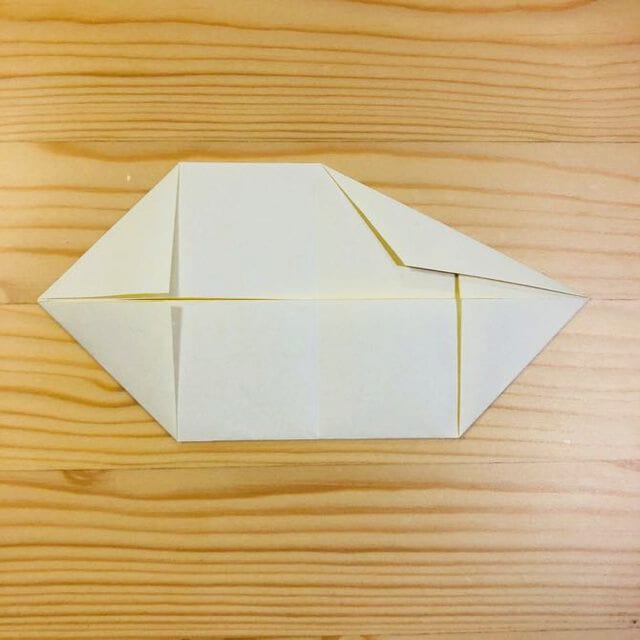
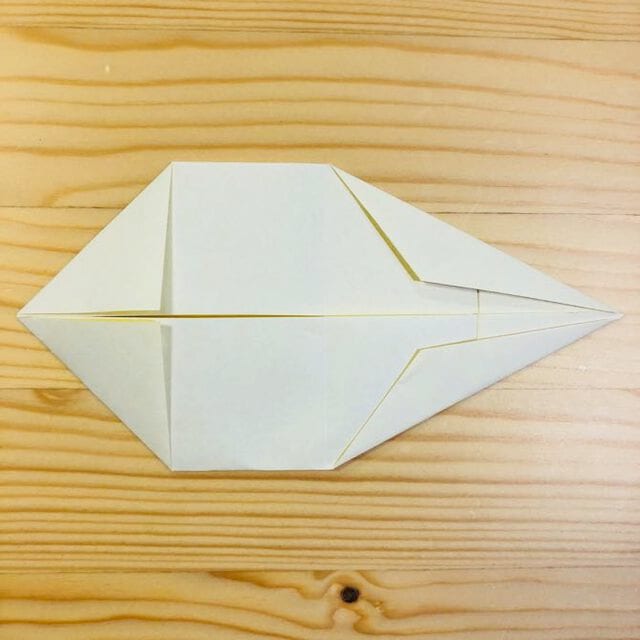
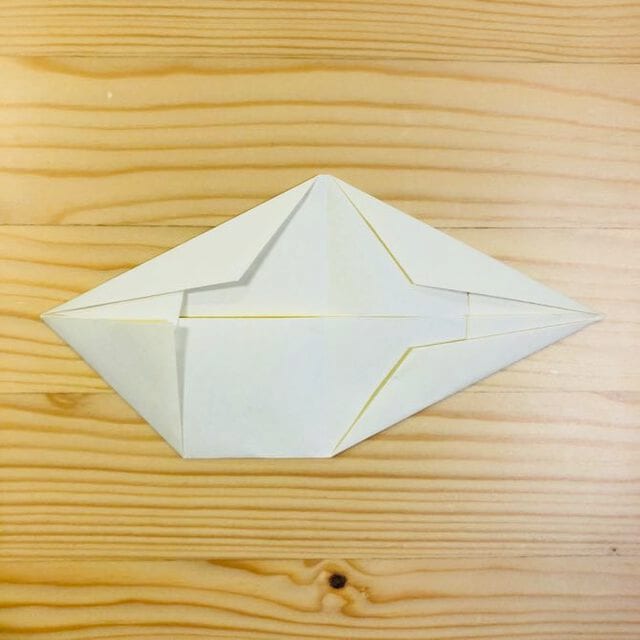
STEP 7
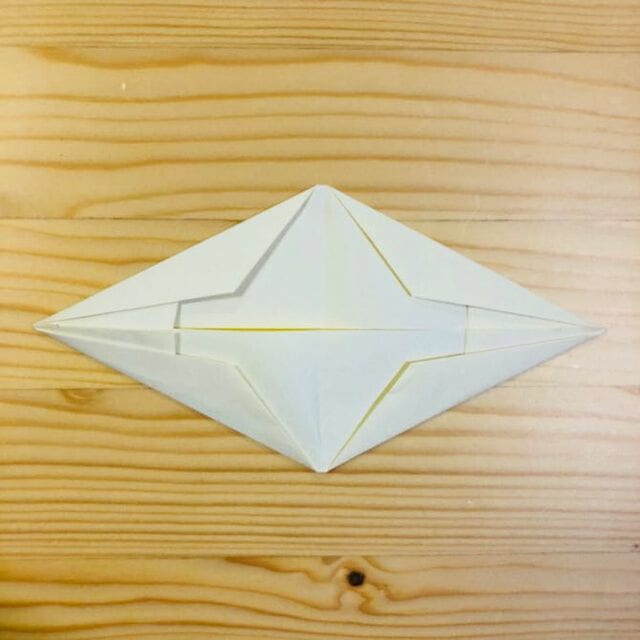
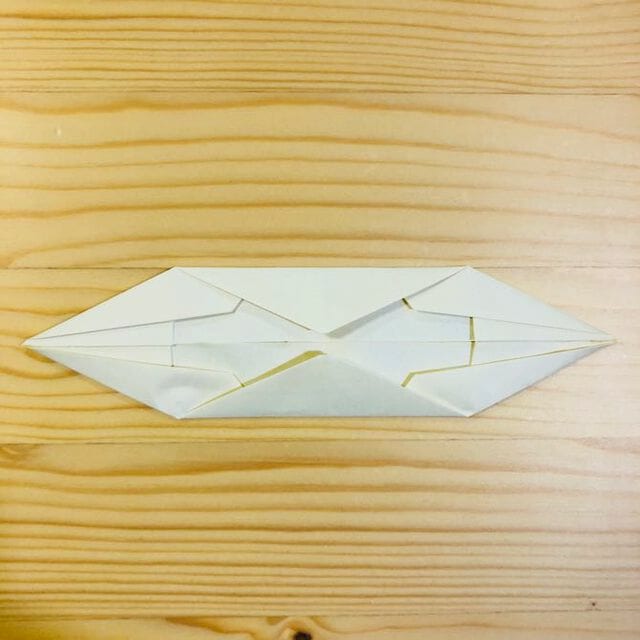
Fold it at the position shown in the photo.
STEP 8
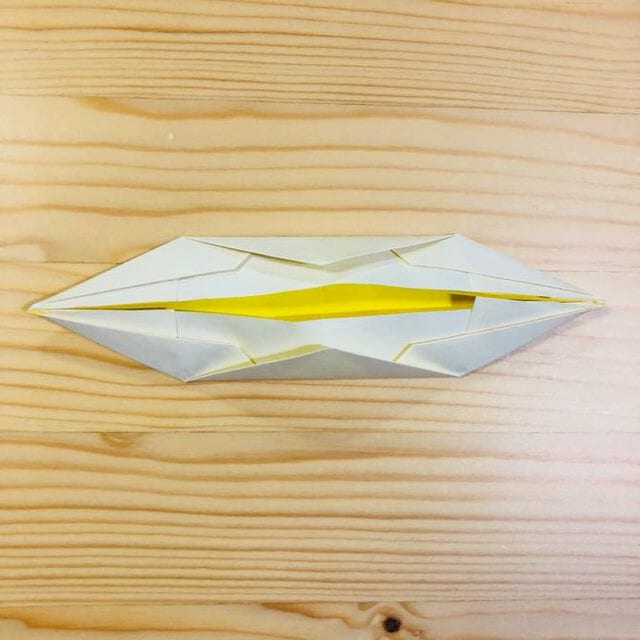
Open in the middle.
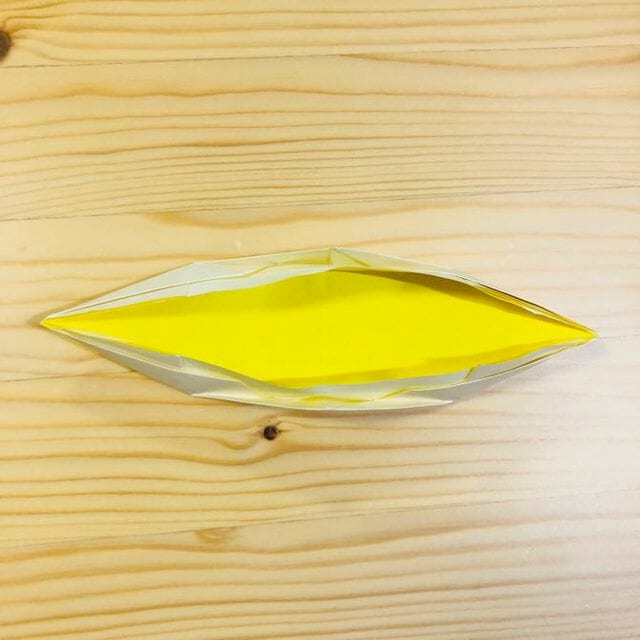
STEP 9
Turn the model over so the colored side faces up.
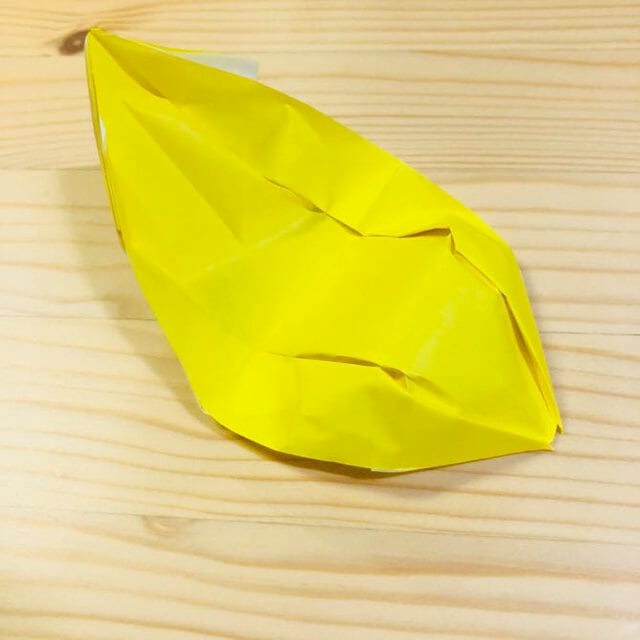
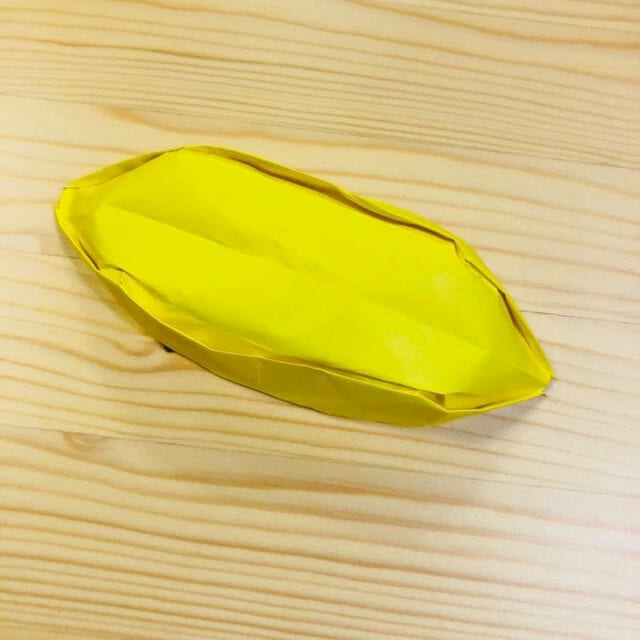
Finished!
Once the shape is adjusted, your origami kayak is complete.




