
Origami Crane Bag
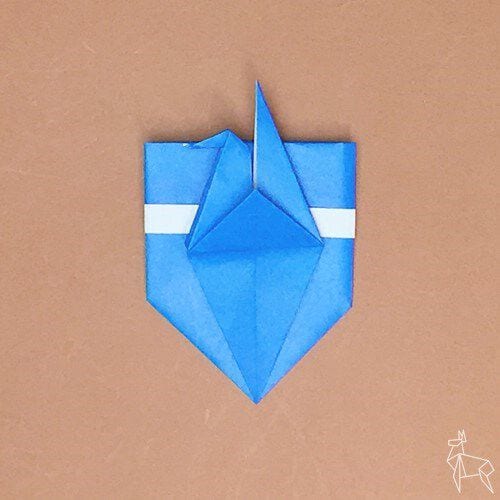
Love the classic paper crane but wish it could do something more? Meet the origami crane bag — a clever little pouch shaped like a crane, with a body you can actually open to tuck in a sweet or a tiny gift.
This one is a longer fold with lots of photos, so take your time and follow along step by step. It starts from a rectangular sheet (or a square trimmed down), and ends with that unmistakable crane silhouette. Perfect for party favors, wedding tables, or just showing off.
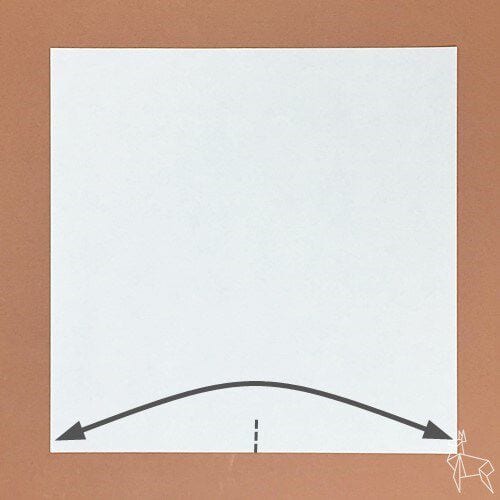
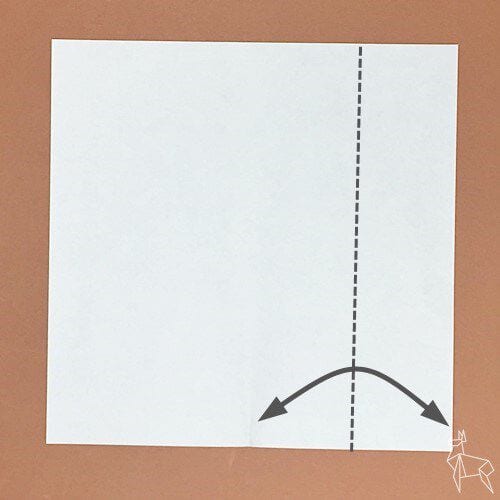
Step 1: (If you want to make it from rectangular paper, start from Step 4) Cut it in half so that the left and right edges meet, and make a crease only on the dotted line.
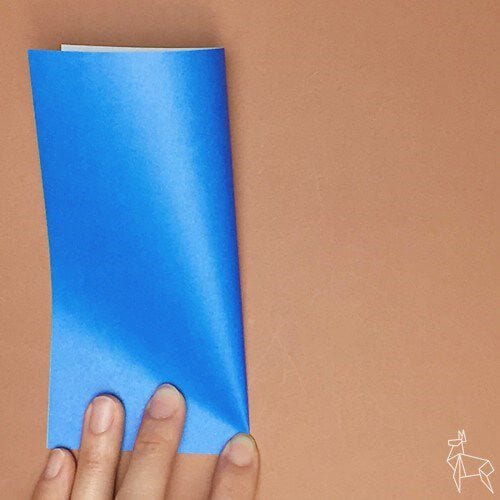
Step 2: Make a crease along the dotted line so that the right edge matches the crease.
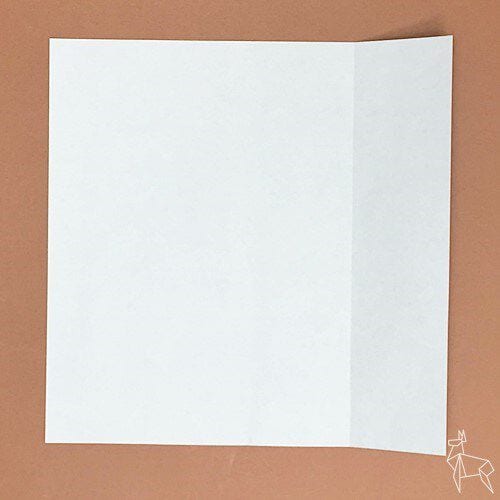
Step 3: Cut it off with scissors along the crease you just made.
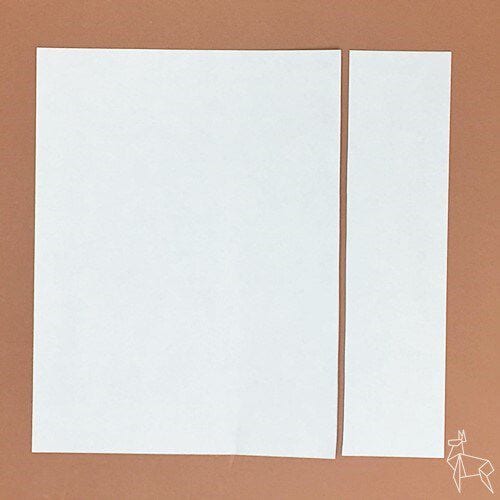
Step 4: Place the color of the finished work on the one line behind the crane with the color you want to appear on top, halve it along the dotted line, and make a crease.
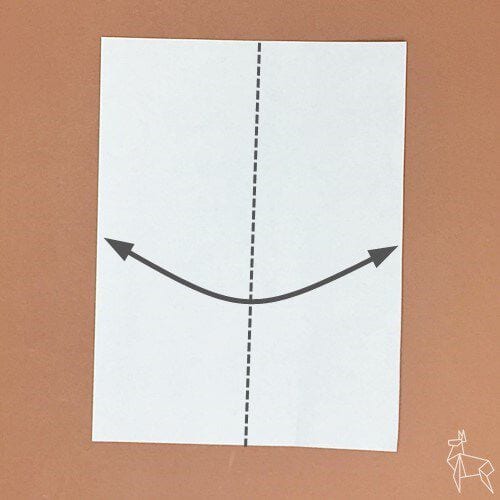
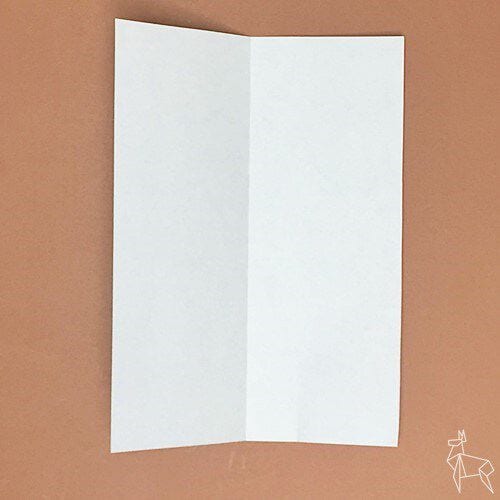
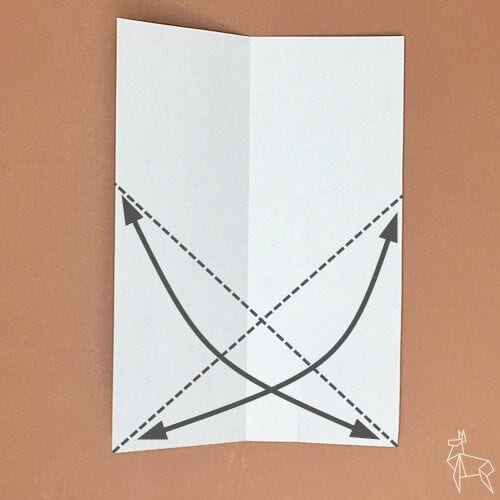
Step 5: Make a crease along the dotted line so that the bottom edge is aligned with the left and right edges.
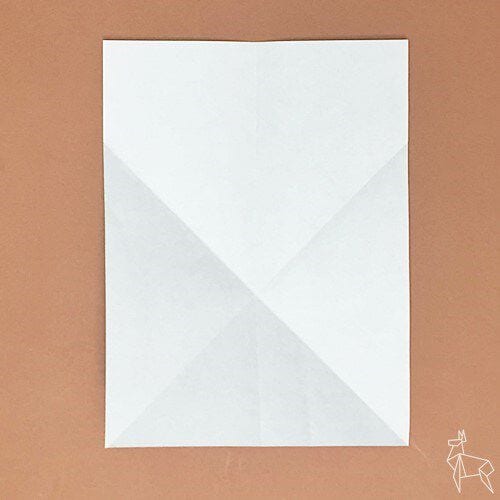
Step 6: Turn it over.
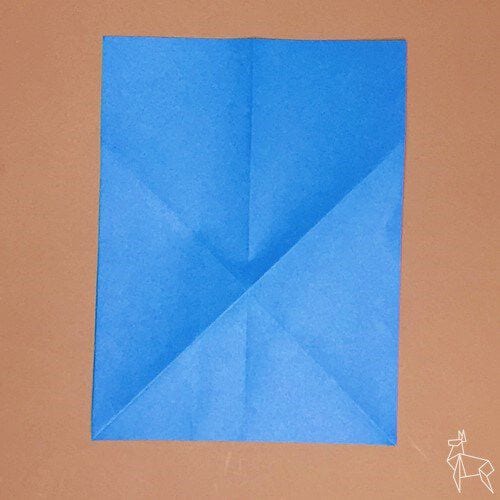
Step 7: Make a crease along the dotted line so that the creases are aligned with each other.
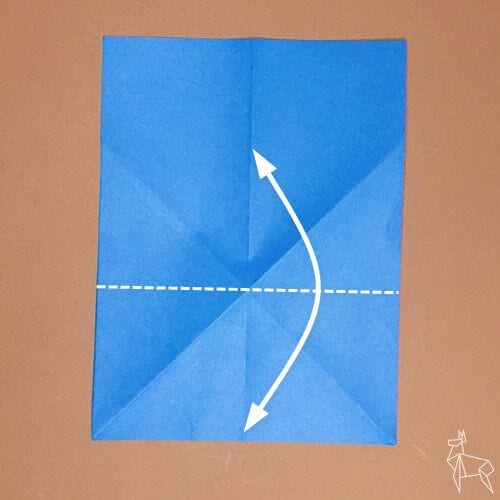
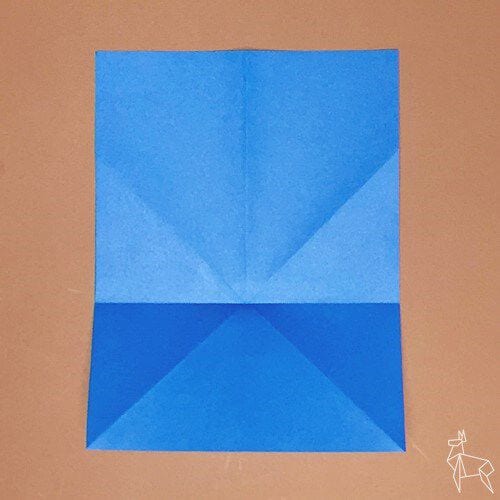
Step 8: Turn it over again.
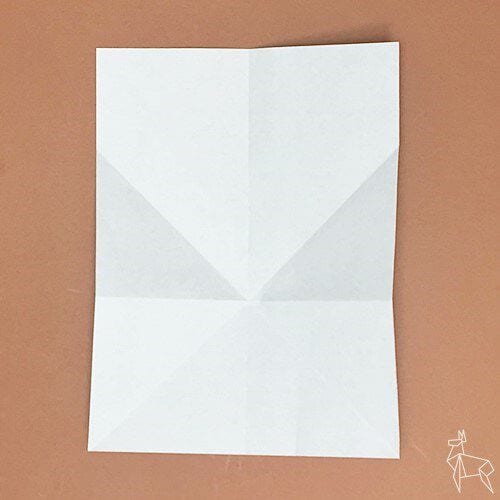
Step 9: Fold along the creases.
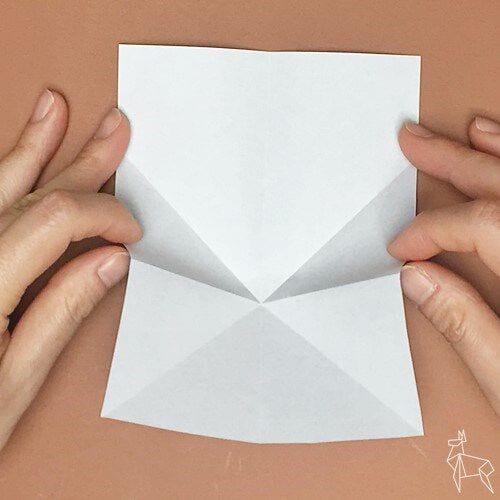
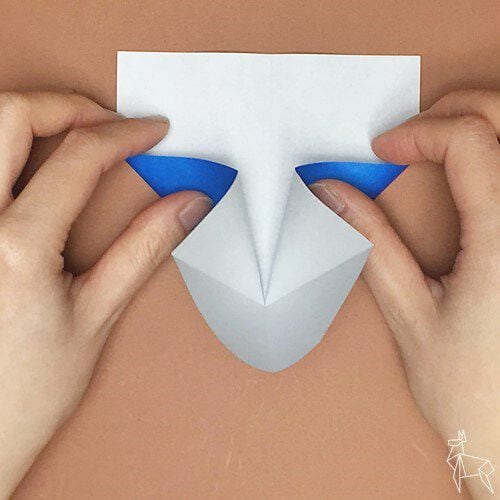
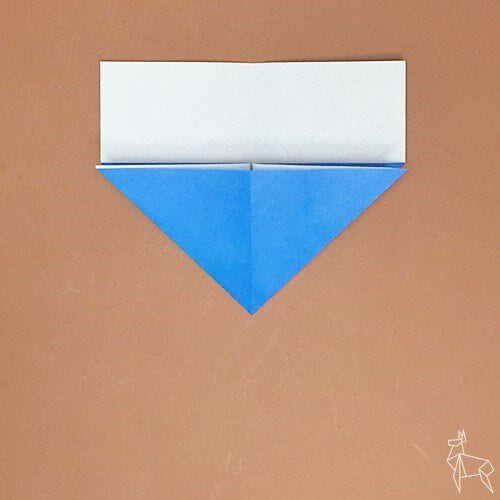
Step 10: Turn over one sheet and make a crease along the dotted line.
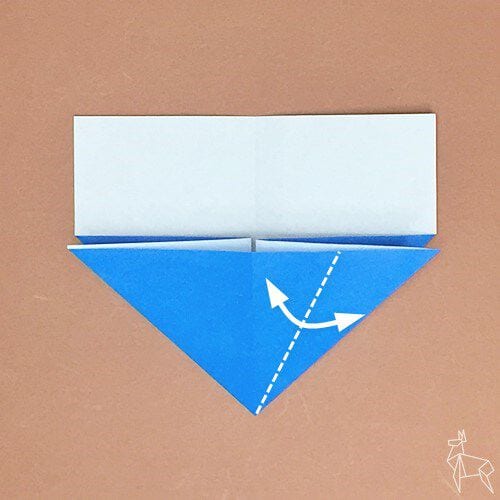
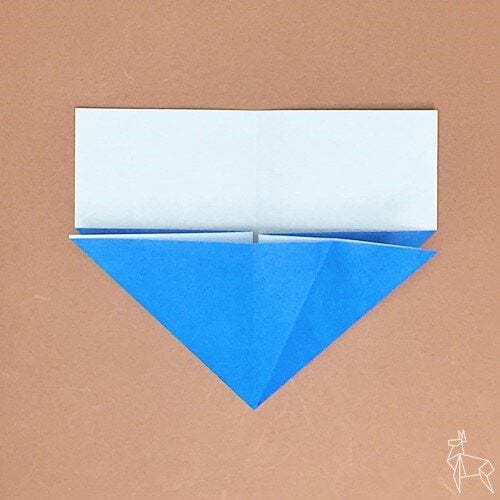
Step 11: Open the corners along the creases and fold them to crush them.
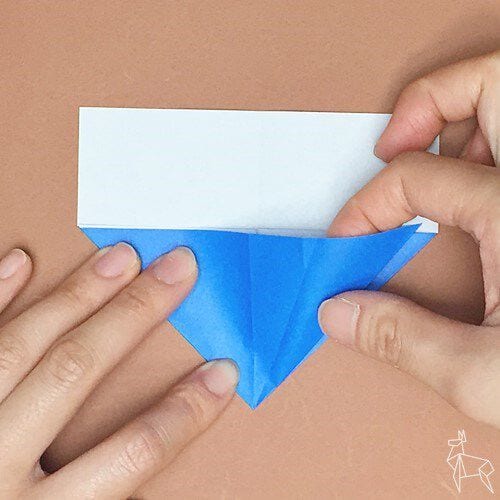
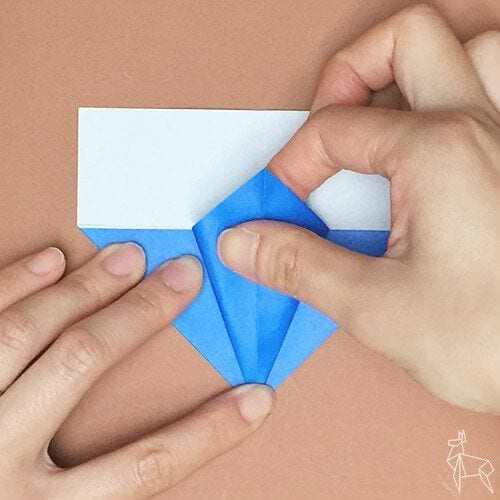
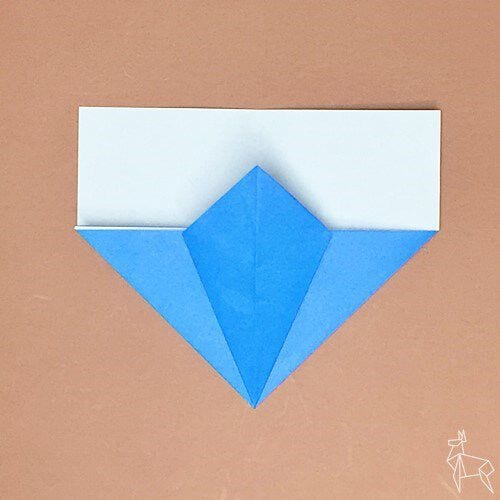
Step 12: Turn from right to left.
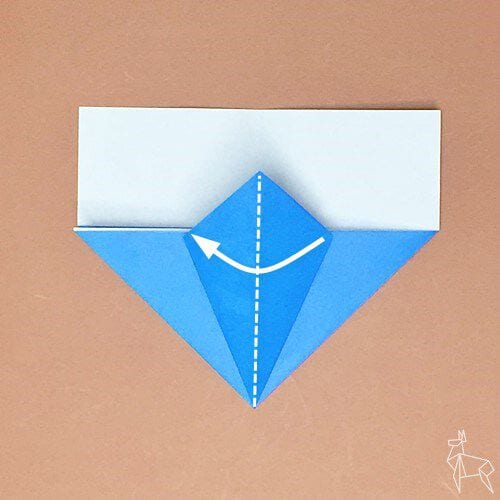
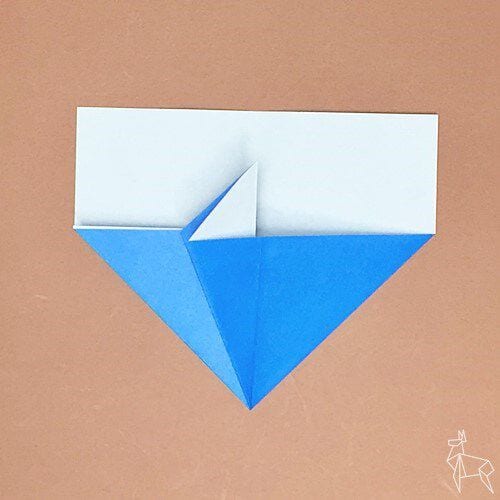
Step 13: Make a crease along the dotted line.
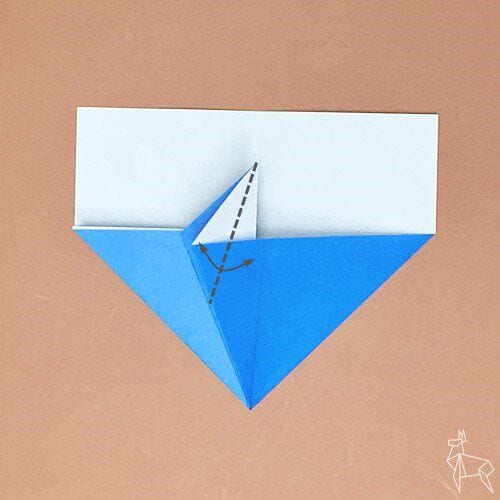
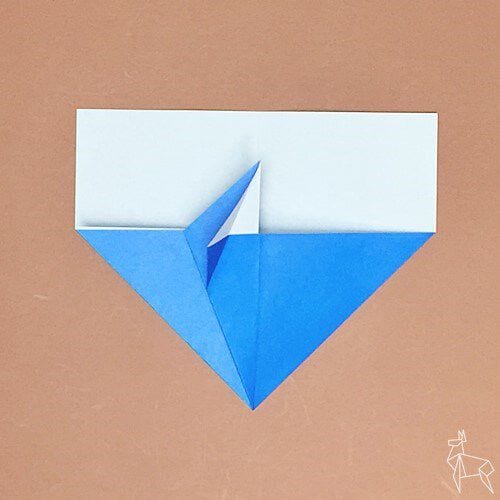
Step 14: Fold the corners inward along the creases (half fold ) .
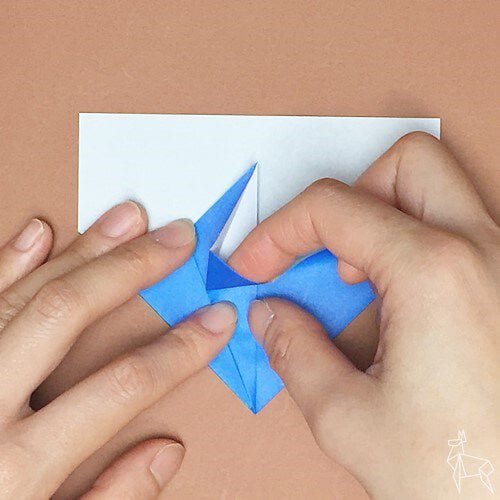
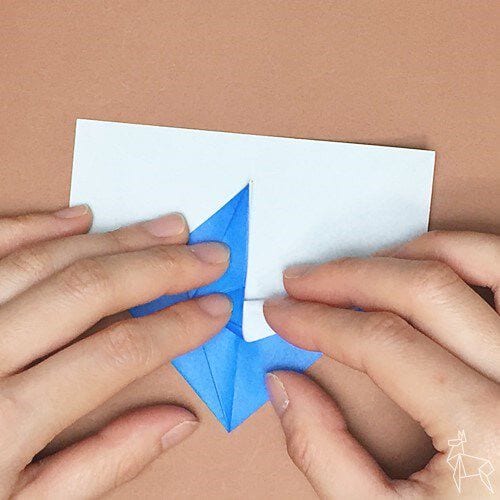
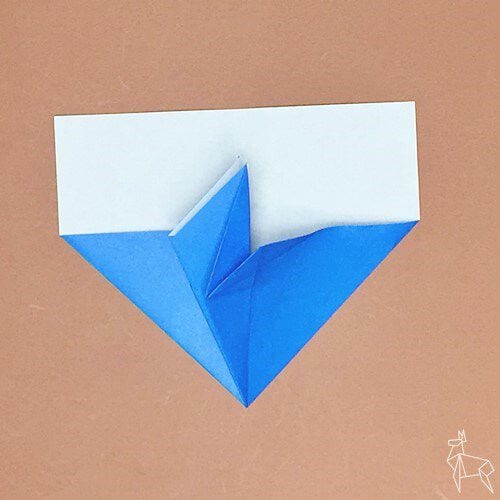
Step 15: Turn two sheets from left to right .
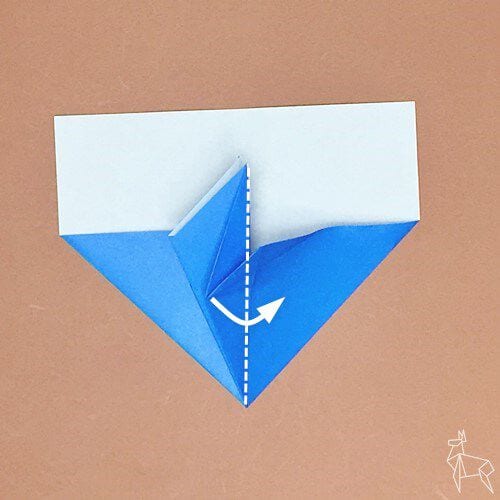
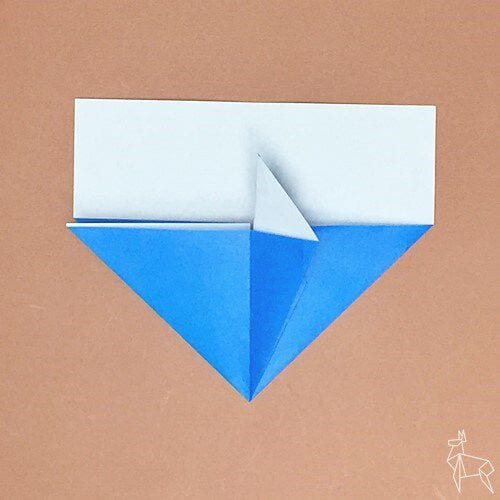
Step 16: Turn over one sheet and make a crease along the dotted line.
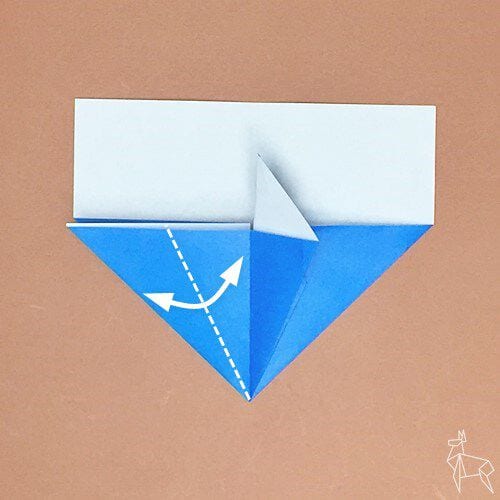
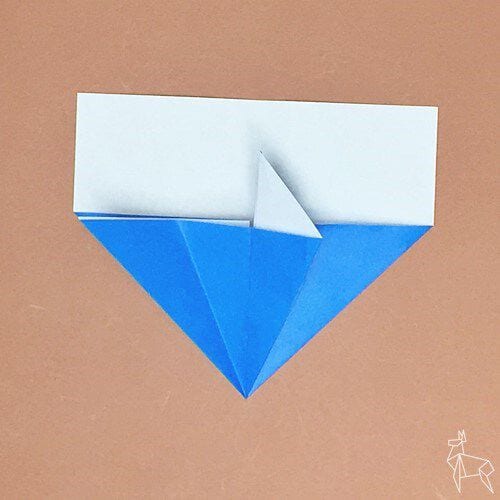
Step 17: Fold it along the creases to open the corners and crush it.
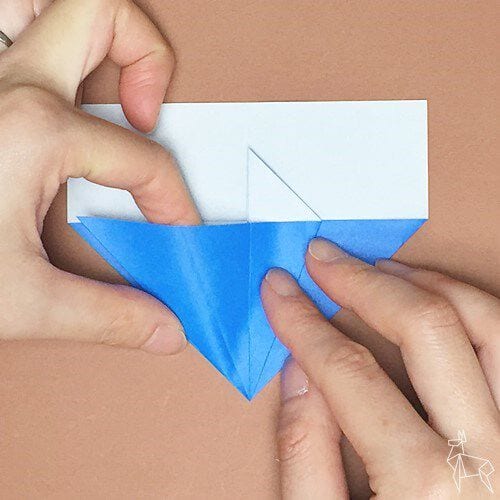
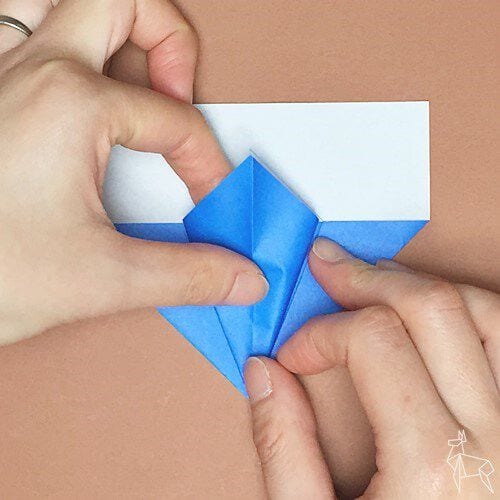
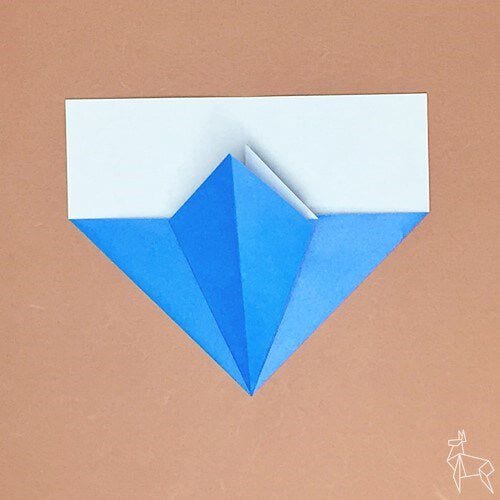
Step 18: Turn one sheet.
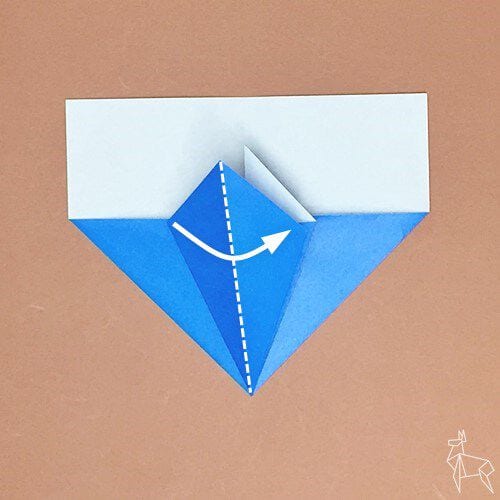
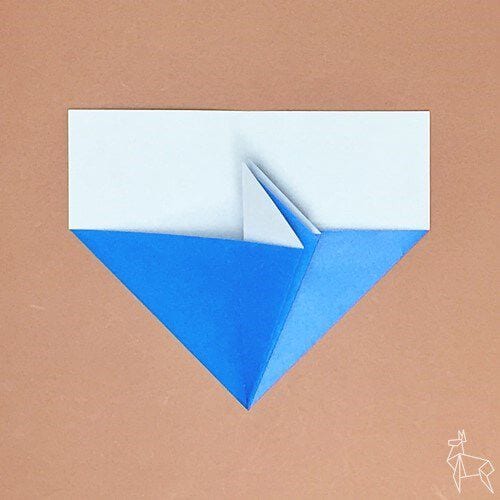
Step 19: Make a crease along the dotted line.
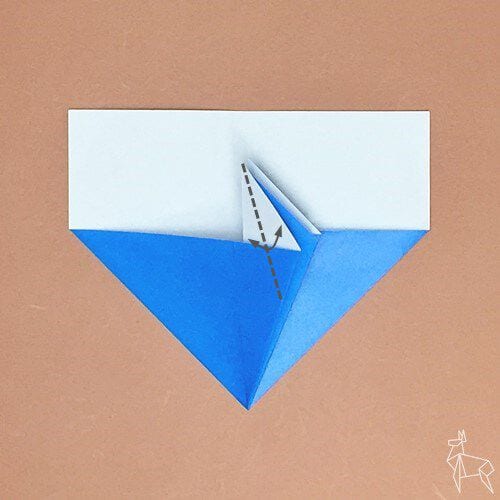
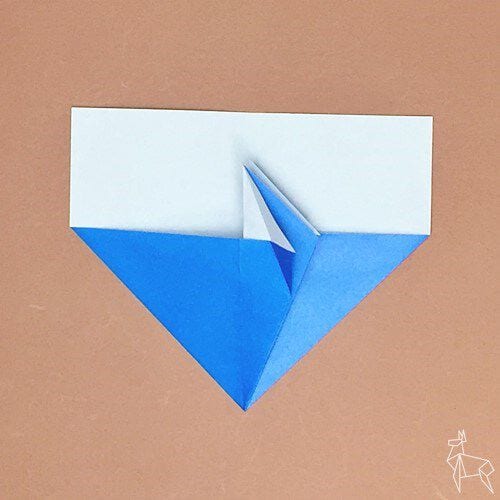
Step 20: Fold the corners inward along the creases (half fold ) .
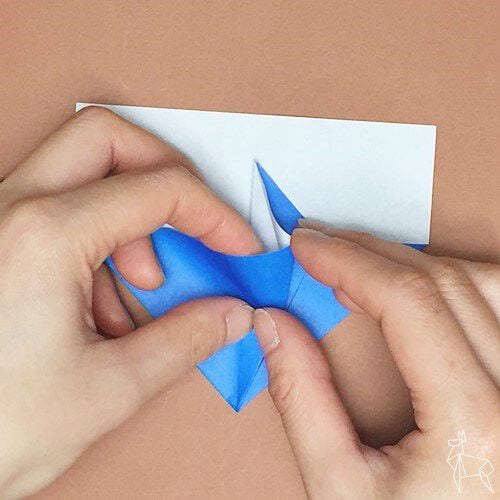
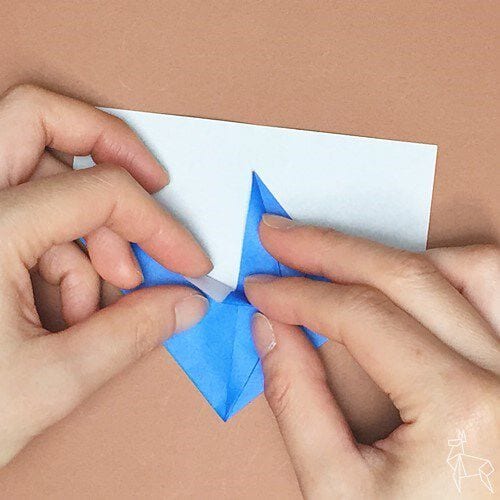
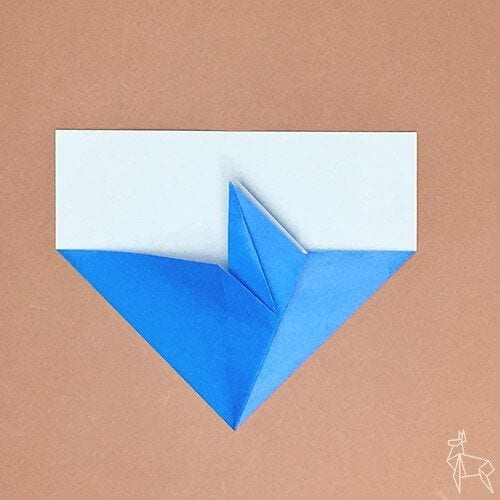
Step 21: Turn two sheets from right to left .
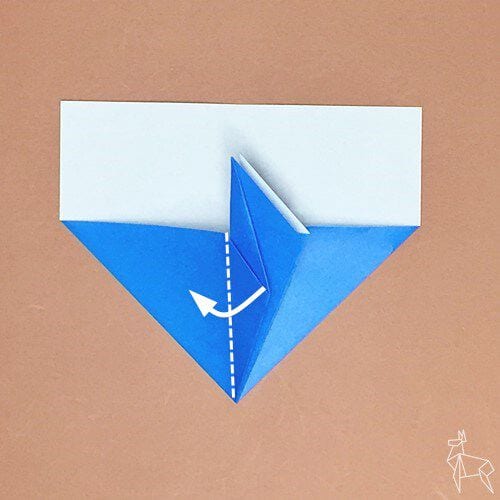
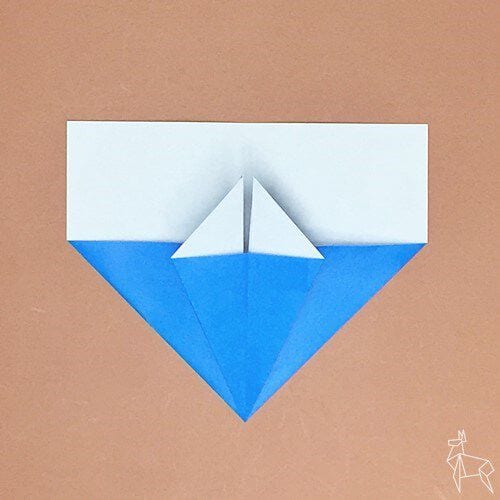
Step 22: Make a crease along the dotted line.
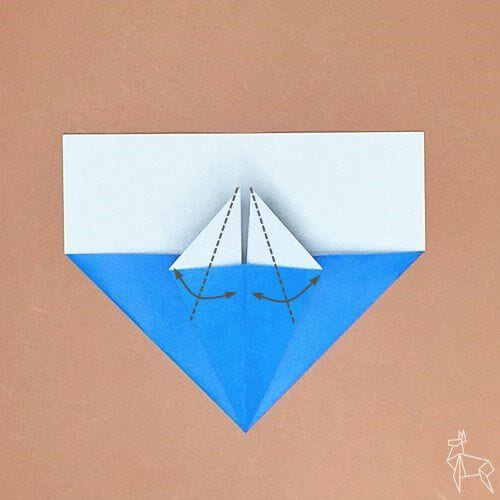
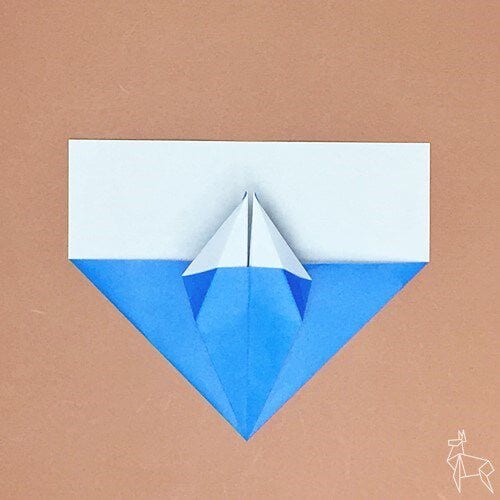
Step 23: Open the corners along the creases and fold them to crush them.
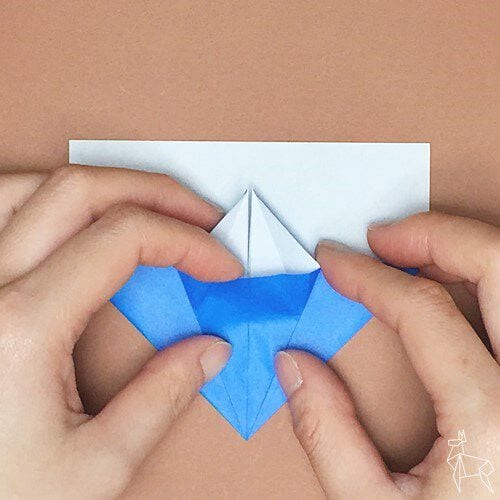
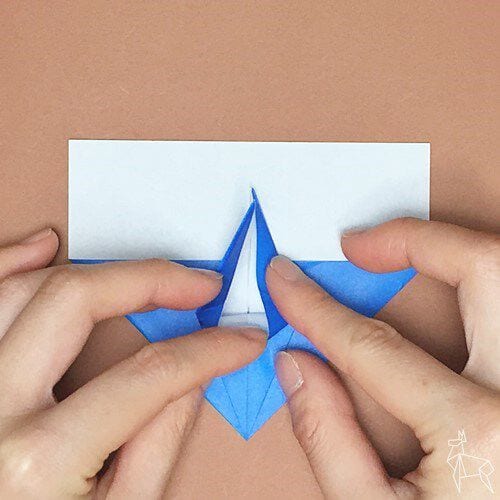
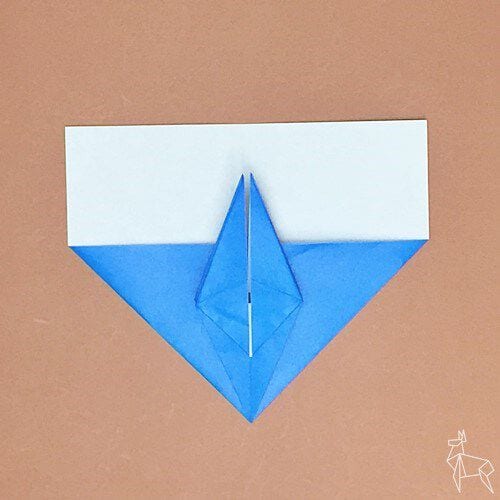
Step 24: Fold it along the dotted line.
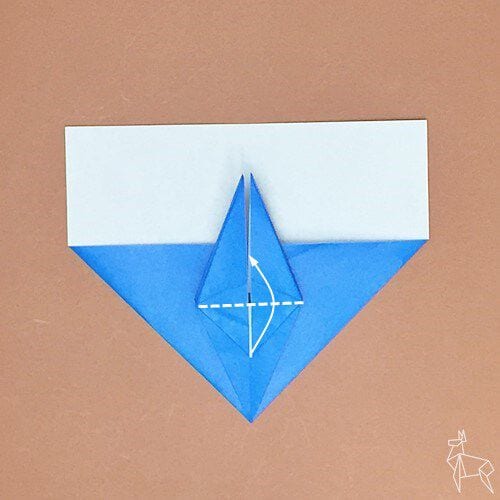
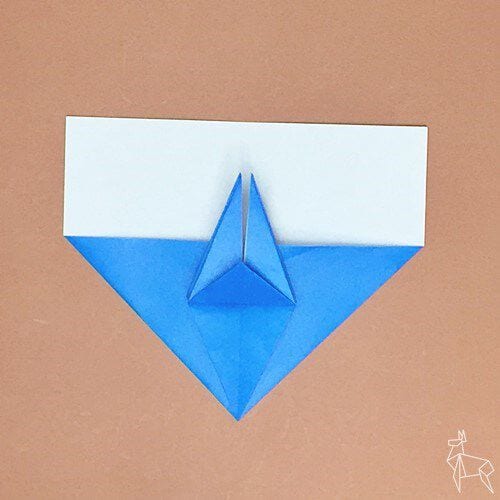
Step 25: Turn it over.
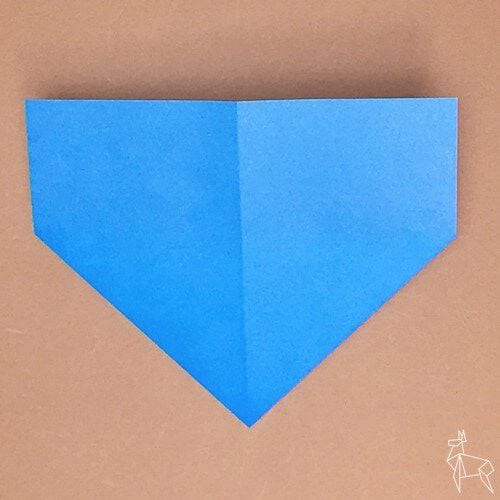
Step 26: Fold the top edge a little.
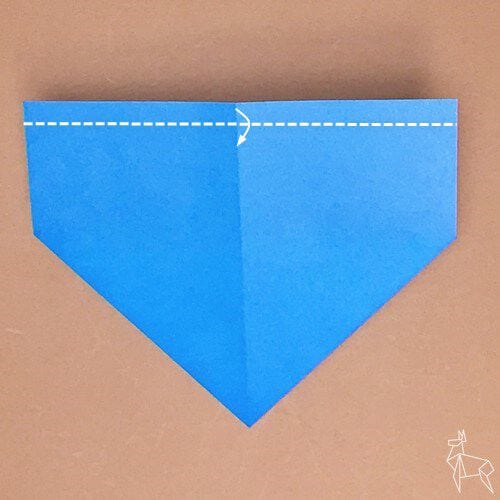
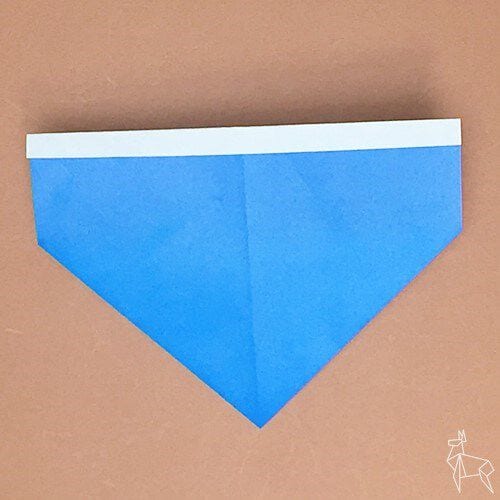
Step 27: Turn it over again.
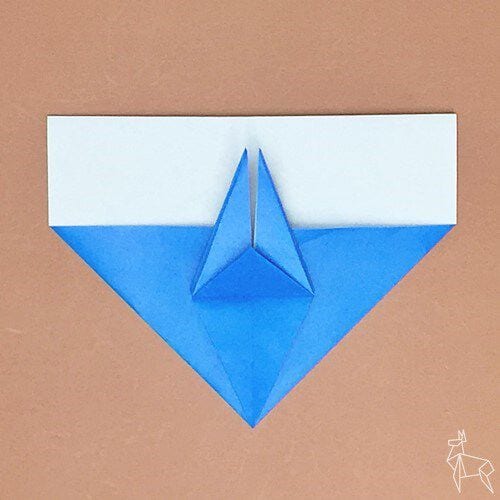
Step 28: Fold it along the dotted line through the back of the crane.
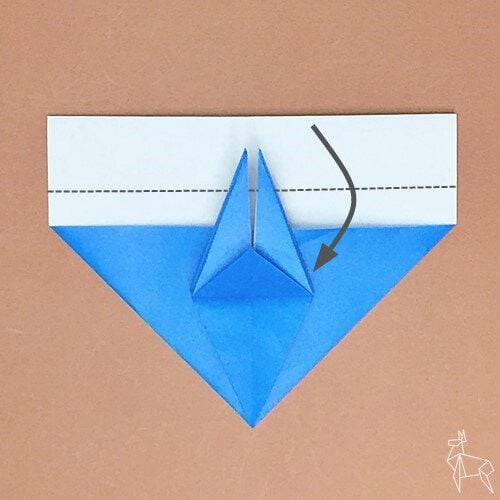
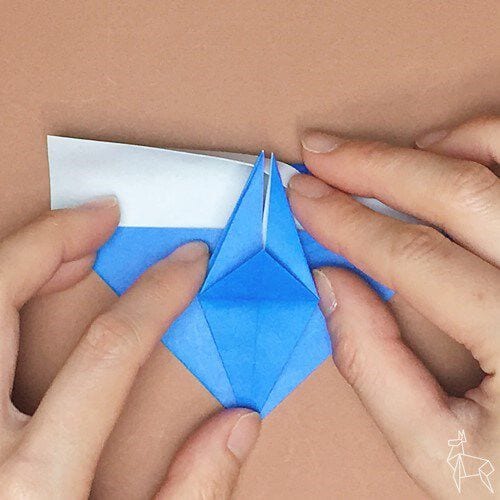
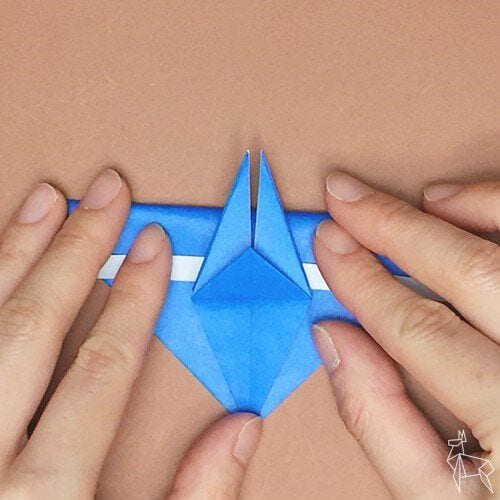
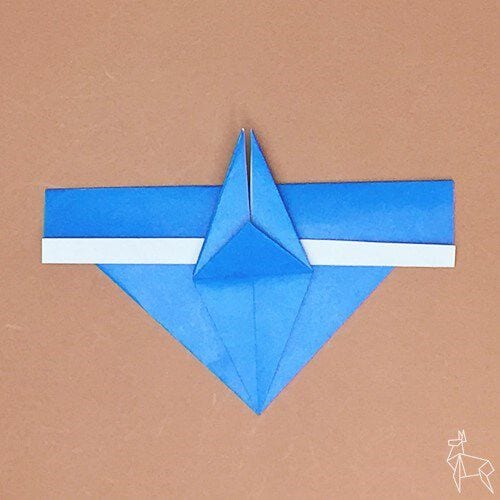
Step 29: Make a crease along the dotted line.
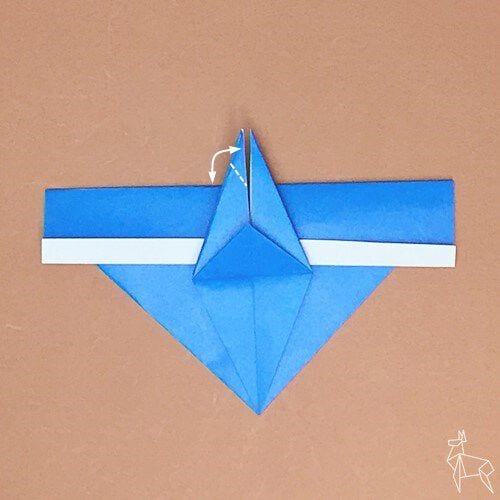
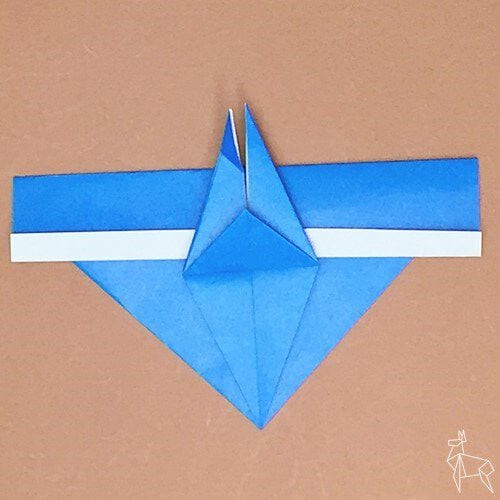
Step 30: Fold the corners inward along the creases (half fold ) .
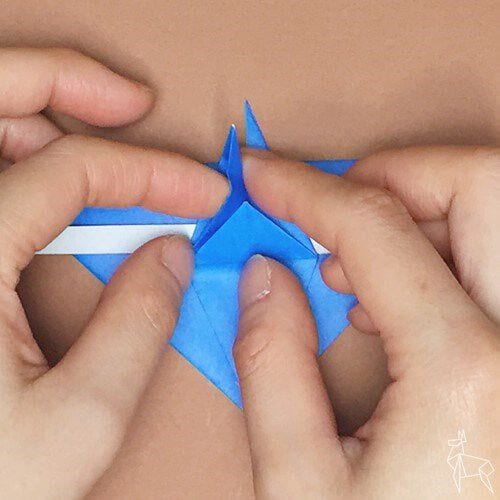
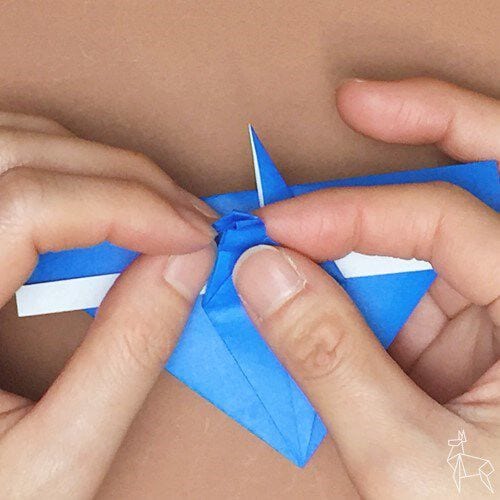
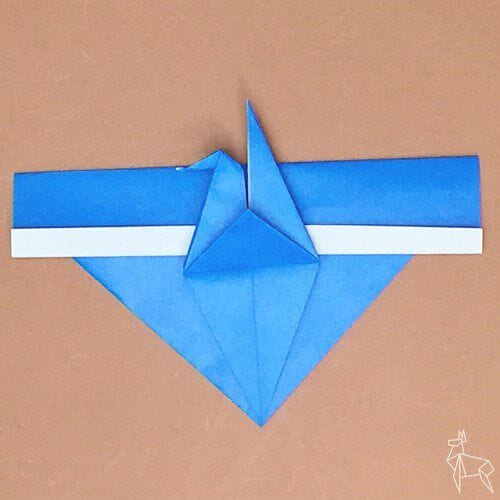
Step 31: Turn it over.
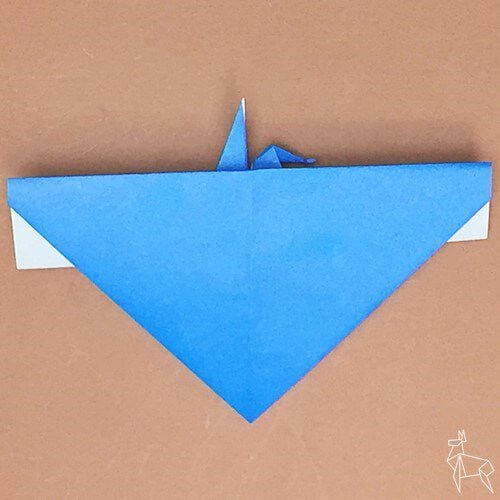
Step 32: Fold it along the dotted line.
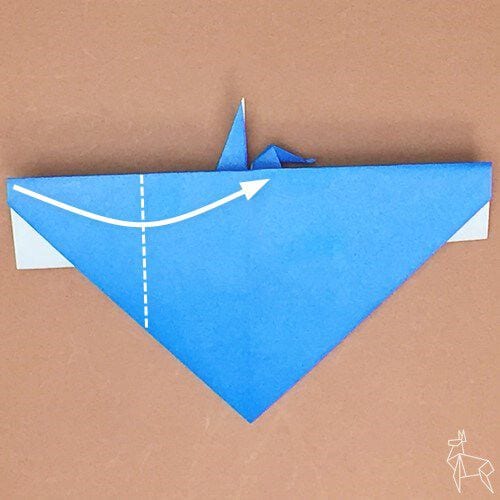
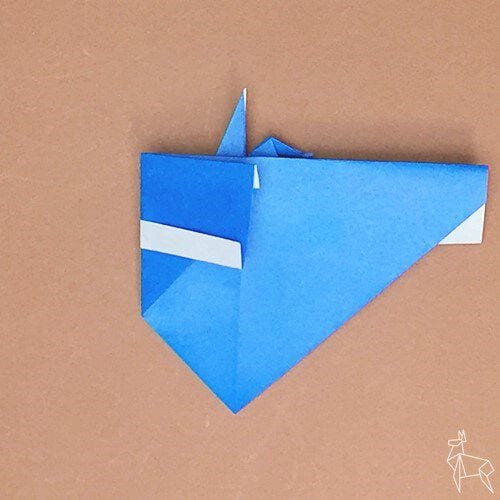
Step 33: Fold the other side in the same way, and put the overlapping part in the gap.
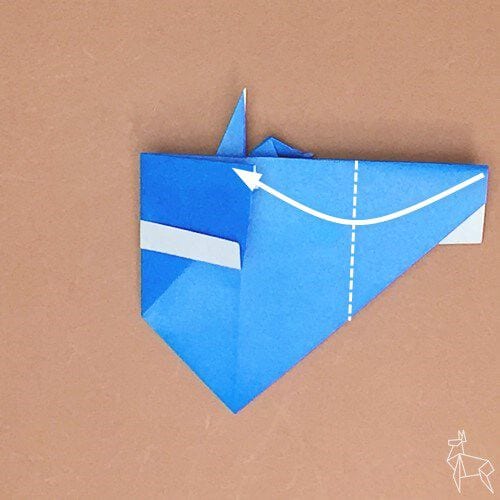
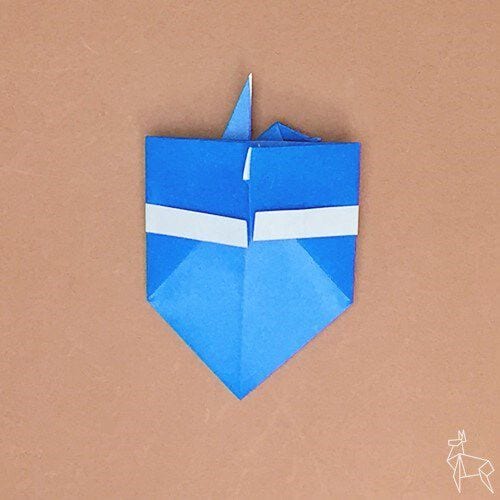
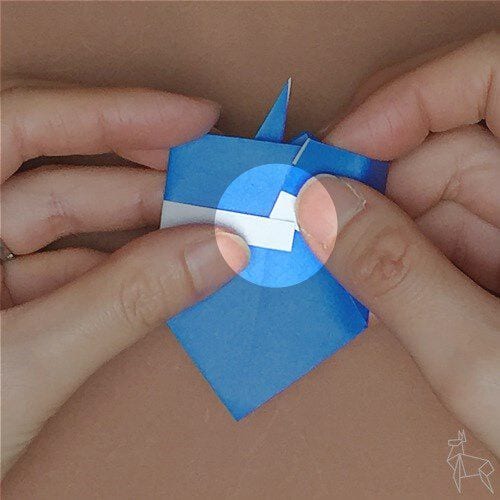
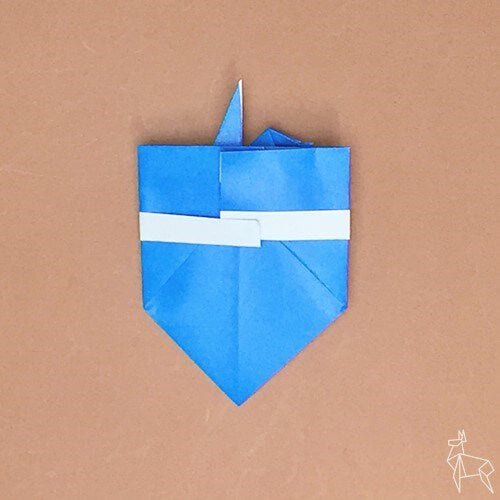
Step 34: Turn it over and you have a crane bag.




