
Calyx Origami Base With Six Sepals
Before a paper flower can truly bloom, it needs a quiet little cup to sit in — the green collar that cradles the petals. In origami, that collar is called a calyx, and the neatest way to fold one with six sepals is this calyx origami base. The tutorial starts with an ordinary square sheet, transforms it into a regular hexagon, and then guides you through a crease pattern that gradually turns a star into a cup.
Don't let the crease pattern (CP) intimidate you — the first half of the fold is just a rhythm you repeat on three sides of the paper, so once you have done it one time, you know the whole song. The payoff comes when you open the paper flat and collapse it along the existing creases into a tidy, three-dimensional base that stands up on its own. All you need is a square of paper and a little patience.
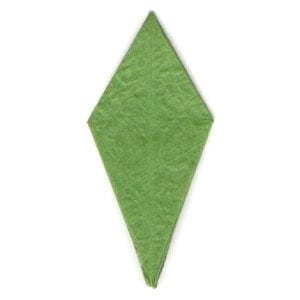
This page is for those who want instructions for folding a calyx origami base with six sepals.
As the name suggests, this base is needed when you fold a flower calyx of six sepals. Various kinds of calyx can be made from this base.
If you are ready, then let’s get started.
You may use any kind of paper to fold this base. It is a little easier if the front and back sides of the paper are slightly different, whether in texture or color.
Make sure the paper you use is a square (all sides are equal and all angles equal 90 degrees). The paper I am using here is a 15 cm x 15 cm square.
This is the front side of the paper. It is somewhat shinier compared to the back side.
This is the back side of the paper. Keep in mind that the front side is the shinier one.
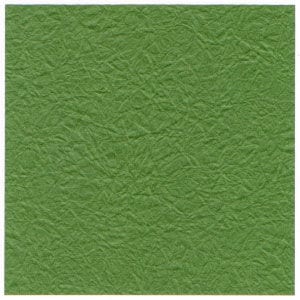
There is an instruction that teaches how to make a regular hexagon out of a square paper. You can easily get a regular hexagon by following it. This is the front side of the regular hexagon.
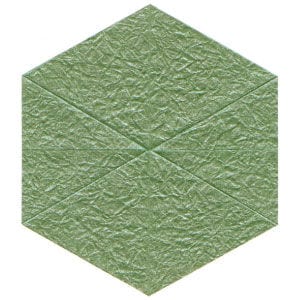
This is the back side of the regular hexagon.
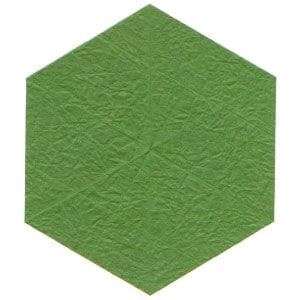
STEP 1.
Start with the back side of the hexagon facing up. Prepare to convert all the creases into either valley folds or mountain folds as shown on the left crease pattern (CP).
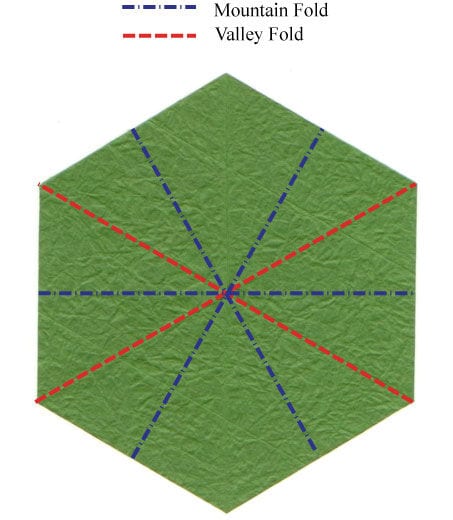
STEP 2.
Complete the conversion of the CP given in step 1. Prepare to press the model to make it flat.
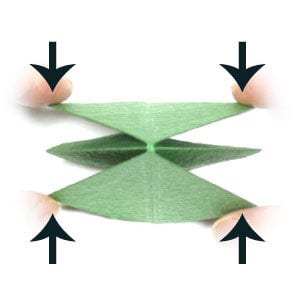
STEP 3.
Flatten the model. Prepare to rotate the origami star model by 90 degrees.
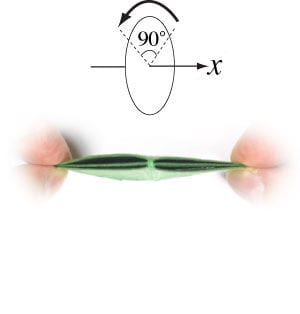
STEP 4.
Rotate the origami star model by 90 degrees. Prepare to apply a valley fold.
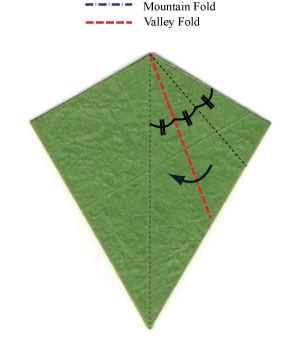
STEP 5.
Apply the valley fold of step 4. Prepare to apply a vertical valley fold.
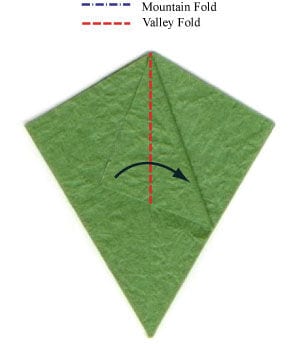
STEP 6.
Apply the vertical valley fold of step 5. Prepare to apply a valley fold.
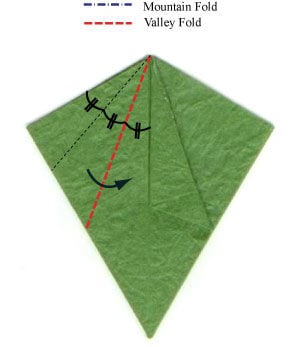
STEP 7.
Apply the valley fold of step 6. Prepare to apply a vertical valley fold.
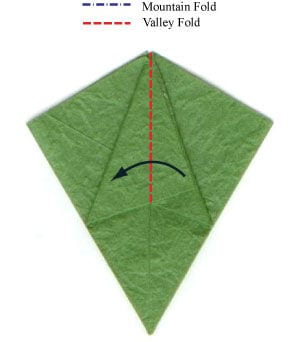
STEP 8.
Apply the vertical valley fold of step 7. You have now completed the folding work on the first side.
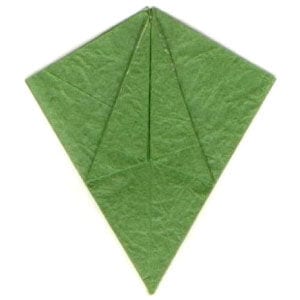
STEP 9.
Prepare to apply a vertical valley fold to work on the second side.
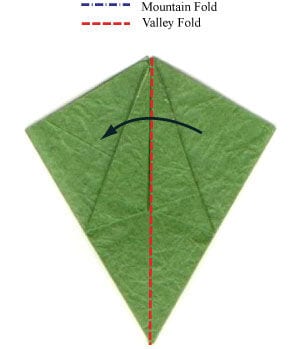
STEP 10.
Apply the vertical valley fold of step 9. Prepare to repeat steps 4-8.
STEP 11.
Repeat steps 4-8. Prepare to apply a vertical valley fold to work on the third side.
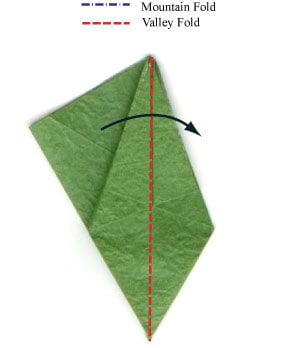
STEP 12.
Apply the vertical valley fold of step 11. Prepare to repeat steps 4-8.
STEP 13.
Repeat steps 4-8. Prepare to open the paper.
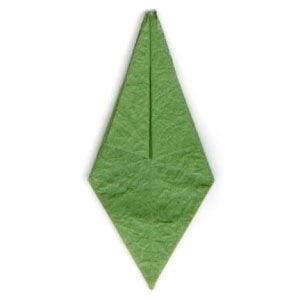
STEP 14.
Open the paper. Prepare to apply the crease pattern (CP) shown on the left.
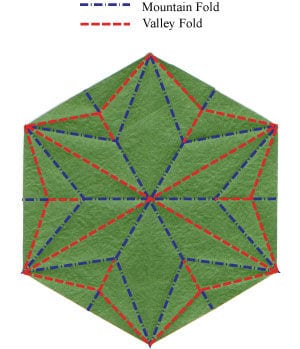
STEP 15.
Start applying the CP of step 14 by utilizing the existing crease lines.
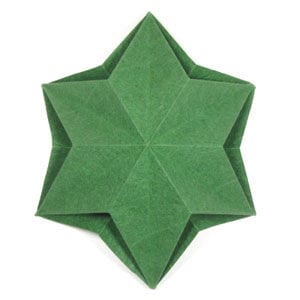
STEP 16.
Prepare to press the model following the arrow directions.
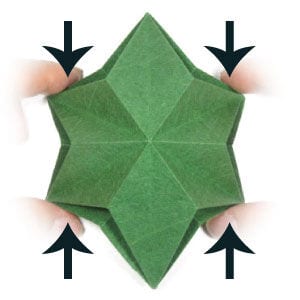
STEP 17.
Press the model following the arrow directions of step 16. Prepare to flatten the model following the arrow directions.
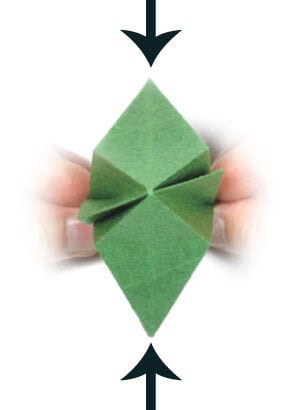
STEP 18.
Flatten the model following the arrow directions of step 17. Prepare to rotate the origami base model by 90 degrees.
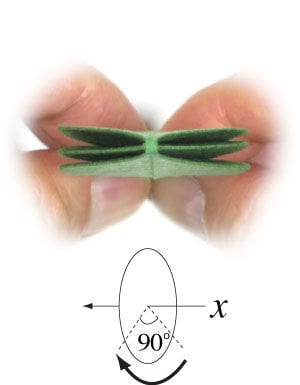
STEP 19.
Rotate the origami base model by 90 degrees. Congratulations! You have completed making a calyx origami base with six sepals.




