
Traditional Origami Wallet
A good origami wallet is all about clean, simple folds — and this traditional version is the easiest one you'll find. It's a practical little make, but the real lesson is the squash-fold, a technique you'll reuse in countless other models.
In this tutorial we work through 13 short steps: a series of valley and mountain folds build the structure, then you turn and repeat to finish the wallet shape. Grab any square paper — a two-tone sheet shows the folds beautifully — and let's fold.
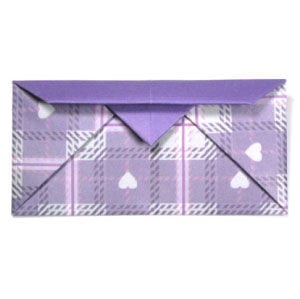
How to Fold a Traditional Origami Wallet
This traditional origami wallet is the easiest one you can make with classic folding techniques. One handy move you’ll learn from this model is the squash-fold — and its opening sequence is very similar to the easy origami house.
Are you ready? Let’s get started.
You can use any kind of paper. Here I’m using a 15 cm × 15 cm sheet that is a different color on the front and back.
This is the front side of the paper.
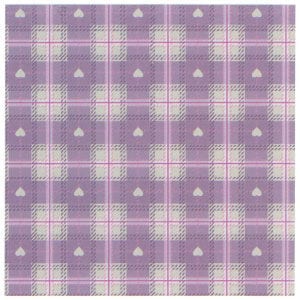
This is the back side.

STEP 1: Start with the back side of the paper facing up. Valley-fold the paper in half vertically, then unfold.

STEP 2: Valley-fold in half vertically as in step 1, then unfold. Apply a vertical gate-fold, then unfold.
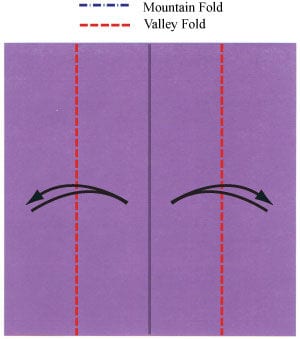
STEP 3: Apply the vertical gate-fold from step 2, then unfold. Valley-fold in half horizontally.
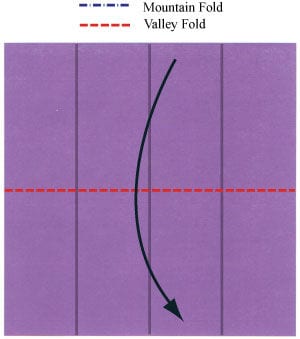
STEP 4: Valley-fold in half horizontally as in step 3. Apply two valley-folds, then unfold.
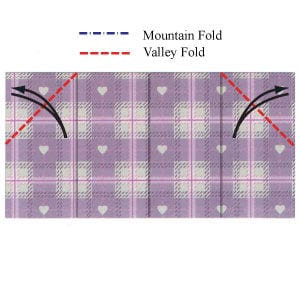
STEP 5: Apply the two valley-folds, then unfold. Apply two squash-folds.
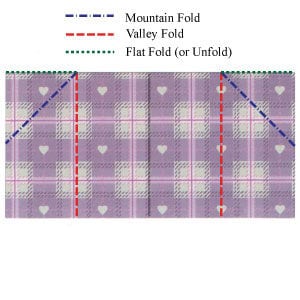
STEP 6: Apply the two squash-folds from step 5. Apply two vertical mountain-folds.
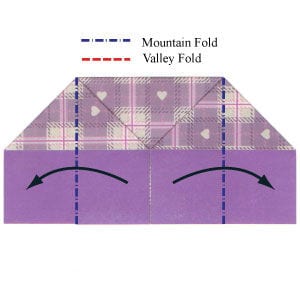
STEP 7: Apply the two vertical mountain-folds from step 6. Apply two valley-folds.
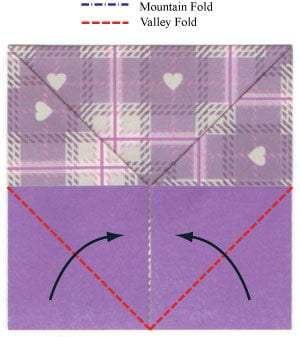
STEP 8: Apply the two valley-folds from step 7. Apply a horizontal valley-fold.
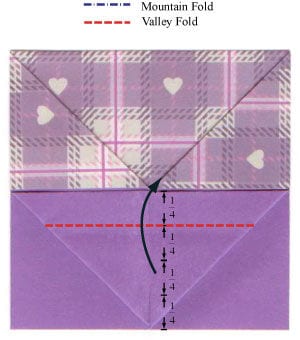
STEP 9: Apply the horizontal valley-fold from step 8. Apply another horizontal valley-fold.
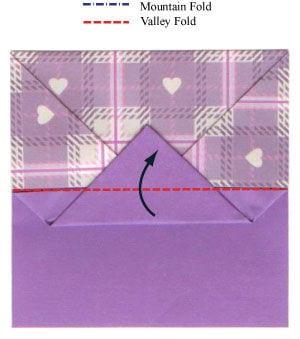
STEP 10: Apply the horizontal valley-fold from step 9. Turn the wallet model over.
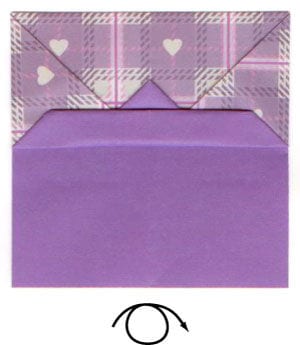
STEP 11: Turn the wallet model over. Repeat steps 7–10.
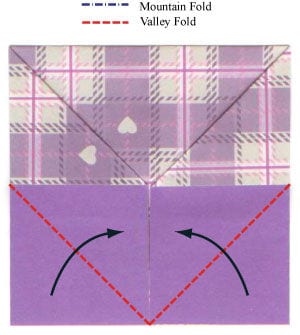
STEP 12: Repeat steps 7–10. Rotate the model by 180 degrees.
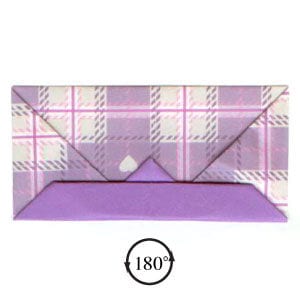
STEP 13: Rotate the model by 180 degrees. Congratulations — you’ve completed your traditional origami wallet!




