
Origami sink fold
If you have ever followed an origami diagram and hit a symbol you did not recognize, it was probably the sink fold. It looks intimidating - a broad arrow and a dashed mountain line - but it is actually just three simple moves: crease, mountain fold, push in.
In this tutorial I will walk you through the whole thing in four steps, with a photo for each one. By the end, that mysterious symbol will be old news. Grab a square of paper and let's fold.

Learn how to make a sink fold. You will see this symbol in many origami instructions, so mastering it is key to finishing those models. The origami sink fold is shown with a broad arrow and a mountain fold line: the arrow means “push in”, and the line shows where the fold happens.
Step 1
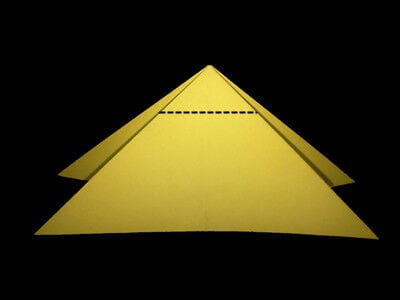
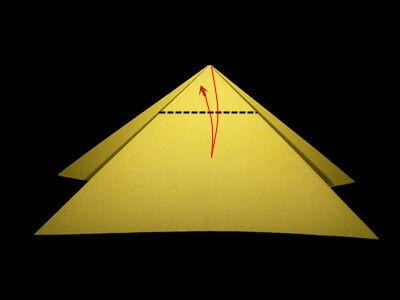
Make a crease by folding the top corner down along the dotted line.
Step 2
Looking down from the top, you will see a small square. Make mountain folds on all four sides of the small square.

Step 3
Push down on the top corner of the paper until the tip sinks between the layers.

Step 4
The origami sink fold is done.




