Origami Lanterns
Paper lanterns are one of those crafts that feel instantly festive — and the good news is you don't need any fancy materials to make them. This tutorial walks you through two versions, both starting from ordinary origami paper. The first is the quick classic: fold, slice a few even cuts, open, and glue into a glowing cylinder. The second builds a sturdier lantern from a few trimmed strips and a handful of clever folds.
Neither one takes long, and because the steps are shown with clear photos, you can follow along even on your first try. Grab some paper, a pair of scissors, and a bit of glue, and in a few minutes you'll have a charming little lantern — make a few in different colors and you've got a whole festive garland.
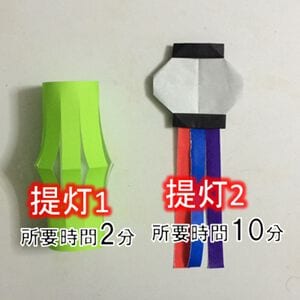
Introducing how to make two types of origami lanterns.
Both are easy to make, and if you fold them carefully, you can make them look good.
↓ Click to scroll.


How to make lantern 1

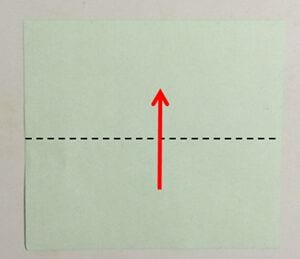
STEP 1. Fold it in half.
STEP 2. Make cuts at regular intervals, leaving a gap of about 1 cm from the top.
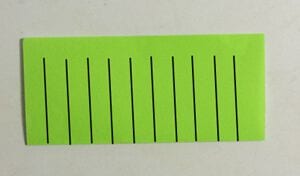

STEP 3. Open the folded part.
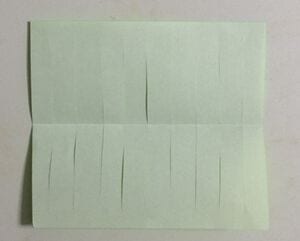
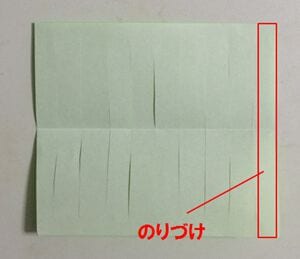
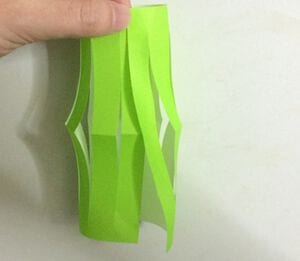
STEP 4. Apply glue to the end and stick it to the other end to complete.

How to make lantern 2
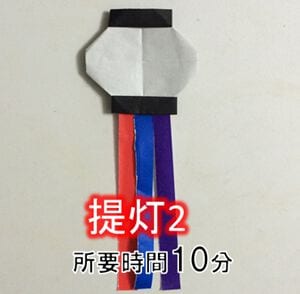
Use 4 sheets of origami paper.

Cut 3 of the sheets into rectangles measuring 1 cm × 15 cm.

STEP 1. Fold it in half vertically and horizontally as shown to make a crease.

STEP 2. Fold the top and bottom edges to the center crease and make a crease.
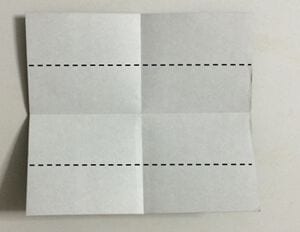

STEP 3. Fold the top and bottom edges around 1/3 of the crease you just made.
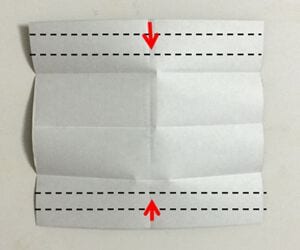
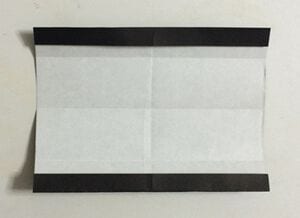
STEP 4. Turn it over and fold it so that the left and right edges are aligned with the center crease.
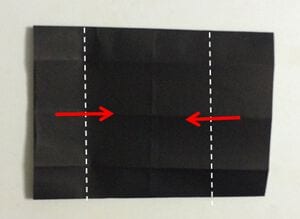
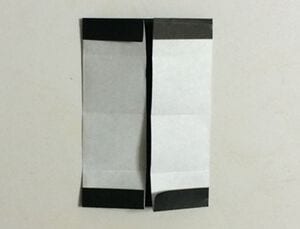
STEP 5. Turn it over again and fold it up and down along the creases.
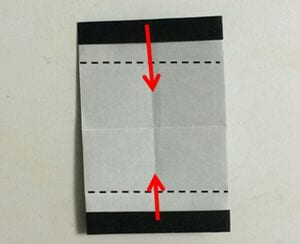
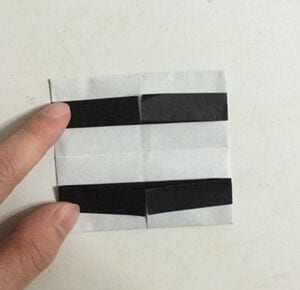
STEP 6. Fold it along the black edge.
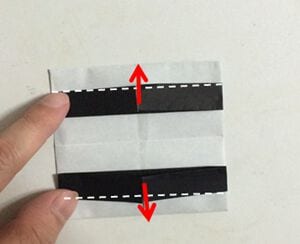
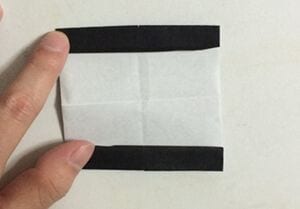
STEP 7. Turn it over and fold the square diagonally.
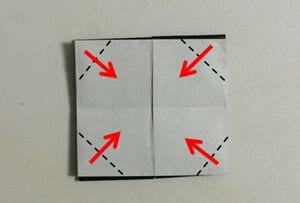

STEP 8. Fold it as shown.
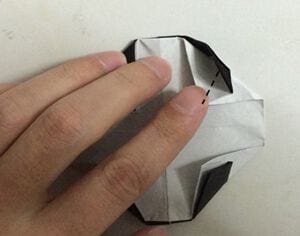

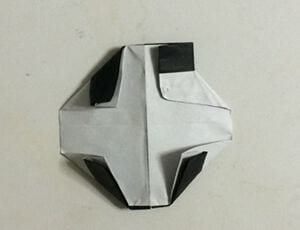
STEP 9. Fold the other corners in the same way and turn them over.
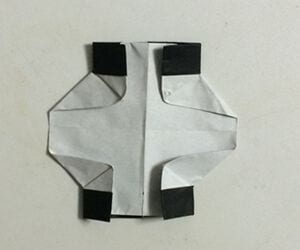
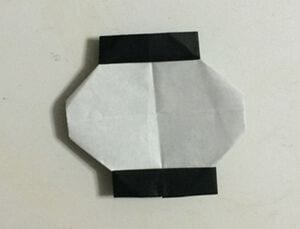
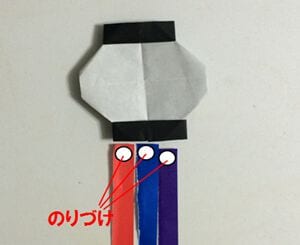
The lantern is finished by gluing a strip of colored origami to the back.