How to Fold an Origami Lucky Star (Step-by-Step Guide)
You have probably seen them somewhere before - a glass jar on a desk, packed tight with hundreds of tiny, puffy little stars in every color of the rainbow. Those are origami lucky stars, and almost nobody believes they are made from nothing but a single strip of paper until they fold one themselves.
What makes this model so charming is the surprise at the end. For most of the folding you are just wrapping a strip around and around a small pentagon, layer after layer, and the result looks like a flat, slightly boring coin. Then you press the middle of each side with your thumbnail, the whole thing puffs up in your hand, and suddenly there is a fat little star sitting on your palm. It feels a bit like a magic trick.
Take a strip, put on something mindless to listen to, and fold a few. One star takes a minute or two; a jar full of them is an evening well spent, and every single one is a wish you can hand to somebody.
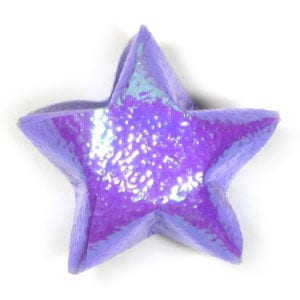
This page is for anyone who wants clear instructions for folding an origami lucky star.
The origami lucky star is a very special model, because it starts from a long strip of paper instead of a square sheet. First you wrap the strip into a small pentagon with many layers, and at the end you pinch and puff those layers out until the flat pentagon becomes a plump five-pointed star.
It is said that every origami star carries a wish from you to someone you care about and love. Depending on how many stars you make, the little gift carries a different meaning.
This is the front side of the strip.
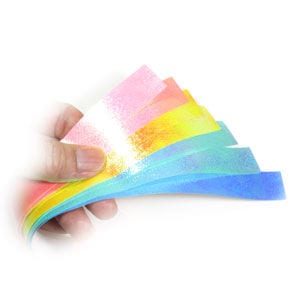
This is the back side of the strip. As you can see, the back side is not as shiny as the front side.

STEP 1.
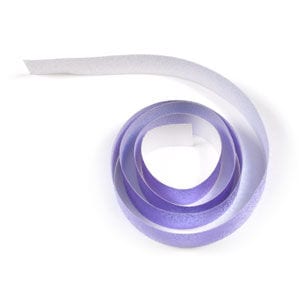
Let's prepare a strip of paper to work with.
STEP 2.
Hold one end of the strip.

STEP 3.
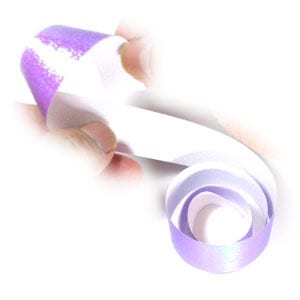
Bend the strip. Prepare to pull the strip down.
STEP 4.
Pull the strip down. Prepare to bend the strip following the arrow direction.
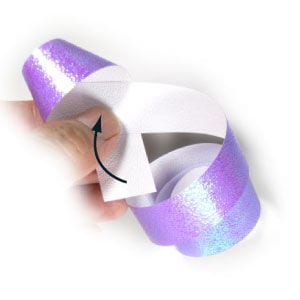
STEP 5.
Bend the strip following the arrow direction shown in step 4. Prepare to insert the end into the hole.

STEP 6.
Insert the end into the hole made in step 5. Prepare to hold the end of the strip.
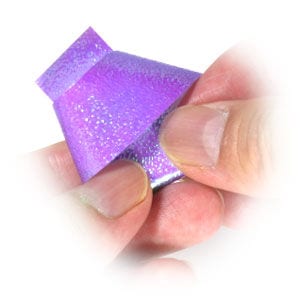
STEP 7.
Hold the end of the strip. Prepare to pull the strip following the arrow direction until the two gaps marked delta_1 and delta_2 close up.
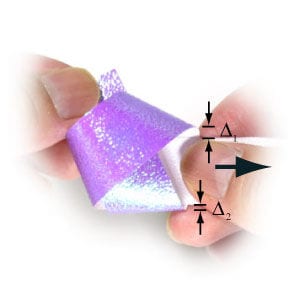
STEP 8.
Pull the strip following the arrow direction, as shown in step 7. Prepare to iron the edge circled with a dotted ellipse using your thumb.
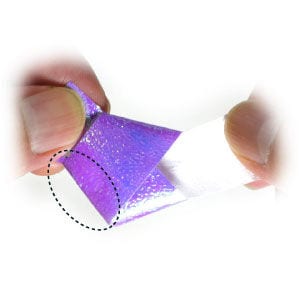
STEP 9.
Iron the edge circled with a dotted ellipse with your thumb, as shown in step 8. Prepare to iron the upper edge circled with a dotted ellipse with your thumb.
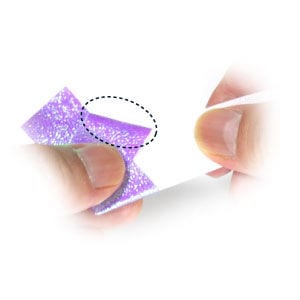
STEP 10.
Iron the upper edge circled with a dotted ellipse with your thumb, as shown in step 9. Prepare to iron the lower edge circled with a dotted ellipse with your thumb.
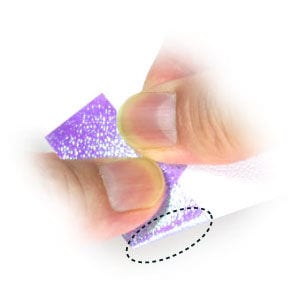
STEP 11.
Iron the lower edge circled with a dotted ellipse with your thumb, as shown in step 10.
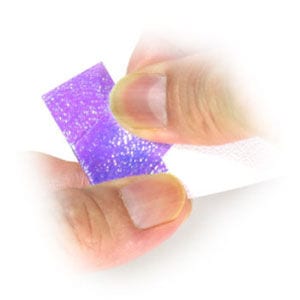
STEP 12.
Prepare to apply a mountain fold.
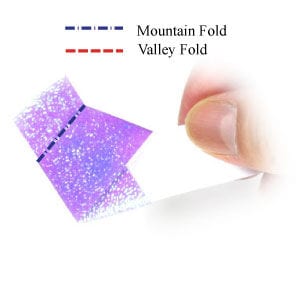
STEP 13.
Apply the mountain fold prepared in step 12. Now we will start wrapping this pentagon with many layers of the strip. At the moment the pentagon has three layers. Prepare to apply a valley fold.
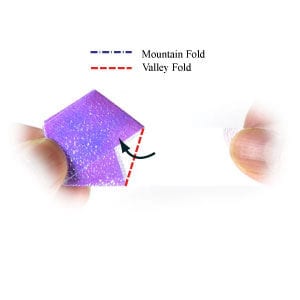
STEP 14.
Apply the valley fold of step 13. Now the pentagon has four layers. Prepare to apply a mountain fold.
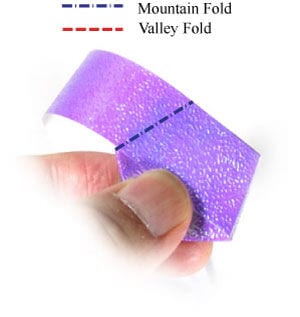
STEP 15.
Apply the mountain fold of step 14. The pentagon has five layers. Prepare to apply a valley fold.
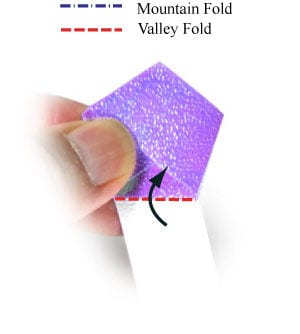
STEP 16.
Apply the valley fold of step 15. The pentagon has six layers. Prepare to apply a mountain fold.
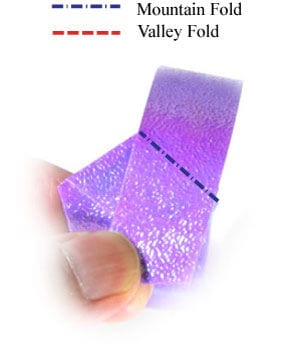
STEP 17.
Apply the mountain fold of step 16. The pentagon has seven layers. Prepare to apply a valley fold.
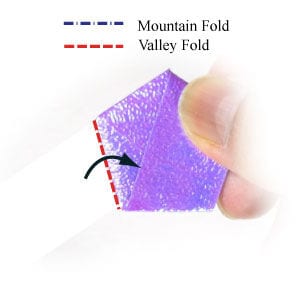
STEP 18.
Apply the valley fold of step 17. The pentagon has eight layers. Prepare to apply a mountain fold.
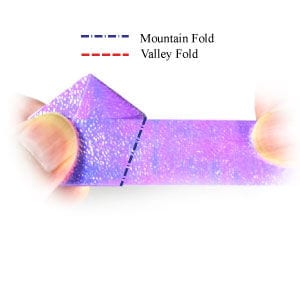
STEP 19.
Apply the mountain fold of step 18. The pentagon has ten layers. Prepare to apply a valley fold.
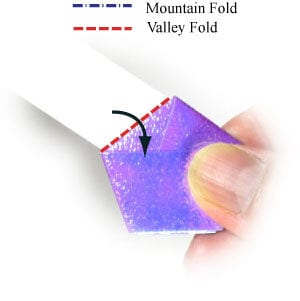
STEP 20.
Apply the valley fold of step 19. By now it is pretty obvious that we simply keep adding layers until the strip runs out by itself.
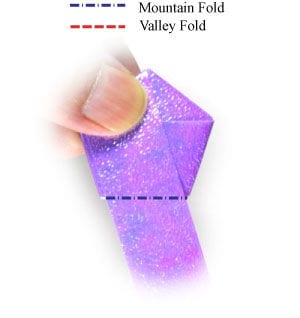
STEP 21.
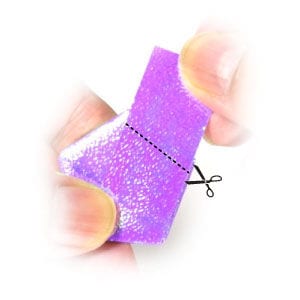
Keep repeating the valley folds and mountain folds until the strip runs out by itself. Prepare to cut the strip off along the dotted line.
STEP 22.
Cut the strip off along the dotted line shown in step 21.
STEP 23.
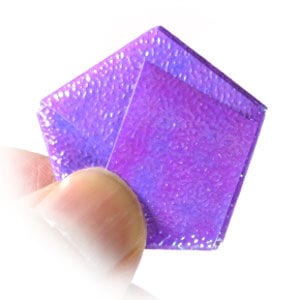
Prepare to tuck the end of the strip under the second layer.
STEP 24.
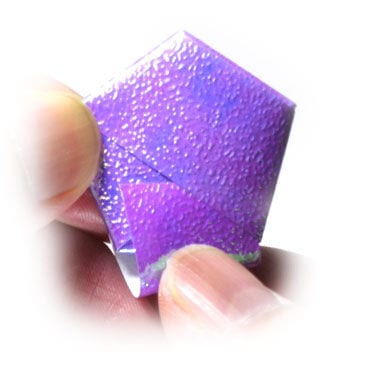
Tuck the end of the strip under the second layer. You have now completed the pentagon, which will be turned into a star.
STEP 25.
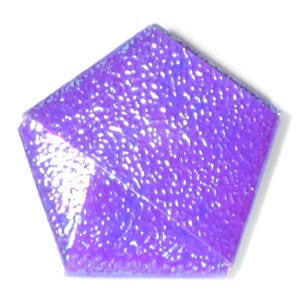
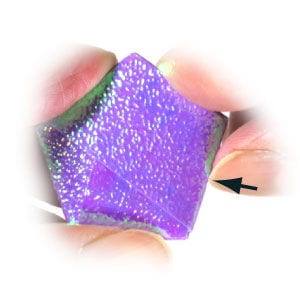
Prepare to press the middle of one pentagon side with your thumbnail, following the arrow direction toward the center.
STEP 26.
Firmly press the middle of the pentagon side with your thumbnail, as shown in step 25. Prepare to rotate the origami lucky star model by 72 degrees counter-clockwise.
STEP 27.
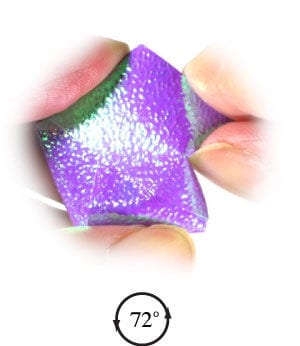
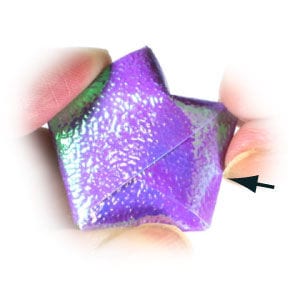
Rotate the origami lucky star model by 72 degrees counter-clockwise. Prepare to press the middle of the pentagon side with your thumbnail, following the arrow direction toward the center. This repeats step 25.
STEP 28.
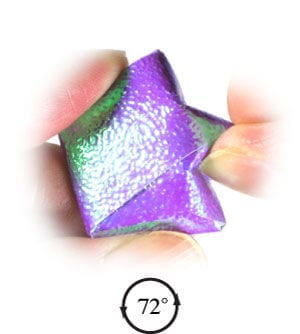
Firmly press the middle of the pentagon side with your thumbnail, as shown in step 27. Prepare to repeat steps 27 and 28 for the remaining three sides.
STEP 29.
Repeat steps 27 and 28 for the remaining three sides.
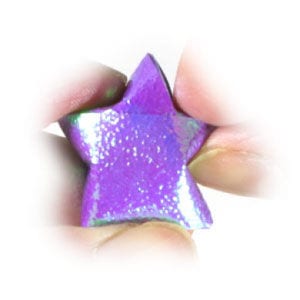
STEP 30.
Congratulations! You have now finished making an origami lucky star.
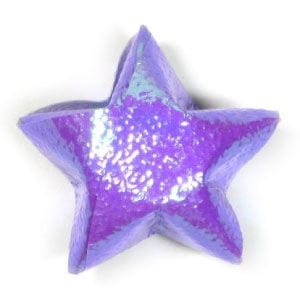
STEP 31.
You can make many origami lucky stars in different colors.