How to Fold an Origami Acorn (Easy Step-by-Step Guide)
Acorns are one of those shapes that instantly say autumn. A handful of them scattered on a table, tucked into a wreath or hung on a string garland brings a quiet, woodsy feel to a room, and they never wilt the way real leaves and flowers do.
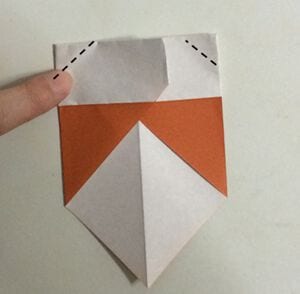
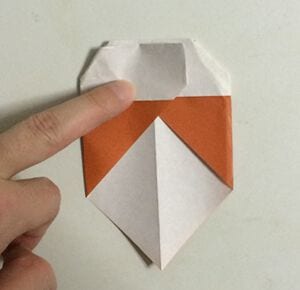
The fold itself is a pleasant little puzzle. Most of it is ordinary corner-to-center folding, and then comes the step where you crease along the dotted line and tuck the flap inside - that single move is what turns a flat, slightly shapeless packet into something that actually looks like a nut sitting in its cap.
Use brown or kraft paper for the nut and a slightly darker shade for the cap, fold a dozen while a pot of tea cools, and you will have a small pile of autumn in about twenty minutes.
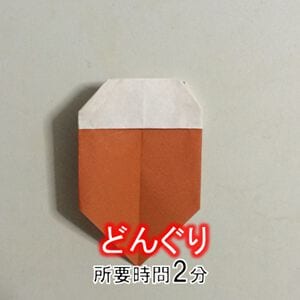
This page shows how to fold an origami acorn, explained with clear step-by-step photos.
The narrow tip of the model tears easily, so crease gently and follow the photos as you go.
How to fold an acorn
STEP 1. Make a crease along the diagonal.
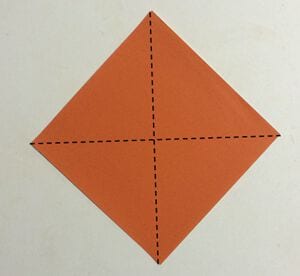
STEP 2. Fold the top corner down so that it meets the center.
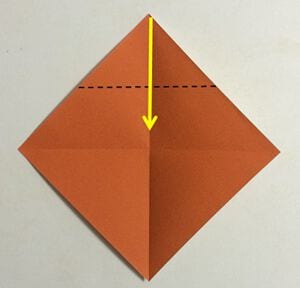

STEP 3. Fold the top edge down so that it meets the center.
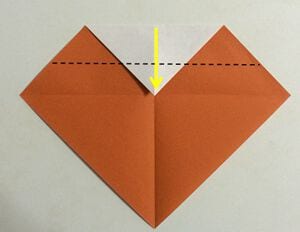
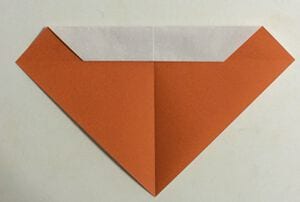
STEP 4. Fold the model in half along the center.
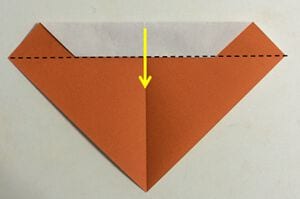
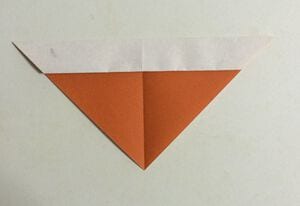
STEP 5. Turn the model over, divide the upper side into three equal parts, and fold the left and right corners.
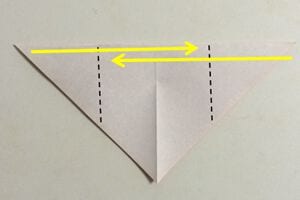
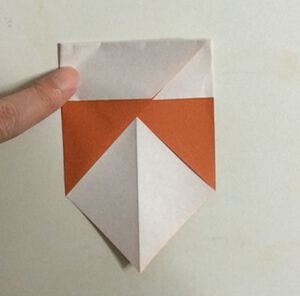
STEP 6. Fold the corners inward.
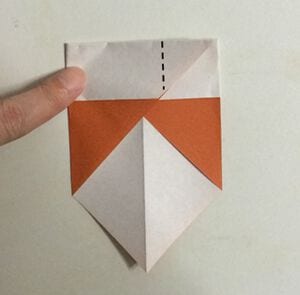
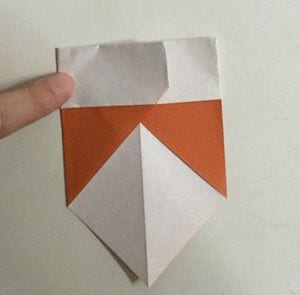
STEP 7. Crease along the dotted line, tuck the flap inside along that line, then turn the model over - your origami acorn is finished.