Glasses
Paper glasses sound impossible until you see them built from pieces, and that’s exactly the trick here. Rather than coaxing a single sheet into spectacles, you fold a batch of small identical units and snap them together into lenses and a frame — part fold, part puzzle. It’s a refreshing change of pace from the usual one-sheet models, and the final assembly is satisfying to click into place. Because the last bit of gluing is a little fiddly, it’s a lovely project for an adult and child to share. Finish it off with a rubber band at the back and you’ve got a pair of paper glasses you can actually wear. Let’s build them.
Way of folding
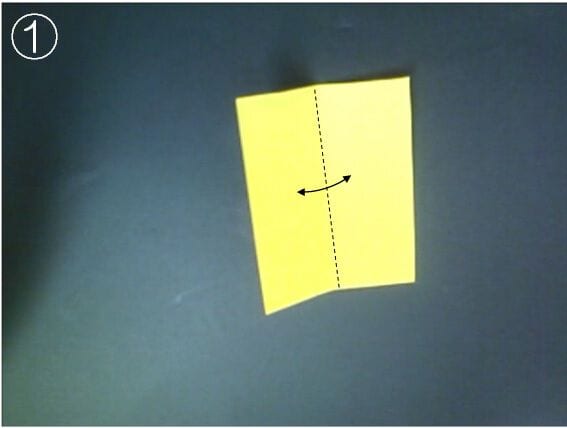
STEP 1. Make a crease in half.
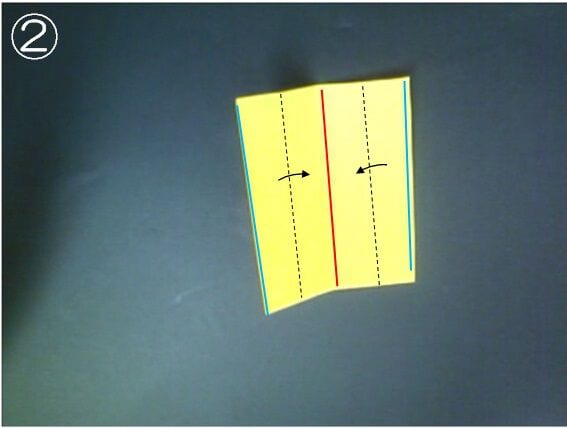
STEP 2. Fold it so that the blue line matches the red line.
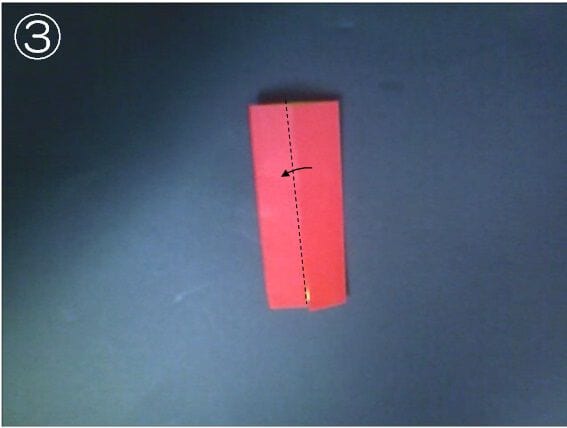
STEP 3. Fold it in half.
STEP 4. Make 8 of the same thing .
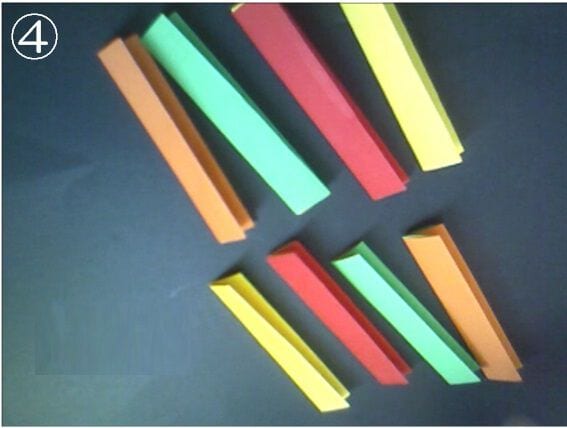
STEP 5. Make creases so that only 6 out of 8 are at right angles, then fold in half at the creases you just made.
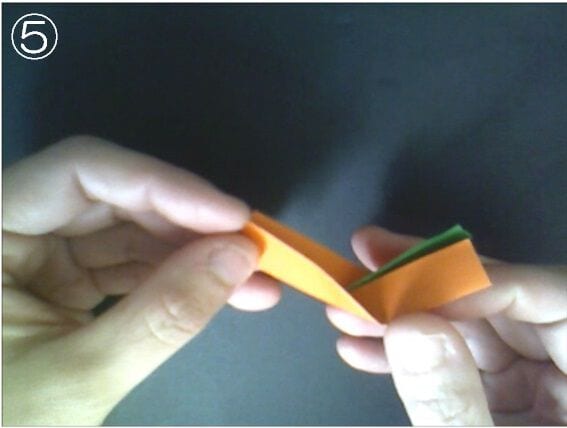
STEP 6. It looks like this. Fold four of them along the dotted lines.
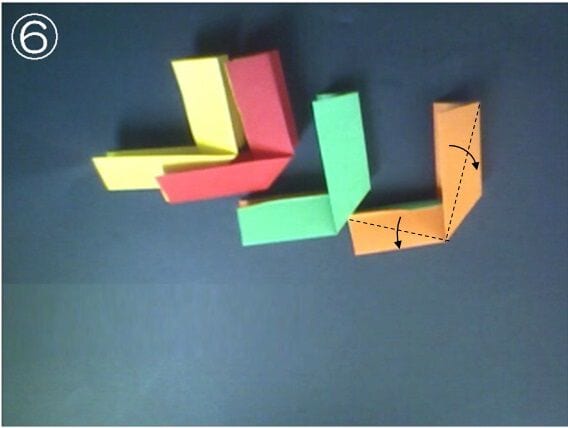
STEP 7. You should now have two straight pieces and two right-angle pieces (four right-angle flaps opened out). The parts are complete.
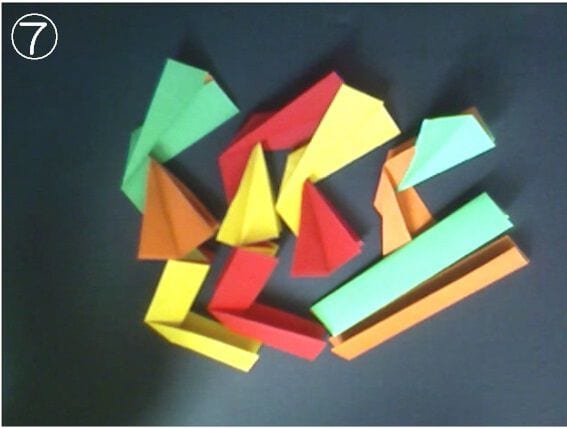
STEP 8. Glue a right-angle piece to a straight piece.
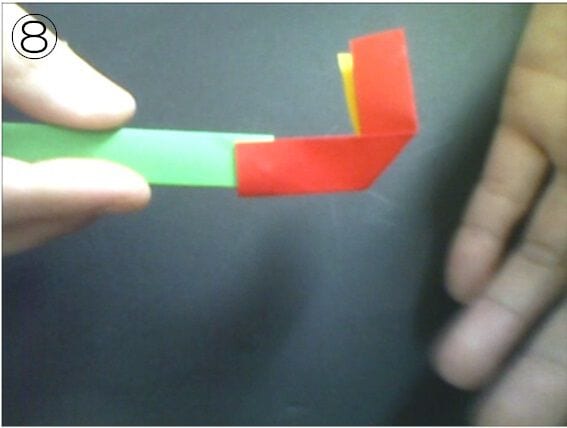
STEP 9. Slot the pieces with open right angles together, making sure they plug in firmly. This forms a lens.
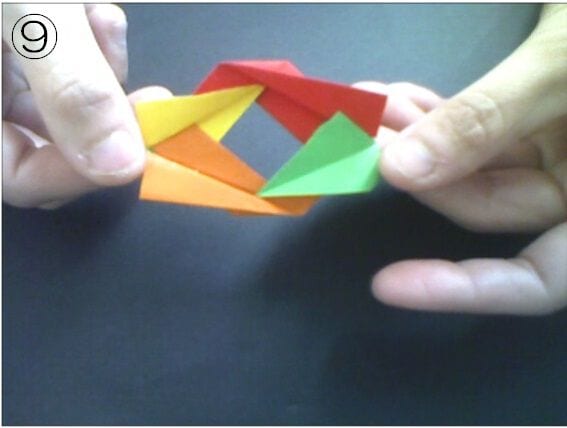
STEP 10. Join the unit from step 8 to the lens from step 9.
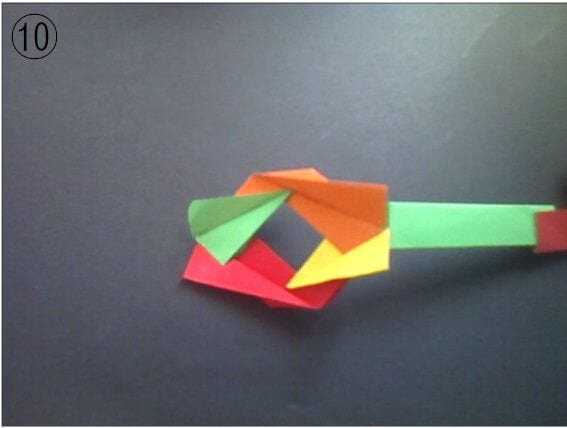
STEP 11. Assemble the two lenses into the finished glasses.
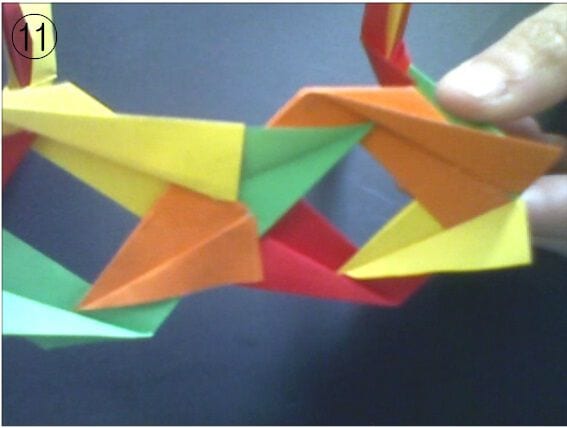
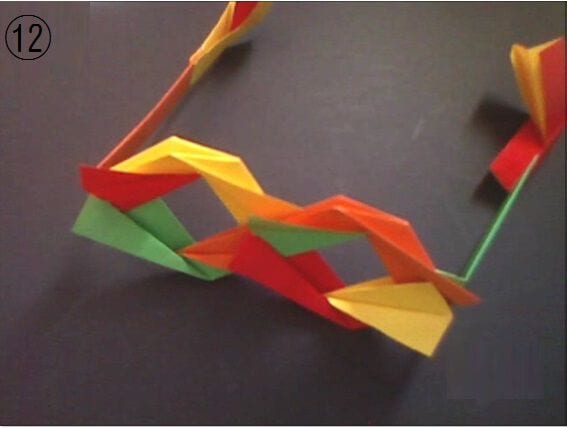
STEP 12. Completion of glasses!
[Points when folding]
Each part is simple, but have an adult help young children with the final gluing.
You can wear the glasses by attaching a rubber band at the back, like a mask.