Three-dimensional Boots
There is something irresistibly festive about a row of tiny paper boots lined up on a shelf. These little three-dimensional Santa boots look impressive — proper standing shapes, not flat cutouts — yet they are far easier to fold than their 3D label suggests. With a square of red paper you get a plump, rounded boot that reads instantly as “Christmas.” The folding is gentle and confidence-building, a nice step up from flat models without any of the scary advanced moves. Make a handful and you have a garland, a table centerpiece, or just a cheerful thing to leave by the tree. Let’s fold a pair.
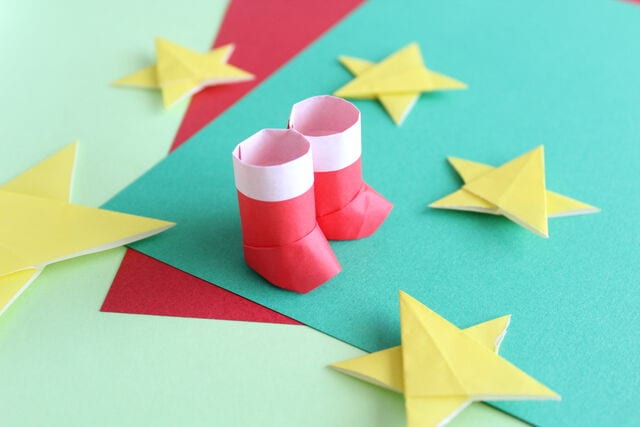
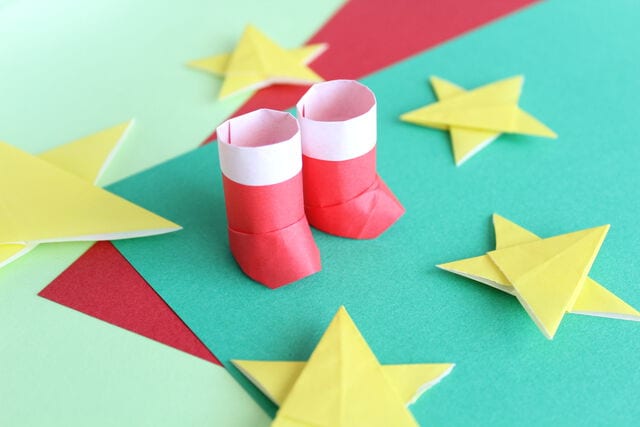
Today I’ll show you how to fold three-dimensional boots from a sheet of origami paper, explained step by step with photos so it’s easy to follow. If it looks fun, give it a try.
How to fold three-dimensional boots with origami
These little origami boots are perfect as Christmas decorations and ornaments — round, plump, and cute Santa Claus boots. With the holidays approaching I always get excited about the season, no matter how old I get (laughs). This year I’m making my decorations out of origami, starting with these boots. Three-dimensional folds used to feel intimidating to me, but once I actually made them they were easier than expected — so if you’ve been hesitant, don’t worry and give it a go.
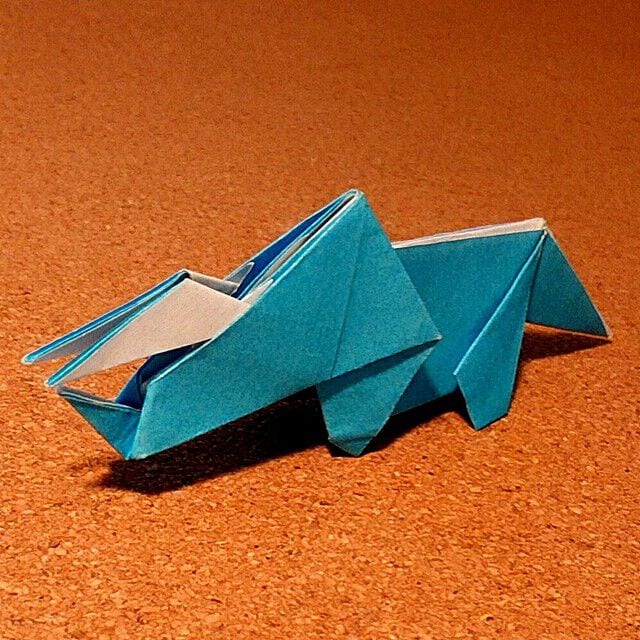
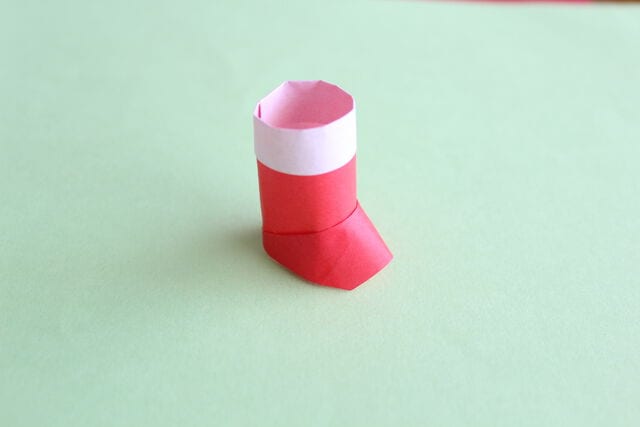
Completed image of 3D boots
When completed, it will be a three-dimensional boot as shown in the above picture. It's plump and cute, isn't it?
Preparation
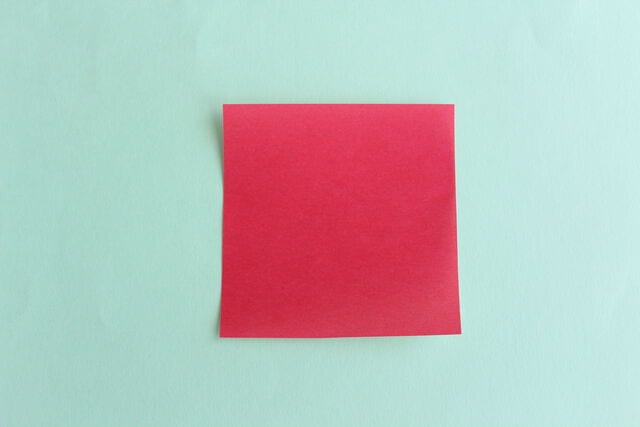
The boots this time are made of square origami. If you make it with red origami, it will look like Santa Claus boots.
How to fold three-dimensional boots
STEP 1. Let’s begin. First, fold down a small strip from the top as shown. Roughly a quarter of the way is a good guide, but it doesn’t need to be precise. This will become the cuff of the boot later, so you can choose any width you like.
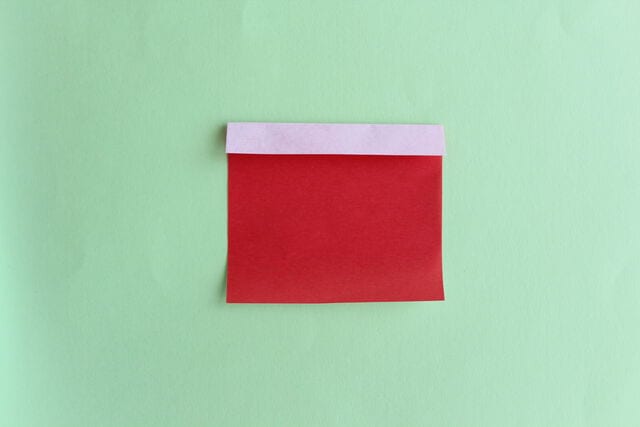
STEP 2. Next, fold up the lower part to form the toe.
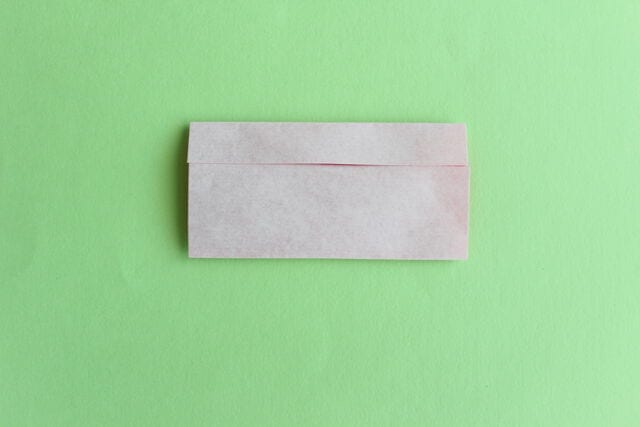
STEP 3. Fold it in a triangle from both sides as shown.
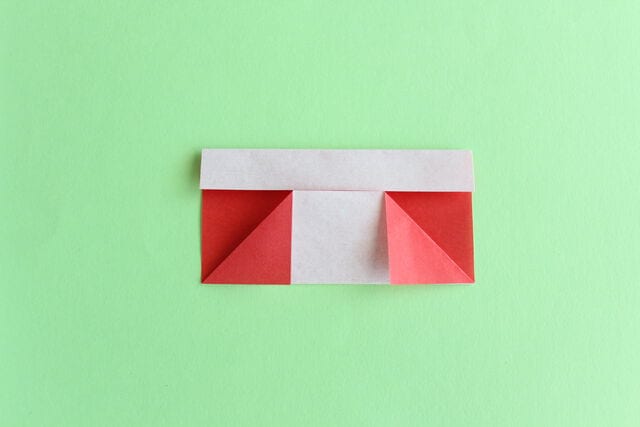
STEP 4. Fold the triangular part further diagonally to make a fold line. Open it when you fold it.
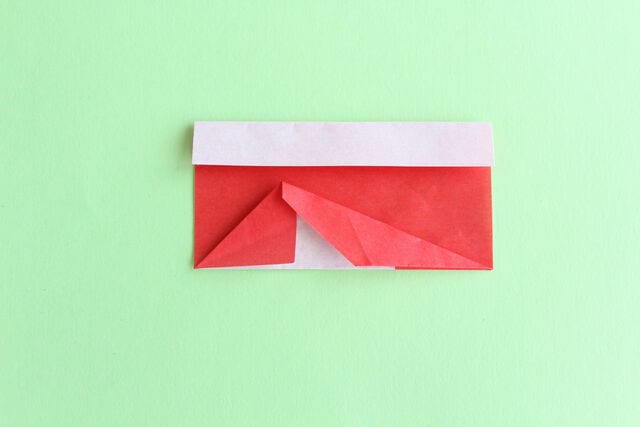
STEP 5. Make a fold line on the other side in the same way.
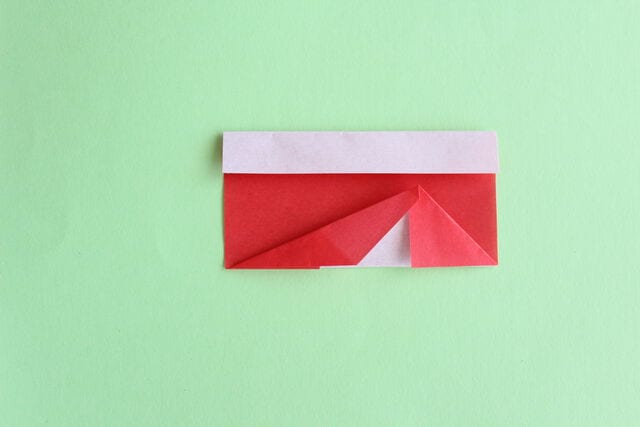
STEP 6. It may be a little difficult, but like this, make a mountain at the fold line.
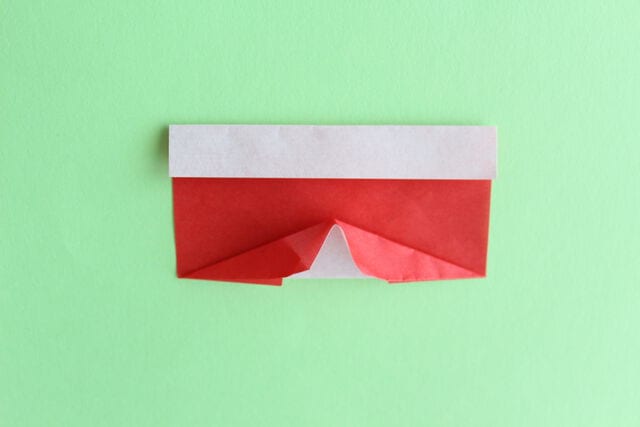
STEP 7. Roll it up and insert it in the back.
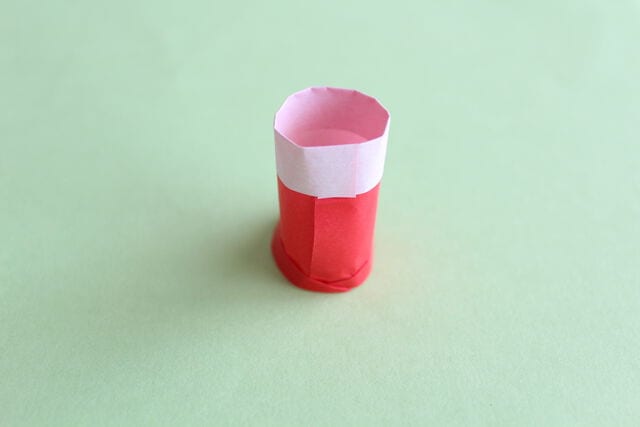
STEP 8. Completed! It's done.