Origami Box Crane
Imagine a paper crane that is also a tiny treasure box, and you have the box crane — one of the more delightful variations on the classic fold. The magic happens in the middle of the sequence, when a few well-placed creases let the body collapse into a little hollow box while the neck, tail, and wings take shape just like an ordinary crane. It is a touch more involved than the basic crane because of that one collapse step, but the photos walk you through it move by move, and the payoff is a model with big, poseable wings and a body you can actually peek inside. Fold a couple and try placing the wings differently — each one comes out with its own little personality. Let us fold one together.
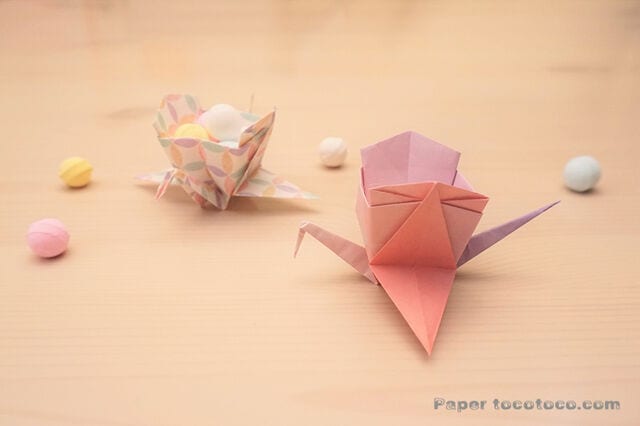
A crane with a little box body and big wings! How to fold a box crane
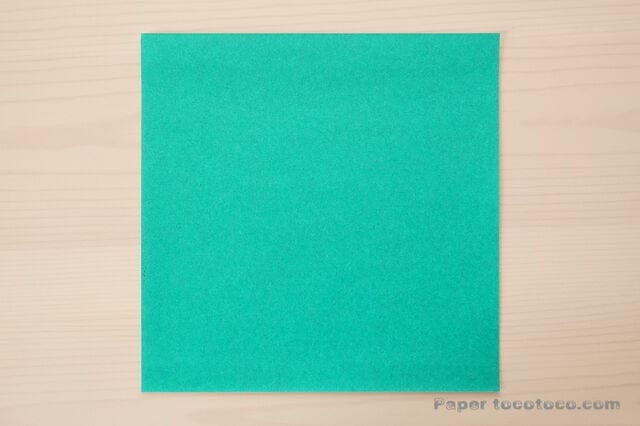
You will need one sheet of 15 cm x 15 cm origami paper.
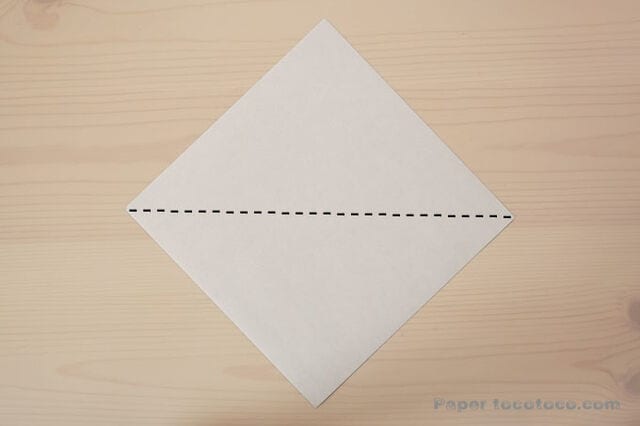
STEP 1
Fold the paper in half and make a crease.
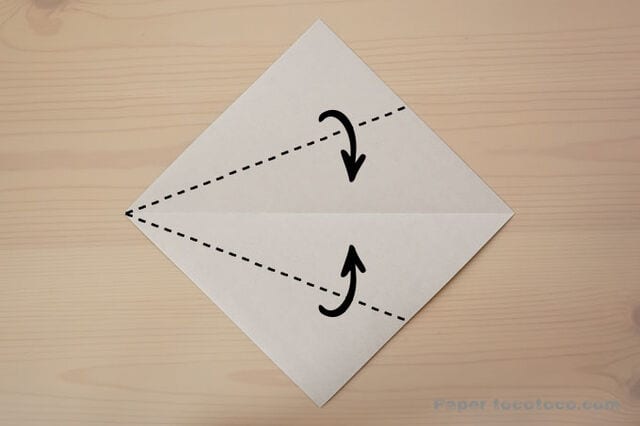
STEP 2
Fold along the dotted line so the edges meet the center.
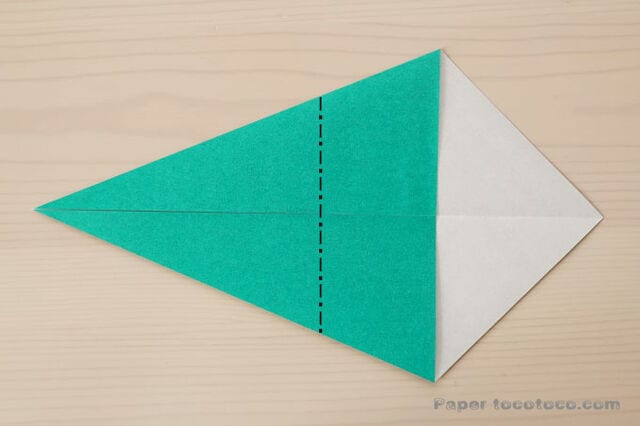
STEP 3
Fold the paper in half in the middle.
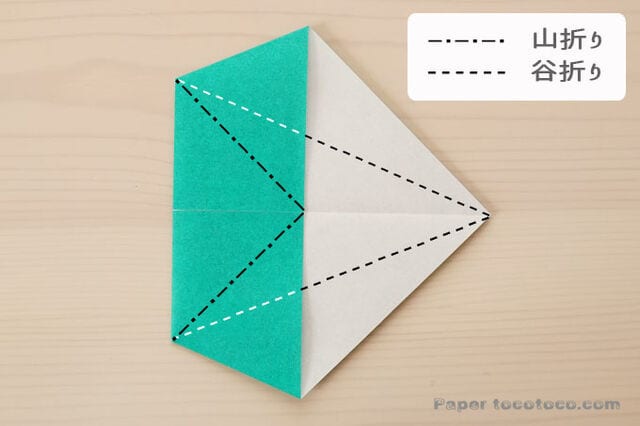
STEP 4
Open the paper at the middle edge and fold it.
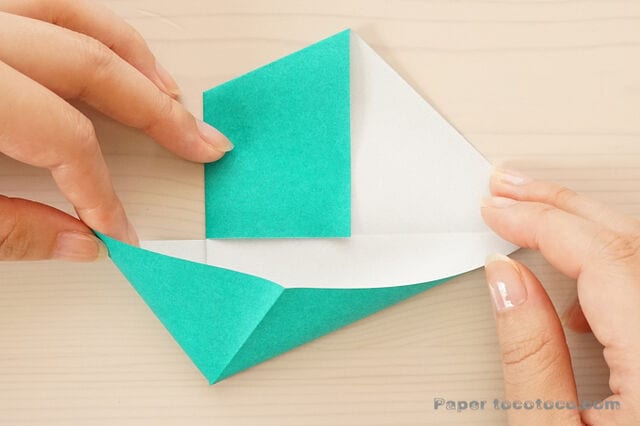
This is what it looks like.
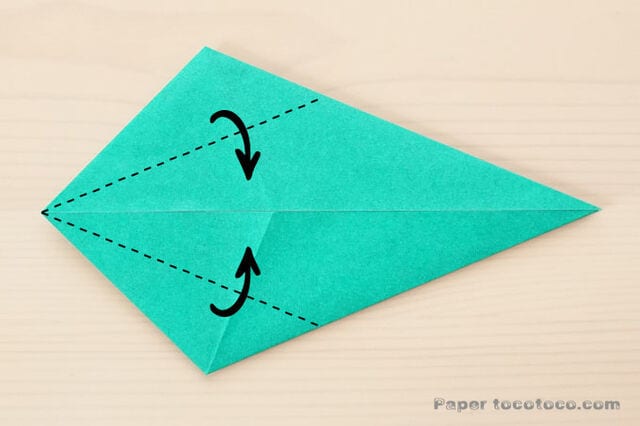
STEP 5
Fold so that both ends line up with the center, and make a crease along the dotted line.
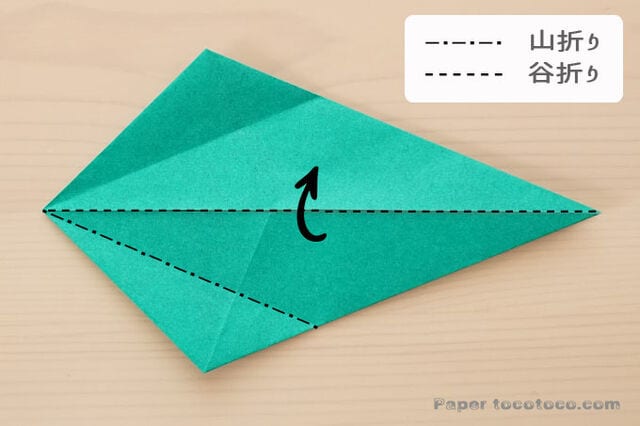
STEP 6
Make the mountain and valley folds shown by the dotted lines.
This part is a little tricky, but if you follow the sequence you can do it — keep going!
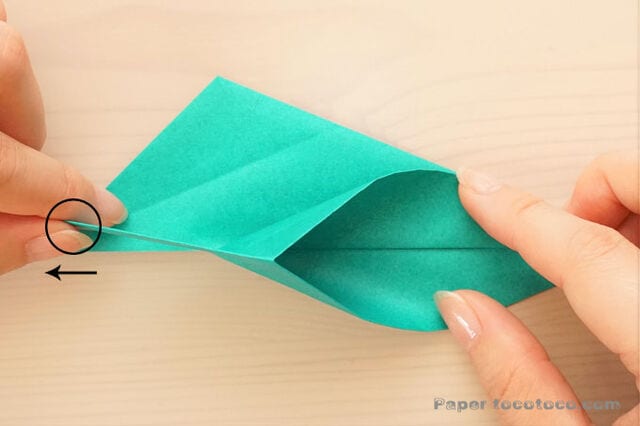
STEP 7
Fold it in half along the center line and pull the marked point in the direction of the arrow to collapse the box.
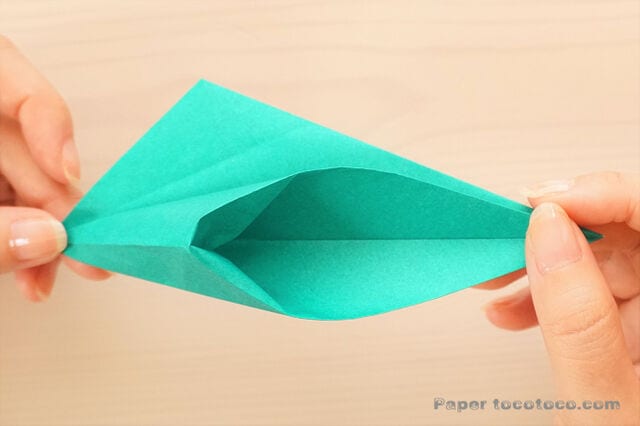
If the inside opens up like this, fold both ends along the creases you made in Step 5.
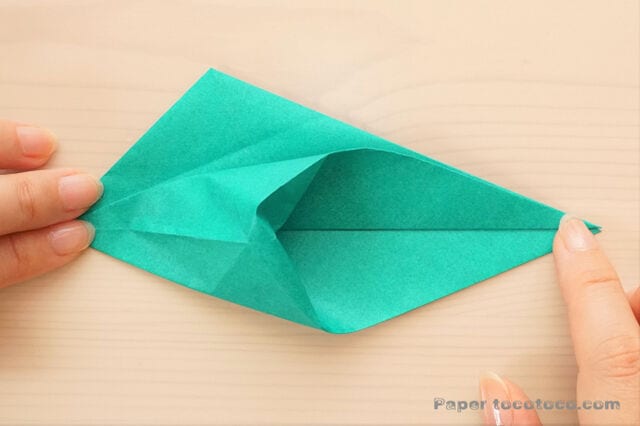
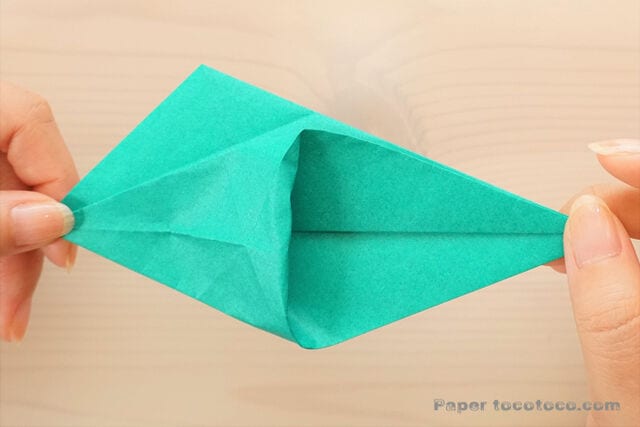
Gradually fold it into shape like this.
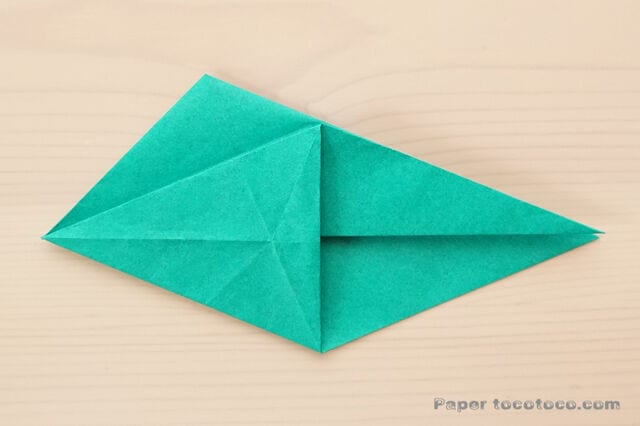
STEP 8
Fold it as shown. Did it collapse nicely? Now turn the model over.
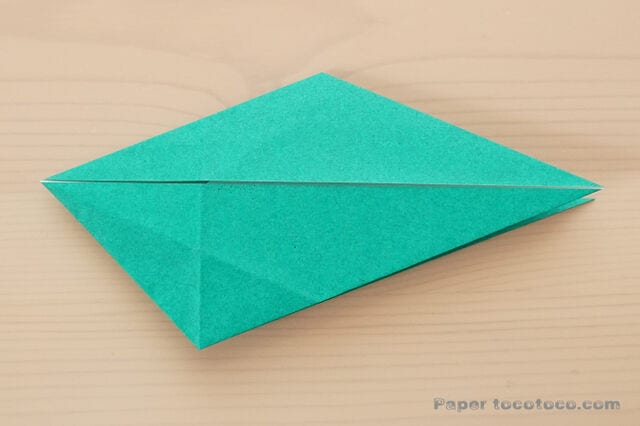
STEP 9
Fold the back side the same way as in Step 6.
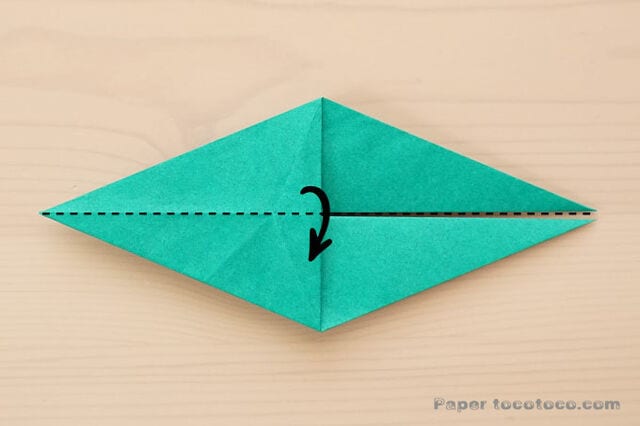
STEP 10
Fold the upper half down by one layer.
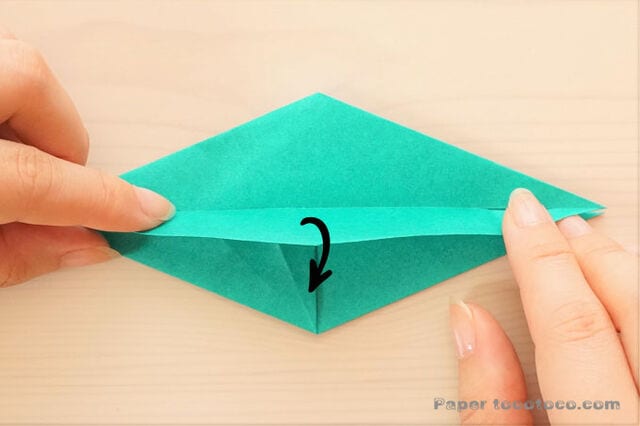
This is what it looks like. Fold the back side the same way.
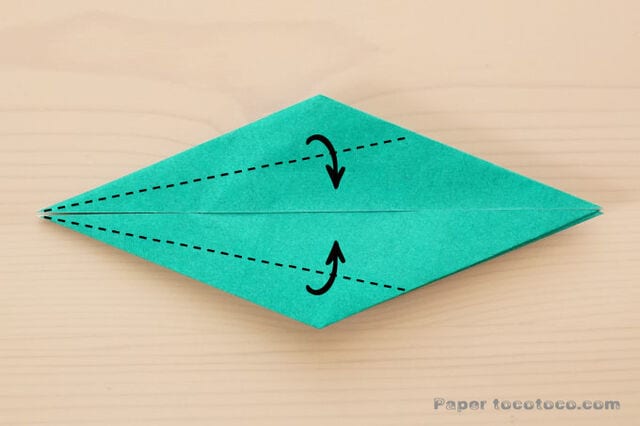
STEP 11
Align both ends with the center and fold along the dotted line.
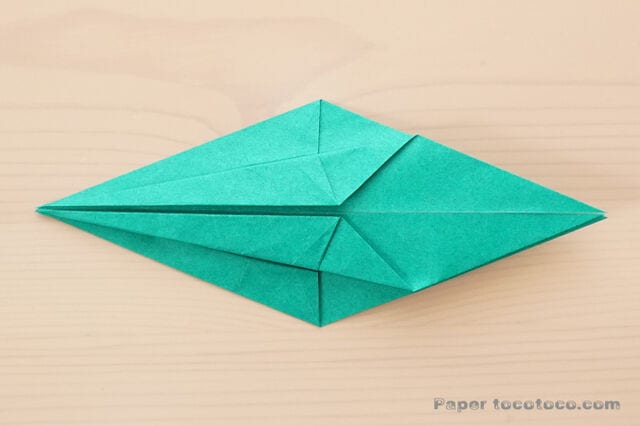
Fold the back side the same way.
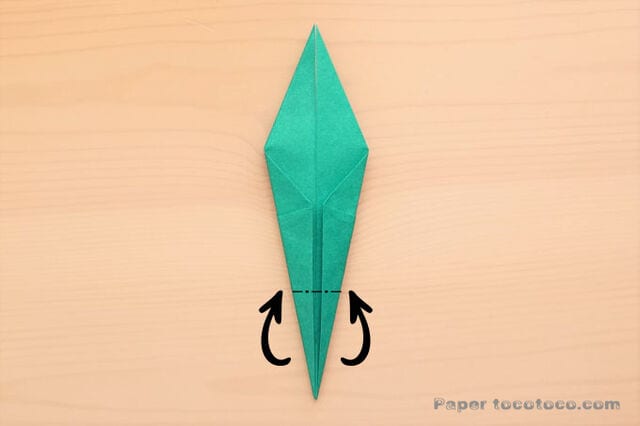
STEP 12
Fold the neck and tail of the crane in half.
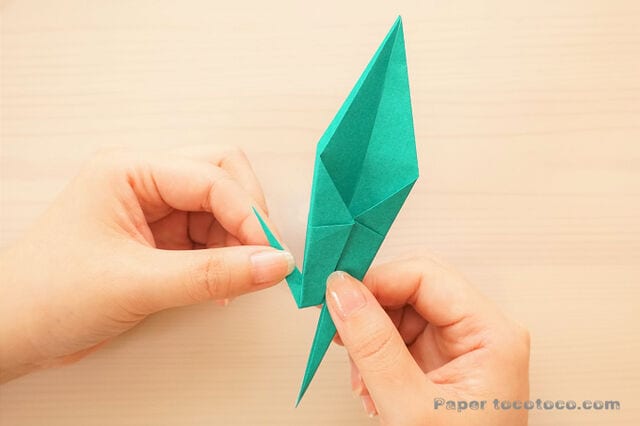
From here, the folding is the same as for a regular crane!
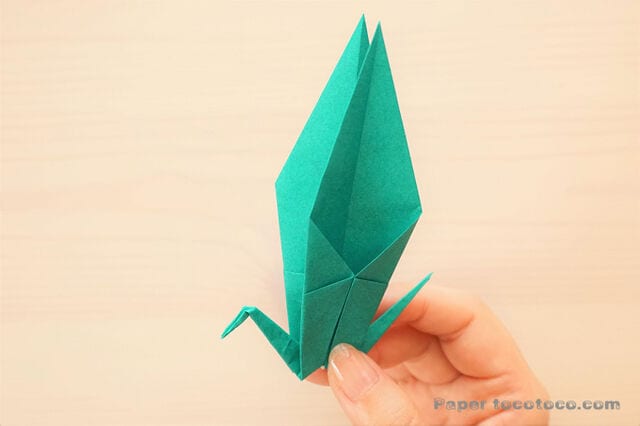
STEP 13
Shape the head by folding it in half.
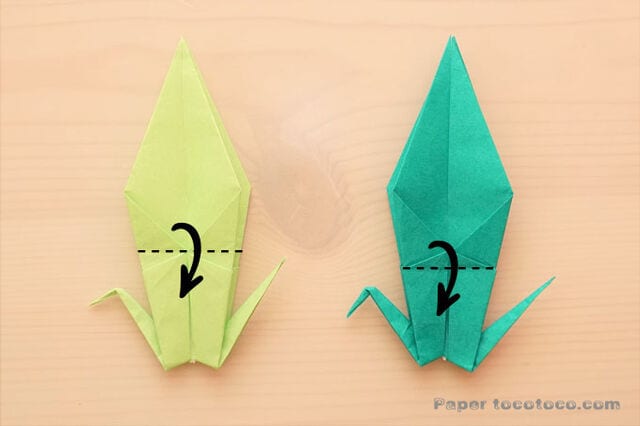
STEP 14
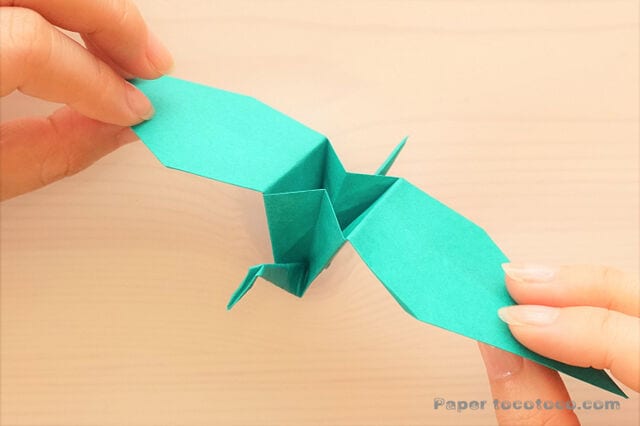
Fold the wings down along the dotted line.
Even shifting where you fold the wings changes the look — both are cute.
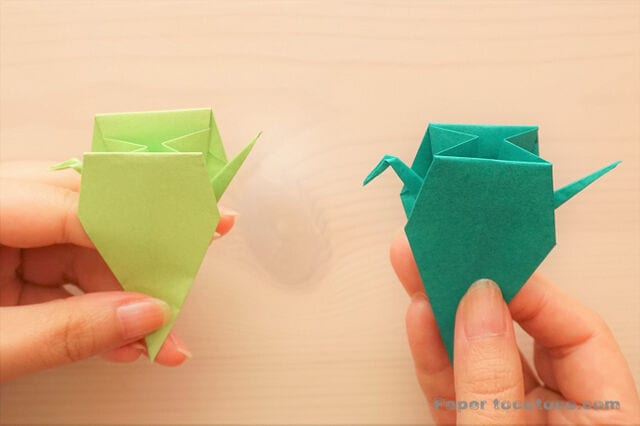
The left wing sits slightly above the box, and the right wing folds at the box.
STEP 15
Open the wings out and shape the box body.
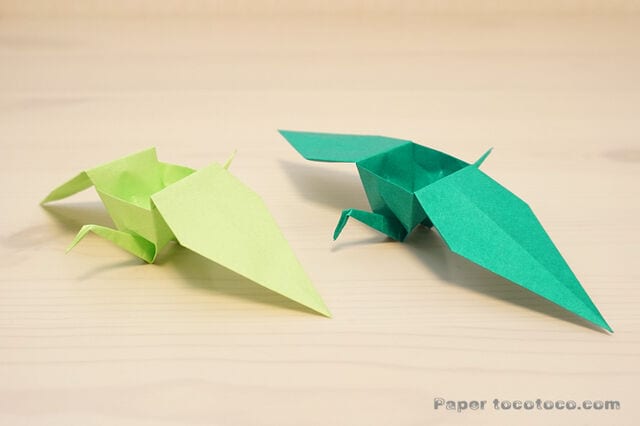
The box crane is complete! I made two by changing where the wings fold — the look changes and both are adorable. Make it to your liking.