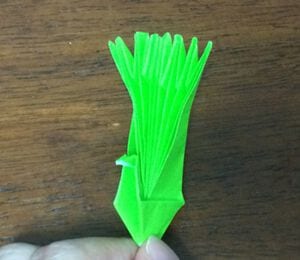
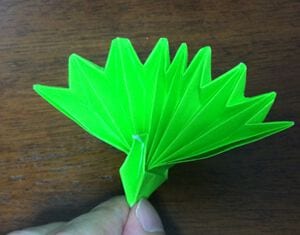
Origami Peacock
Some origami models are nice; this one is a show-off. Twenty-six steps in, you get a peacock with a tail that fans out properly - the sort of thing people pick up and turn over in their hands.
It is a longer fold than most, but it is not a hard one. Most of the middle section is the same handful of creases repeated, so once the rhythm clicks the rest almost folds itself. Give it a quiet half hour and some patterned paper.
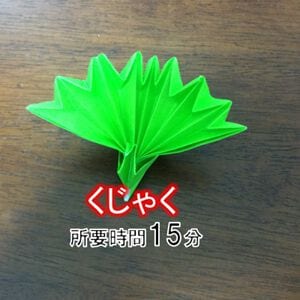
This tutorial shows you how to fold an origami peacock, with clear step-by-step photos.
It takes a little time, but every step is explained in detail - take it slowly and enjoy the process.
How to fold an origami peacock
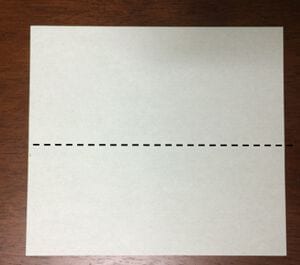
STEP 1. Fold the paper in half to make a crease.

STEP 2. Fold the top and bottom left corners in diagonally.
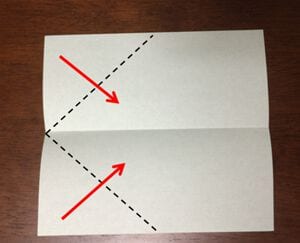
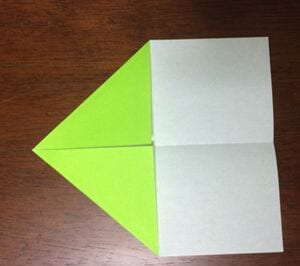
STEP 3. Fold it back along the dotted line.
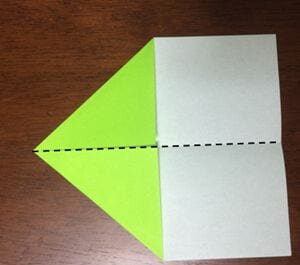
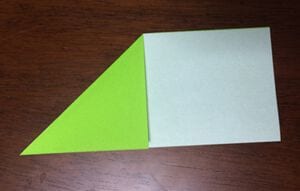
STEP 4. Fold it so that the left corner is aligned with the right corner.
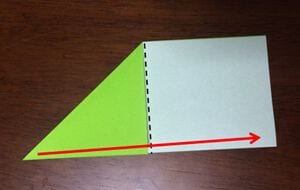
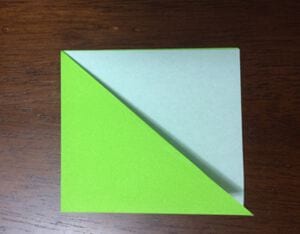
STEP 5. Open up the inside and squash it flat.
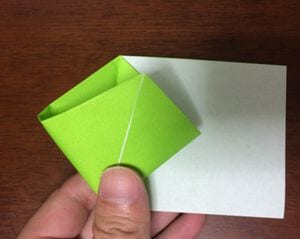
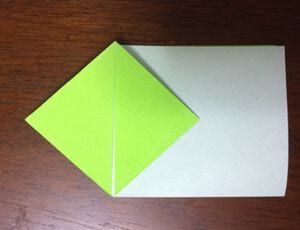
STEP 6. Fold it so that it has a crease as shown.
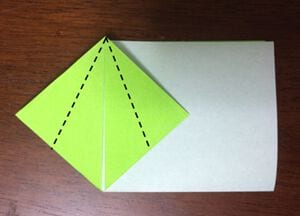
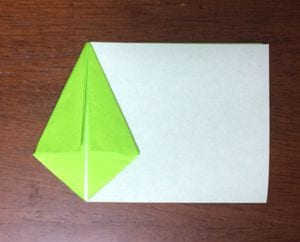
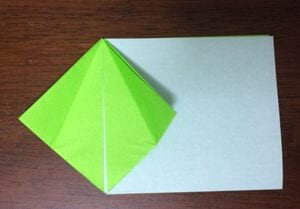
STEP 7. Fold it downward along the crease, opening it out as you go.
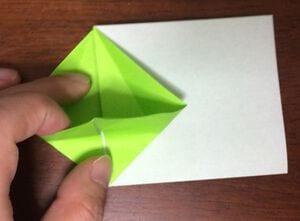
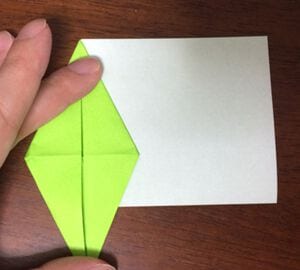
STEP 8. Turn it over and fold it back along the dotted line.
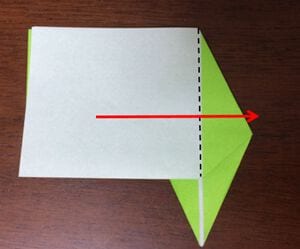
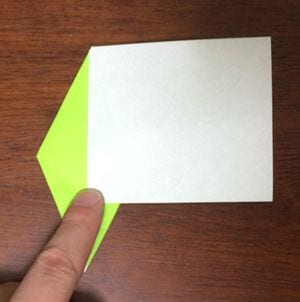
STEP 9. Make a crease along the dotted line.
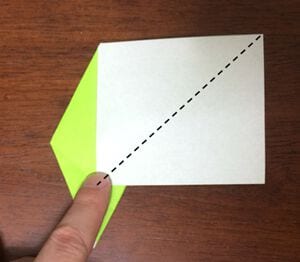
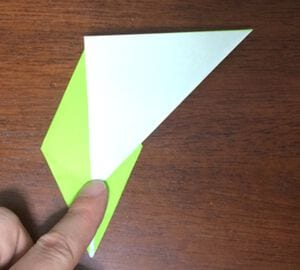
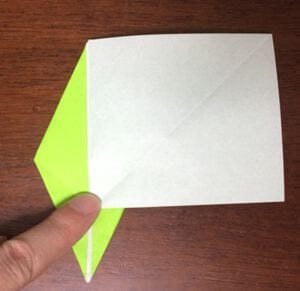
STEP 10. Open it out along the crease.
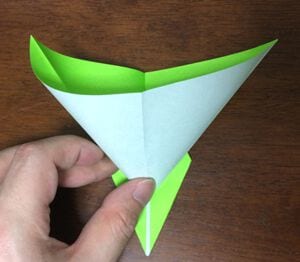
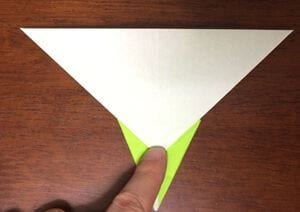
STEP 11. Fold it so that the right corner is aligned with the left.
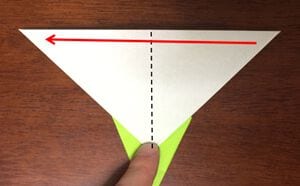
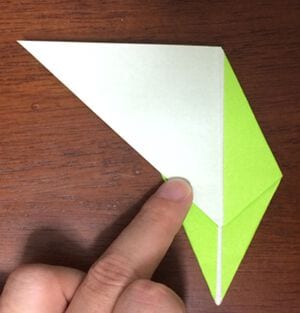
STEP 12. Make a crease as shown.
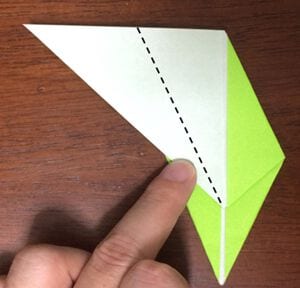
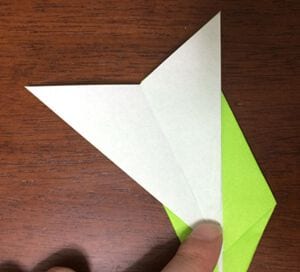
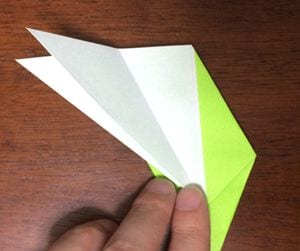
STEP 13. Open it out along the crease.
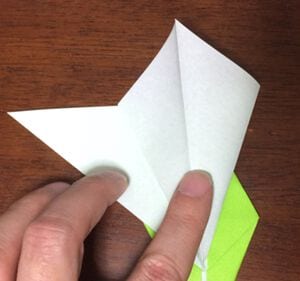
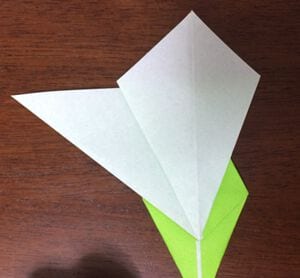
STEP 14. Fold the top corner down.
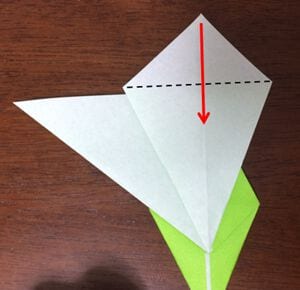
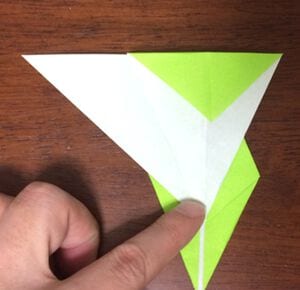
STEP 15. Turn it over as shown.
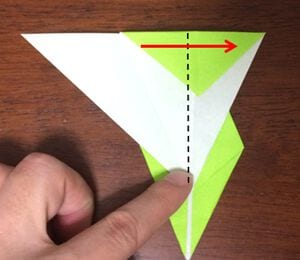
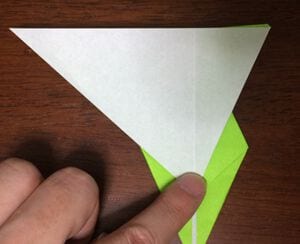
STEP 16. Fold it in the same way as steps 12 to 14.
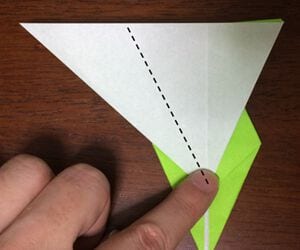
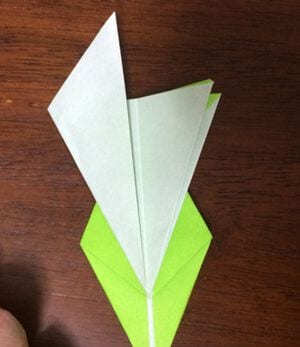
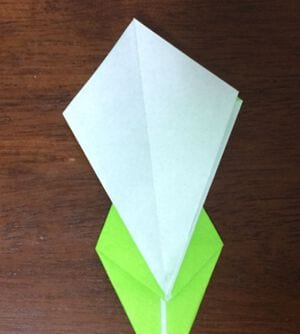
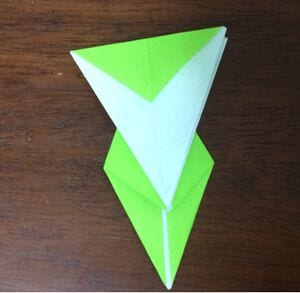
STEP 17. With the white side facing up, continue folding in the same way as steps 12 to 14.
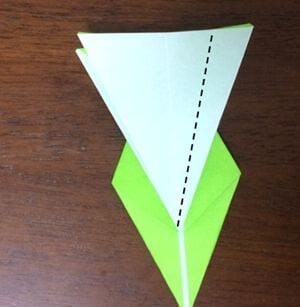
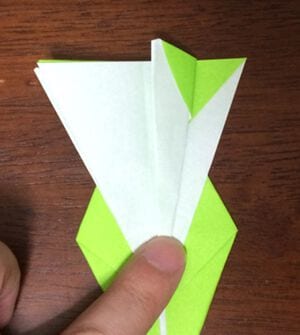
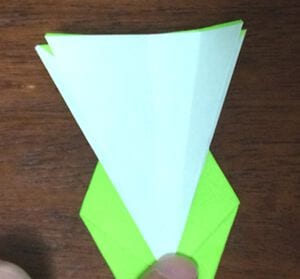
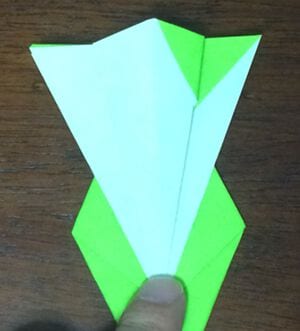
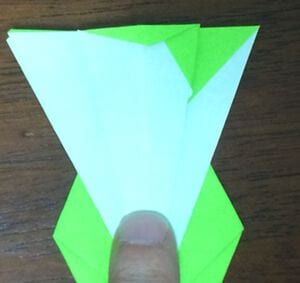
STEP 18. Repeat the same folds on the other three sections, and it will look like this.
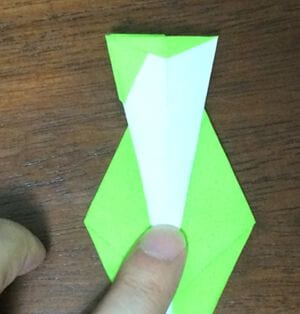
STEP 19. Fold it in half.
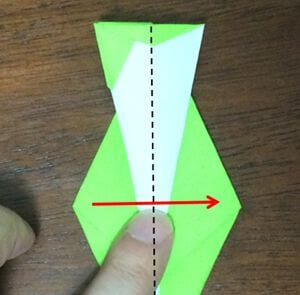
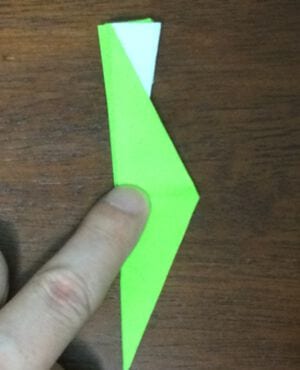
STEP 20. Make a crease on the dotted line.
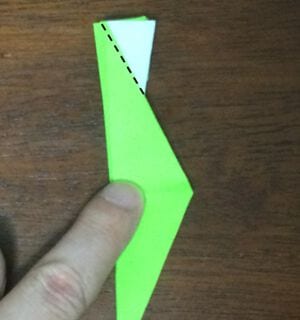
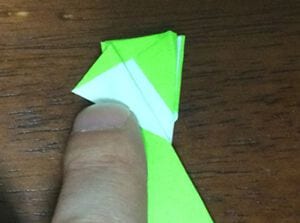
STEP 21. Fold the folded part inward along the crease.
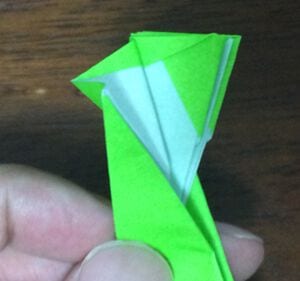
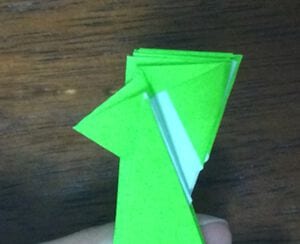
STEP 22. Fold the remaining parts in order, working from the front.
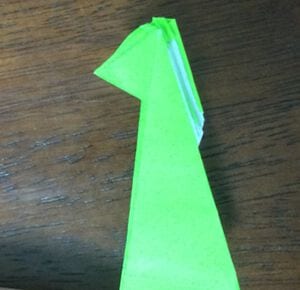
STEP 23. Continue folding in order from the front, as shown.
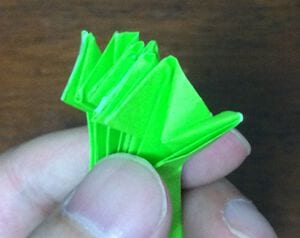
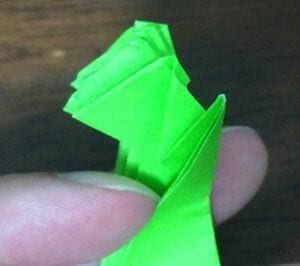
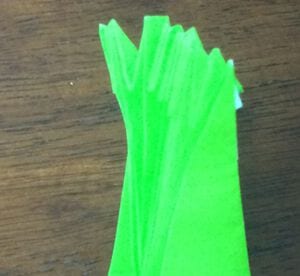
STEP 24. Turn the model over.
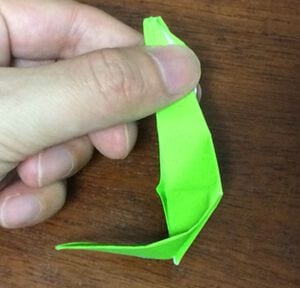
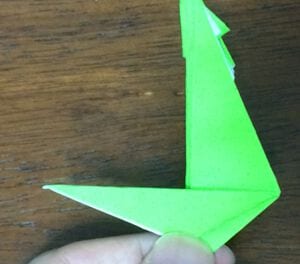
STEP 25. Then fold it back as shown.
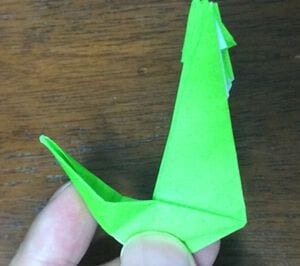
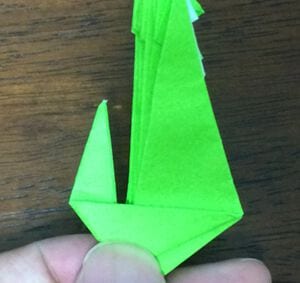
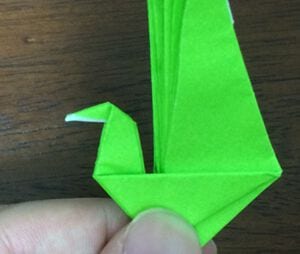
STEP 26. Spread the wings and your origami peacock is complete!