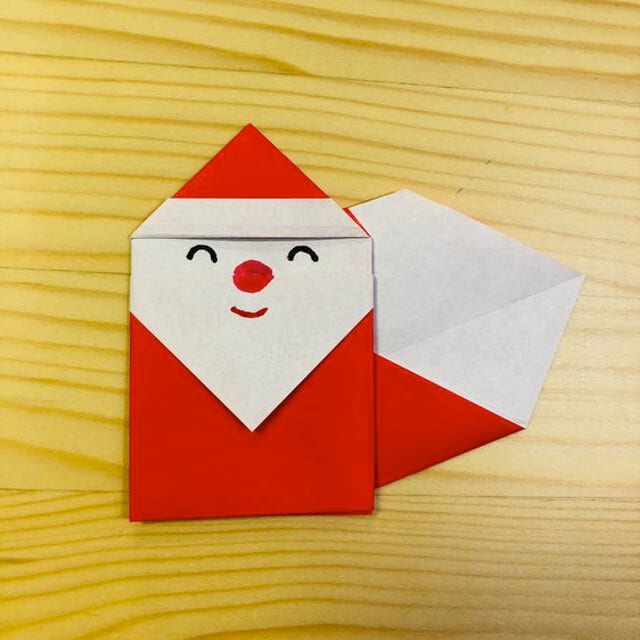
Santa Claus
Every holiday table deserves a Santa, and this one starts from nothing but a red square. In about twenty minutes of folding, with no glue and no scissors, the paper grows a white-trimmed hood, a beard, and the familiar shape of the season — and the last step, where you draw on the face, is the most fun of all.
This is a photo-led project, so it suits folders of almost any level: each stage simply shows you where the next fold goes, and because the creases build gradually, the model rarely feels fiddly. Use classic red-and-white paper for the traditional look, or mix it up with patterned paper for a friendlier face. Finished Santas look wonderful lined up on a mantel, tucked into cards, or hung from the tree — and folding a few in a row is a pleasant way to settle into the holiday spirit.
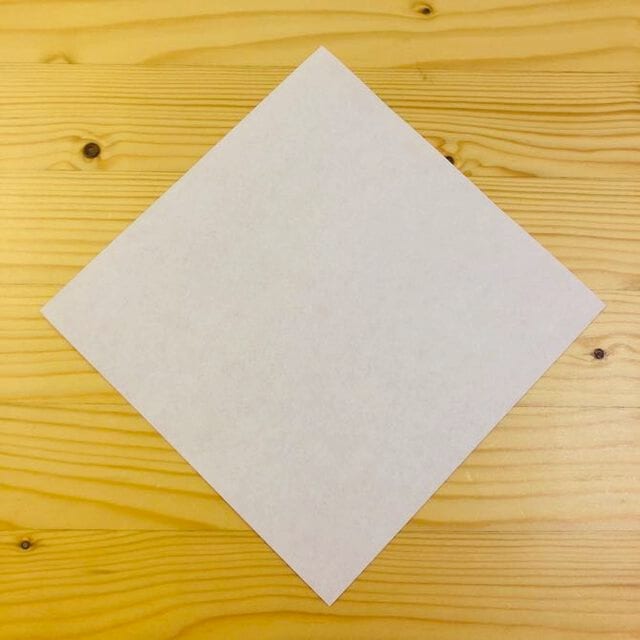
STEP 1
Fold it in half.
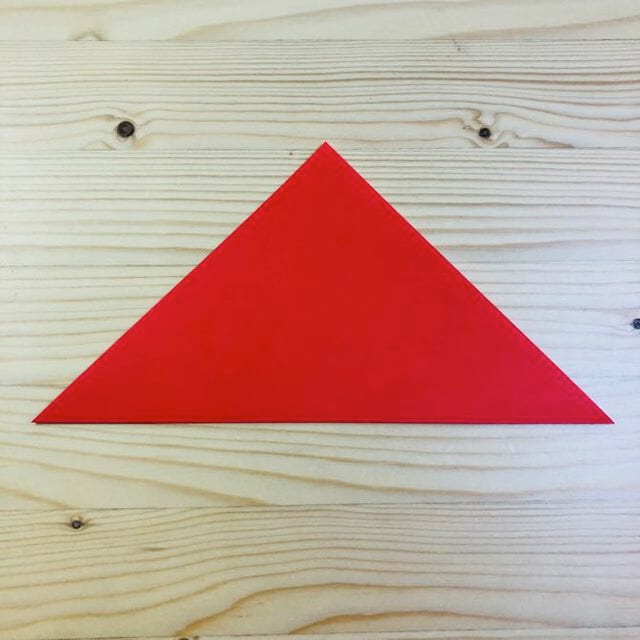
STEP 2
Fold it up where shown in the photo.
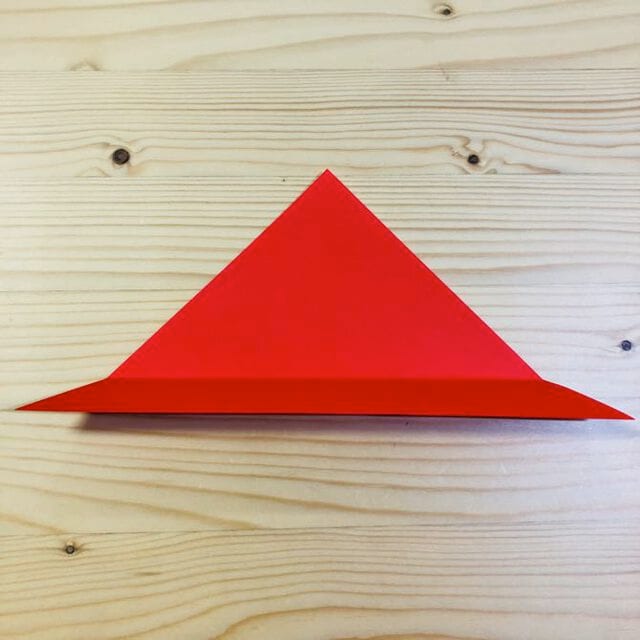
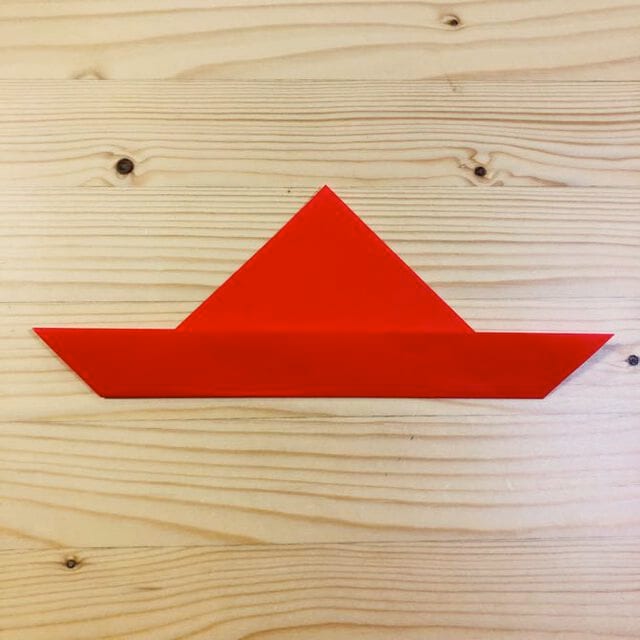
STEP 3
Open it up.
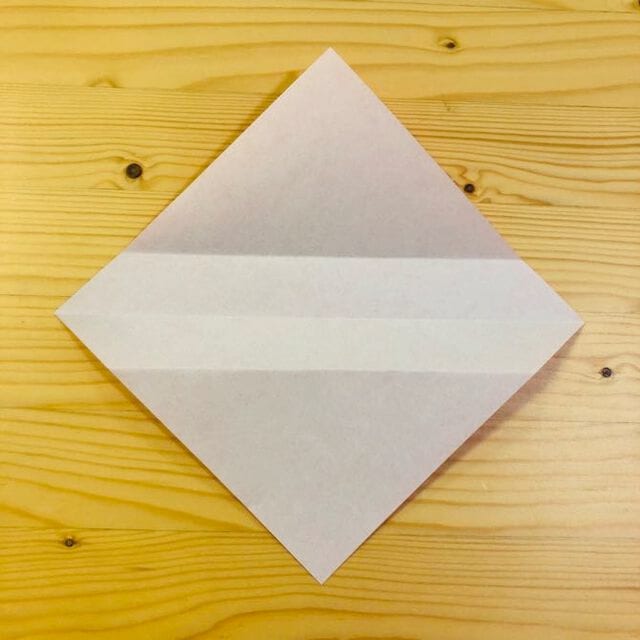
STEP 4
Fold it where shown in the photo.
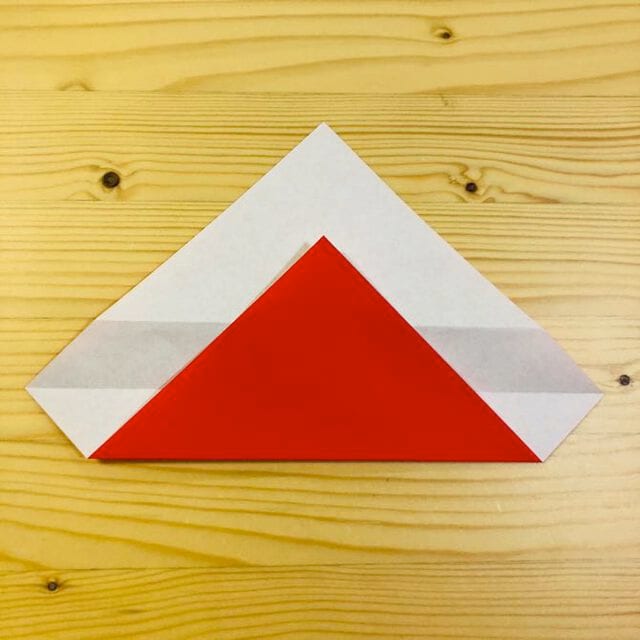
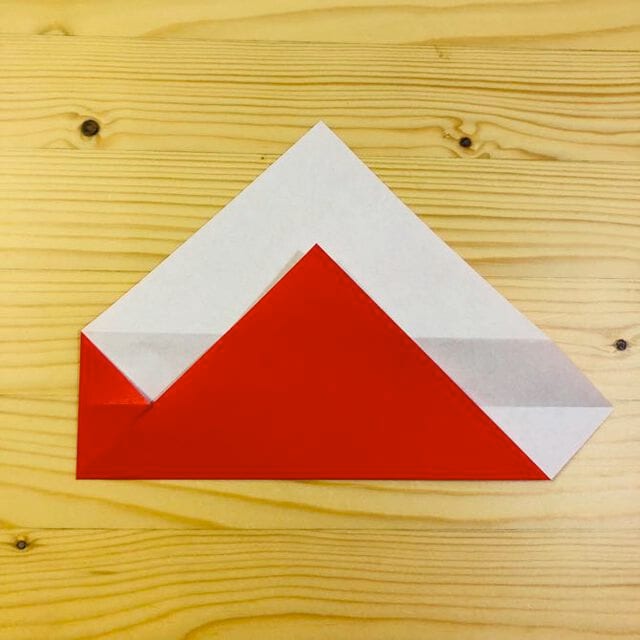
STEP 5
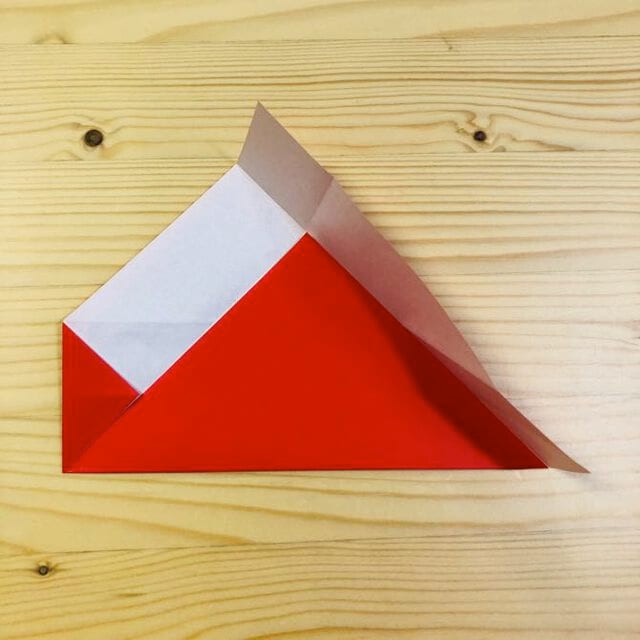
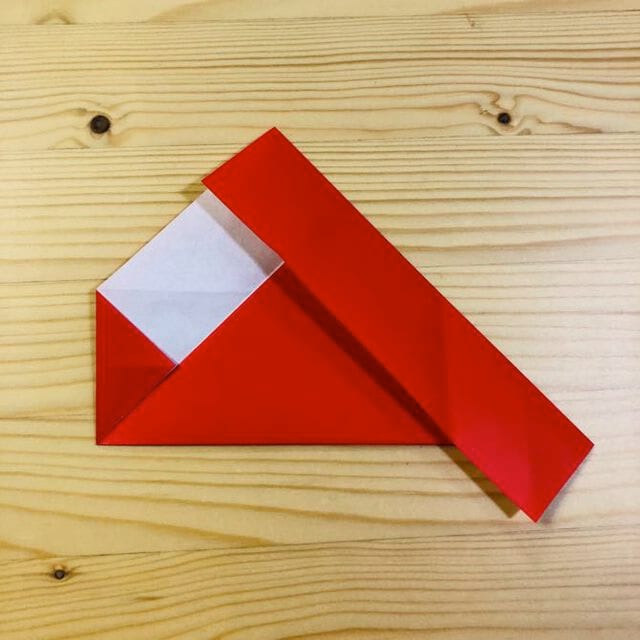
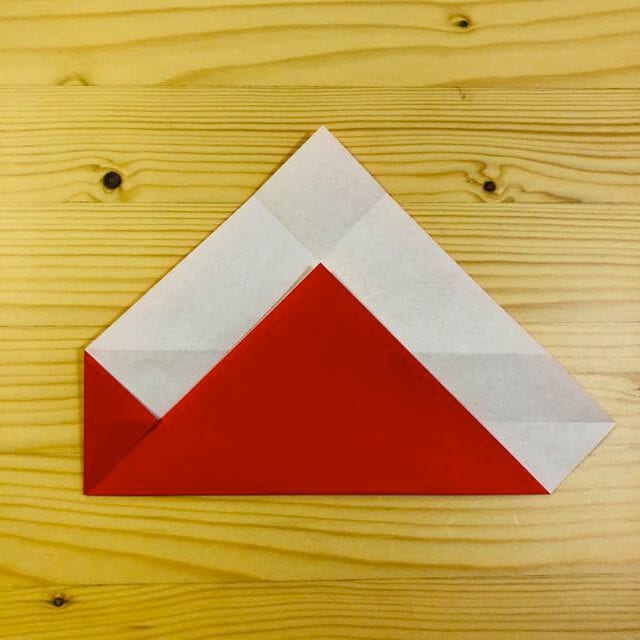
Make a crease where shown in the photo.
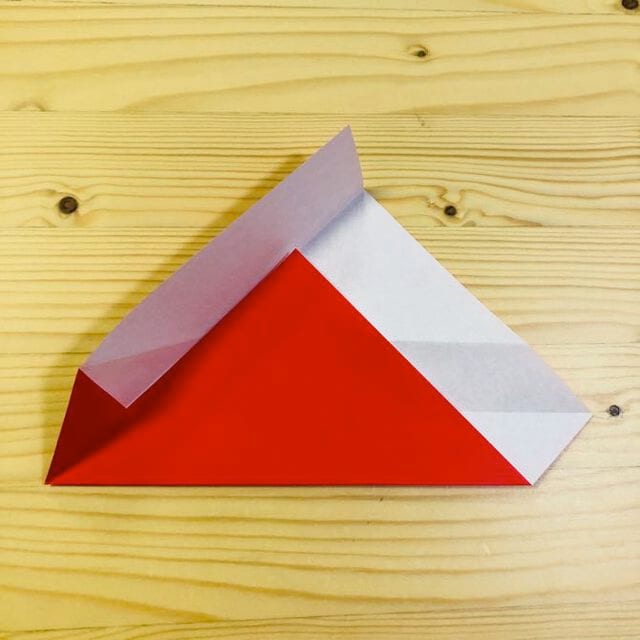
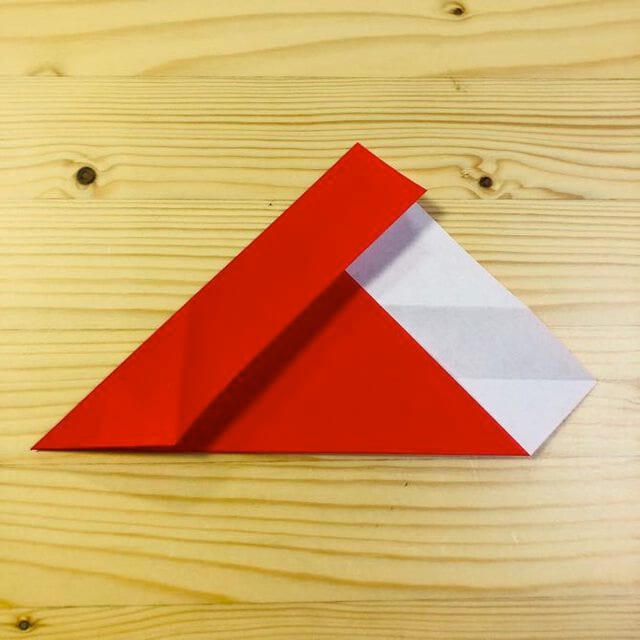
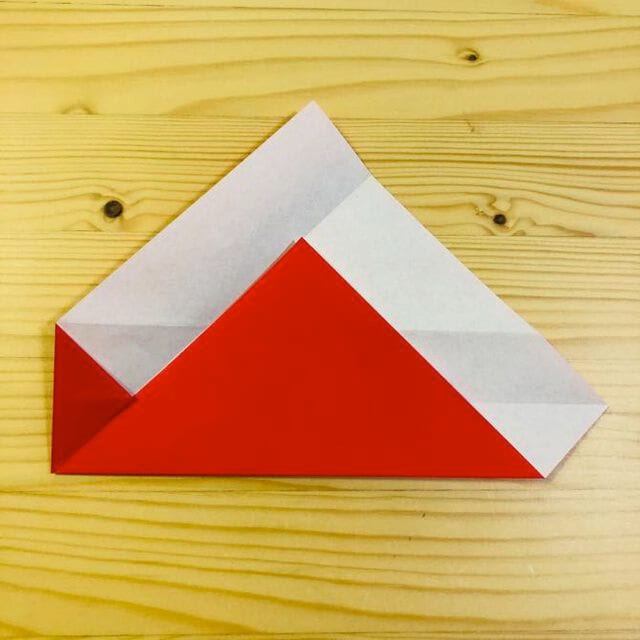
STEP 6
Make a crease where shown in the photo.
STEP 7
Make a crease where shown in the photo.
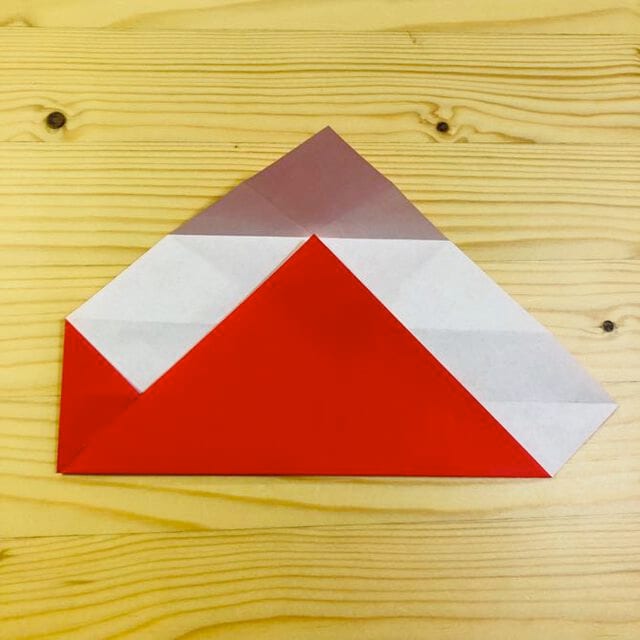
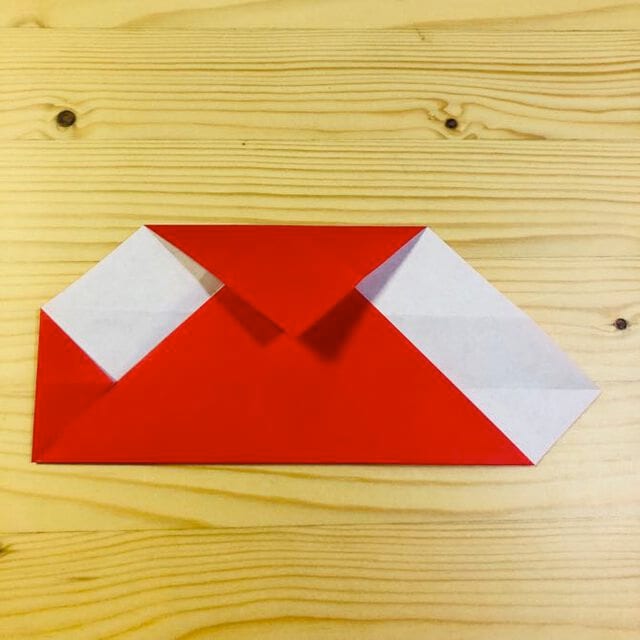
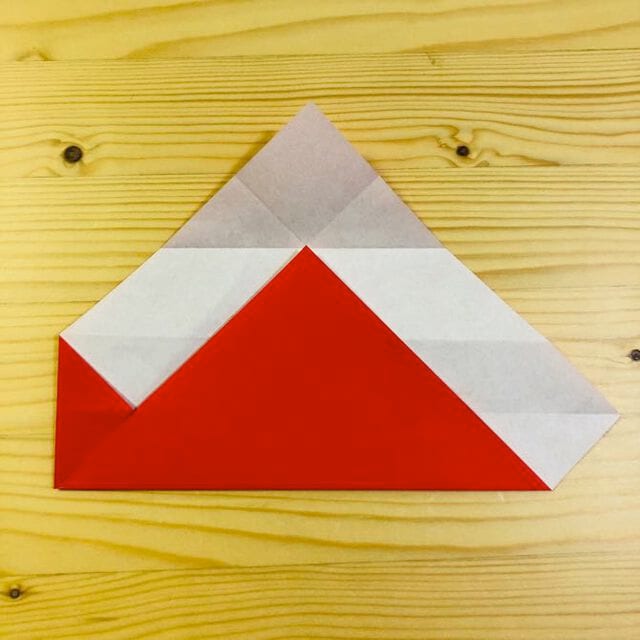
STEP 8
Fold it down where shown in the photo.
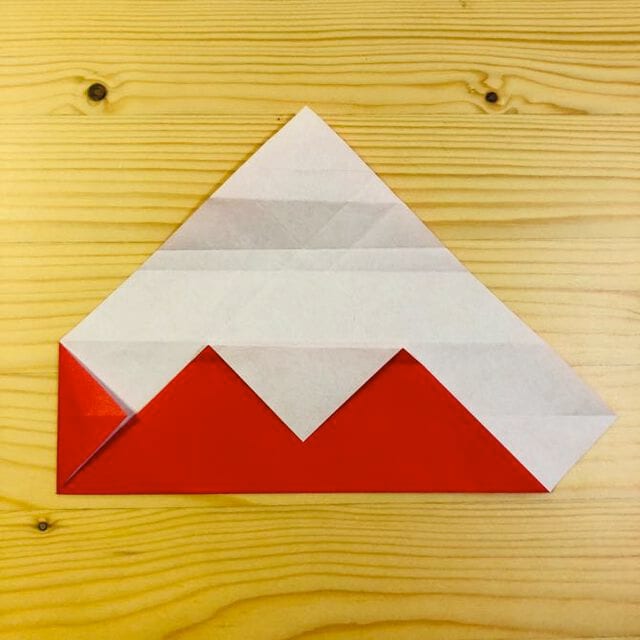
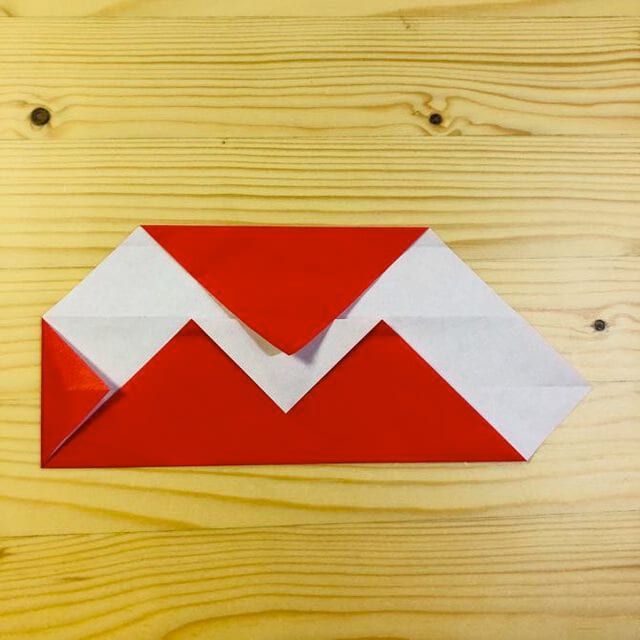
STEP 9
Fold it where shown in the photo.
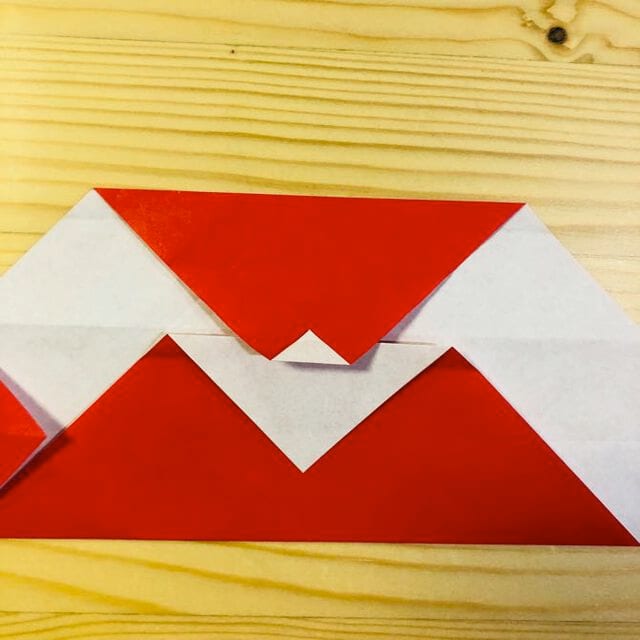
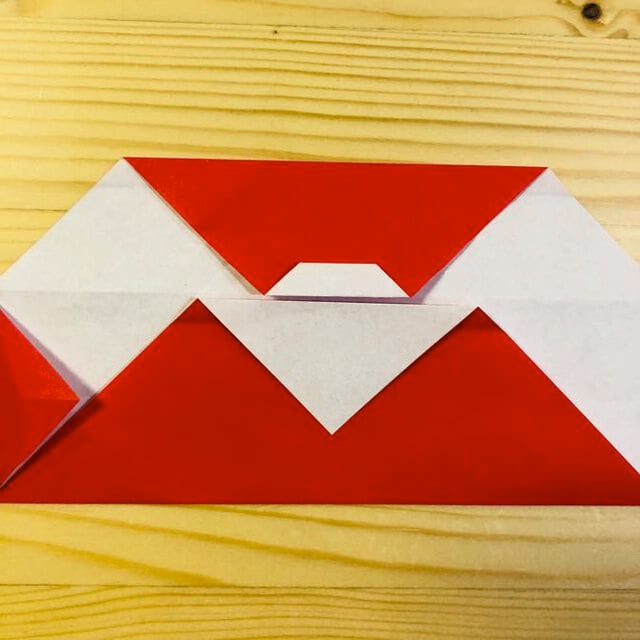
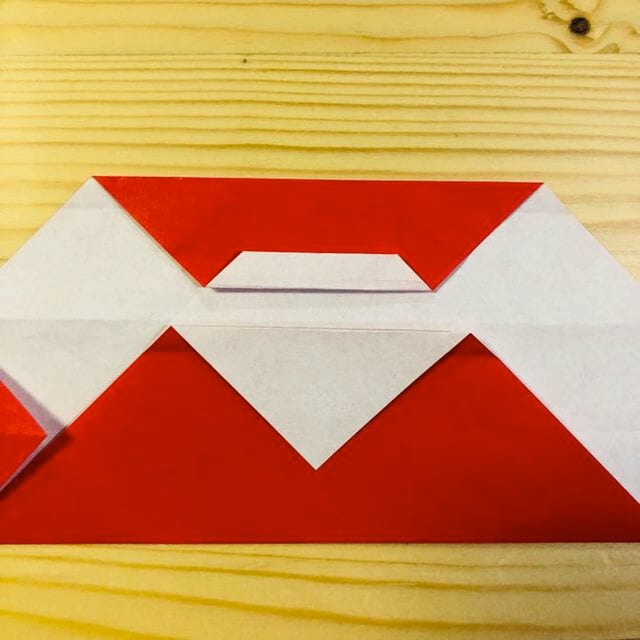
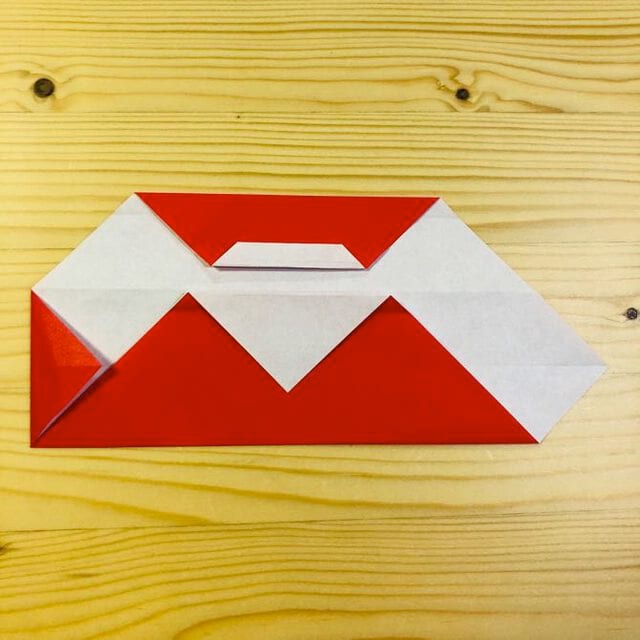
STEP 10
Turn it over.
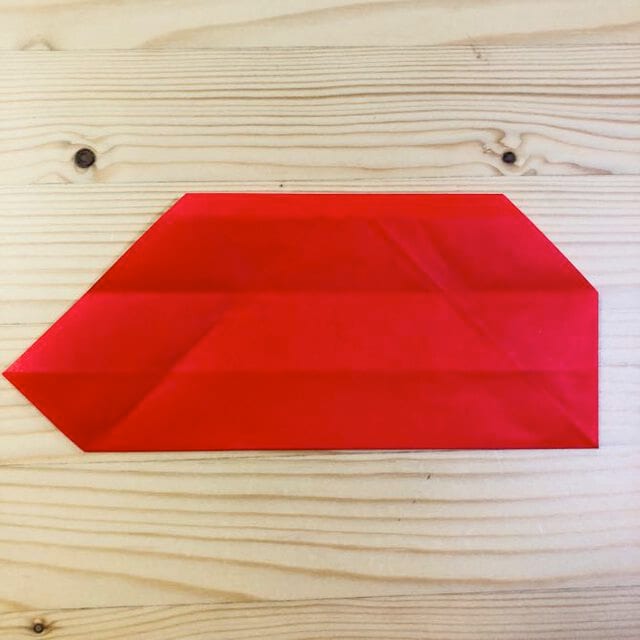
STEP 11
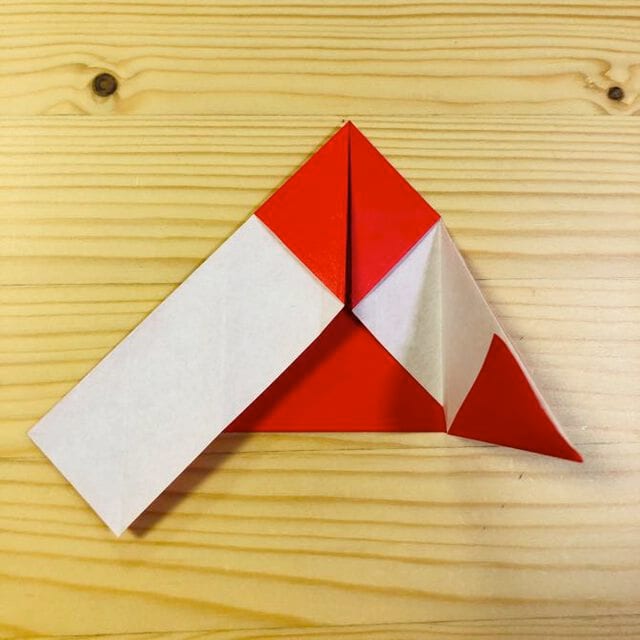
Fold it where shown in the photo.
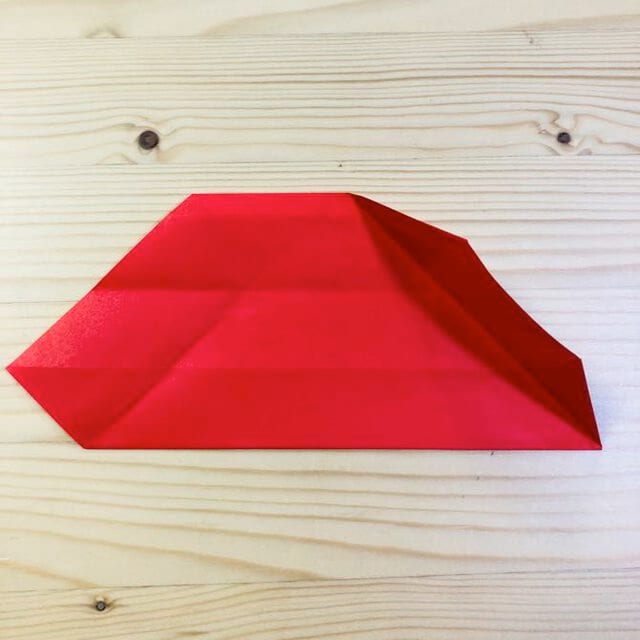
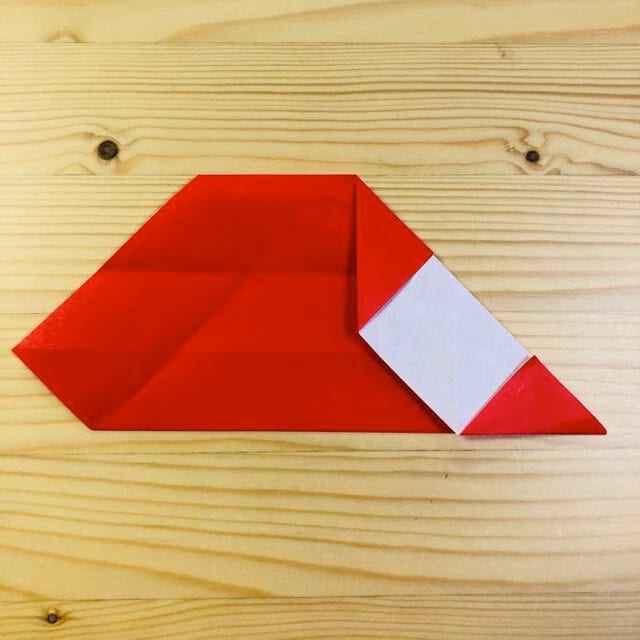
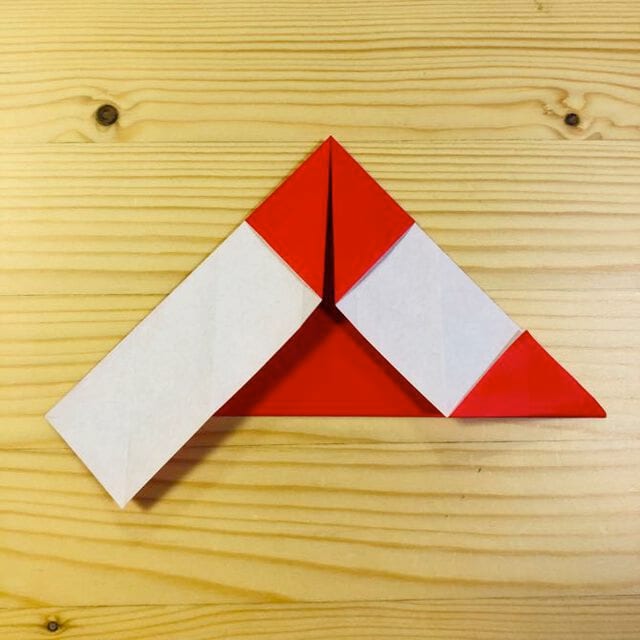
STEP 12
Fold it where shown in the photo.
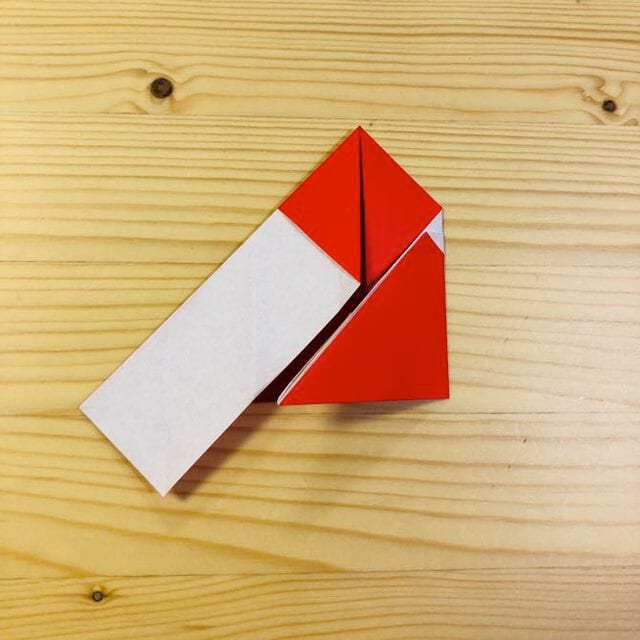
STEP 13
Make a crease where shown in the photo.
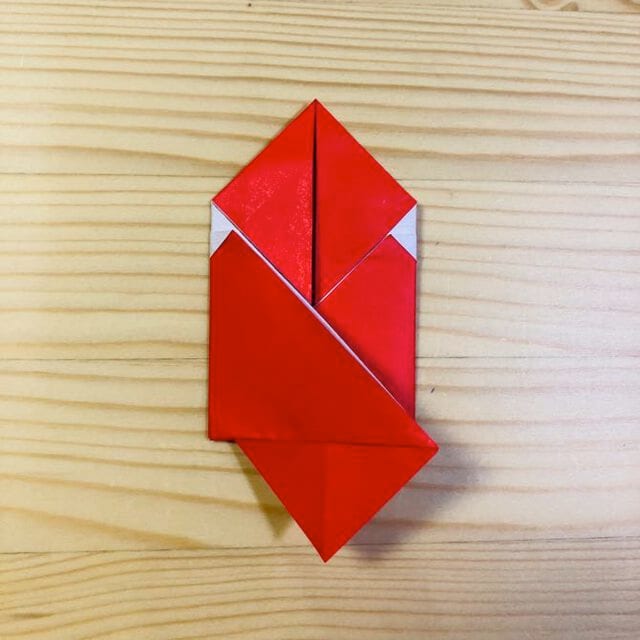
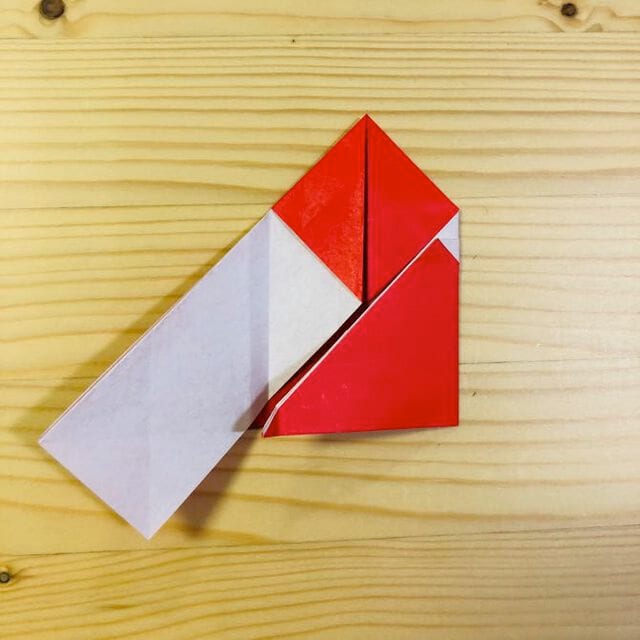
STEP 14
Turn it over.
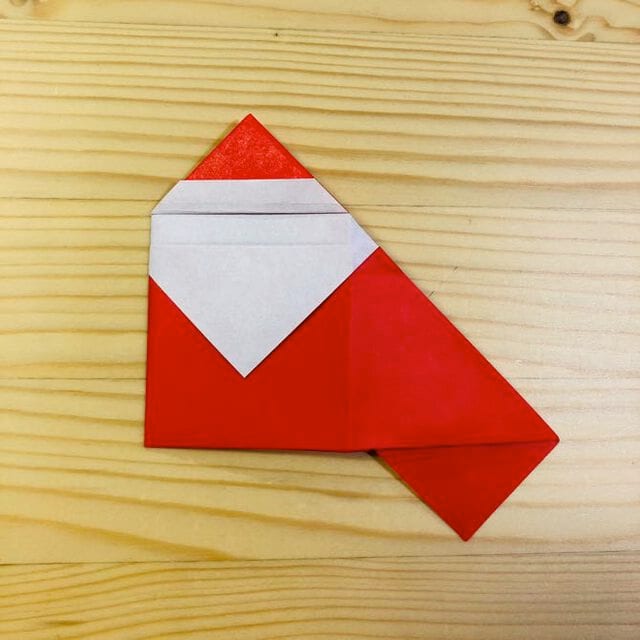
STEP 15
Open it up.
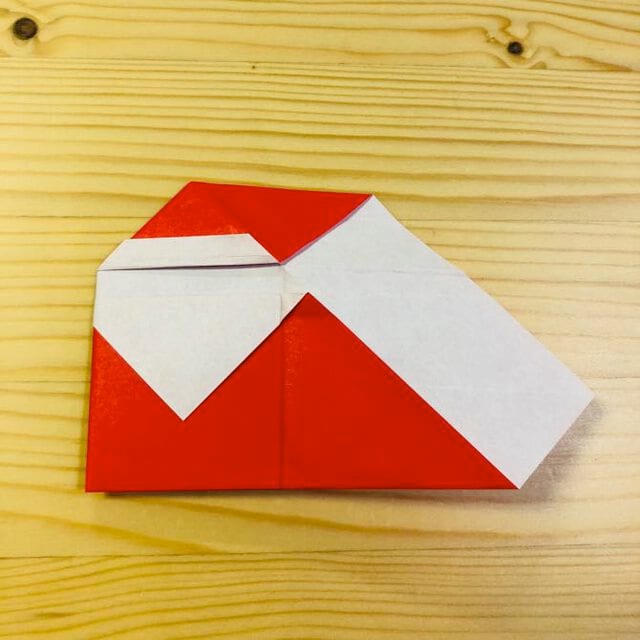
STEP 16
Make a crease where shown in the photo.
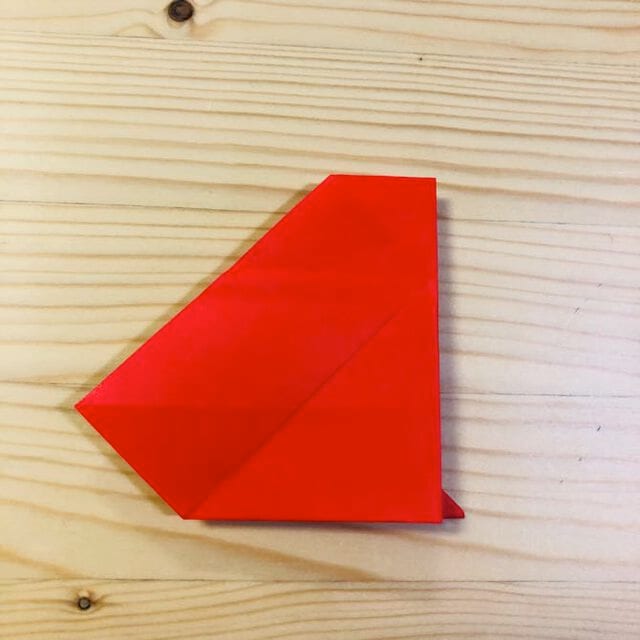
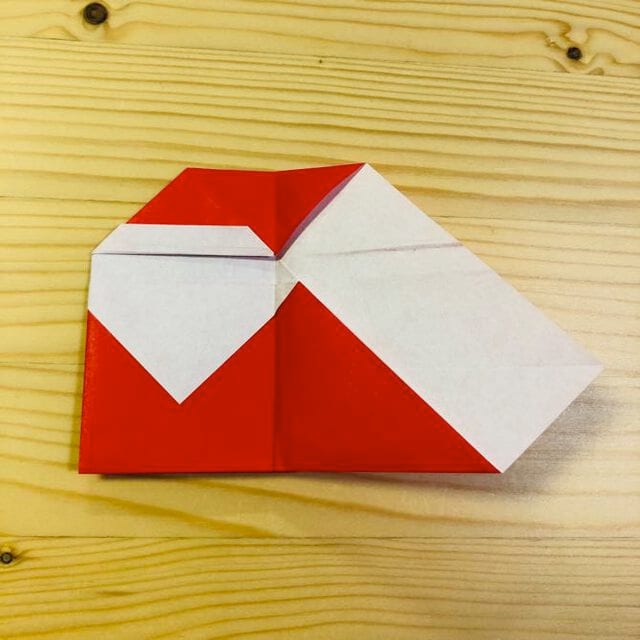
STEP 17
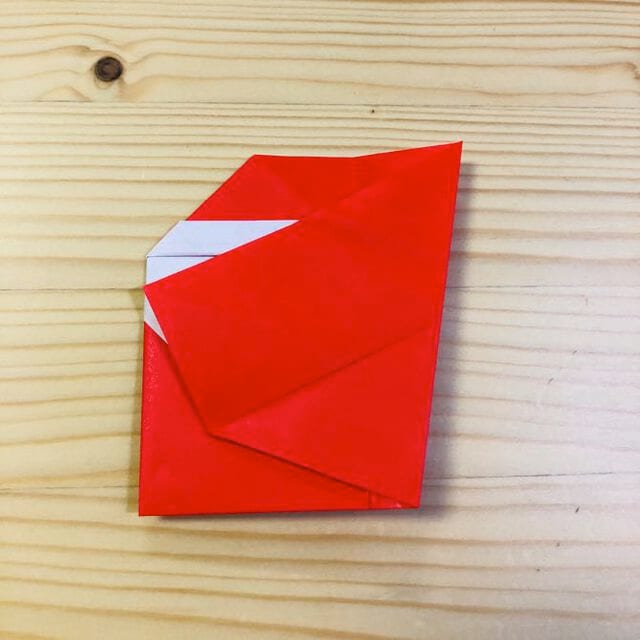
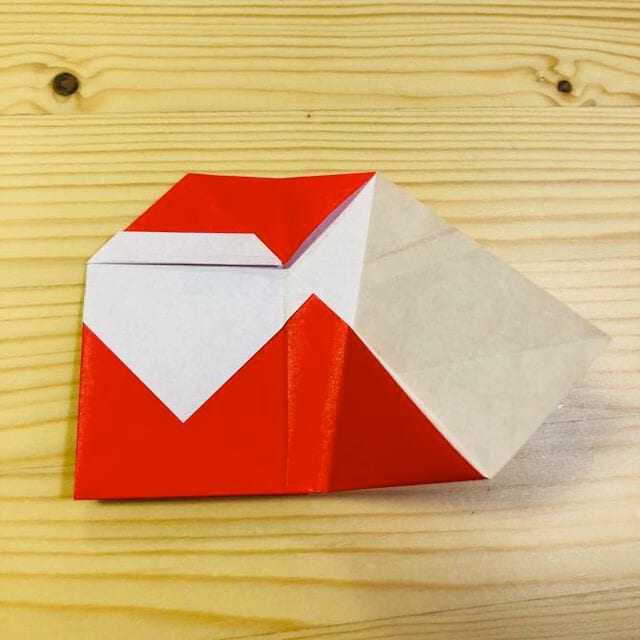
Make a crease where shown in the photo.
STEP 18
Turn it over.
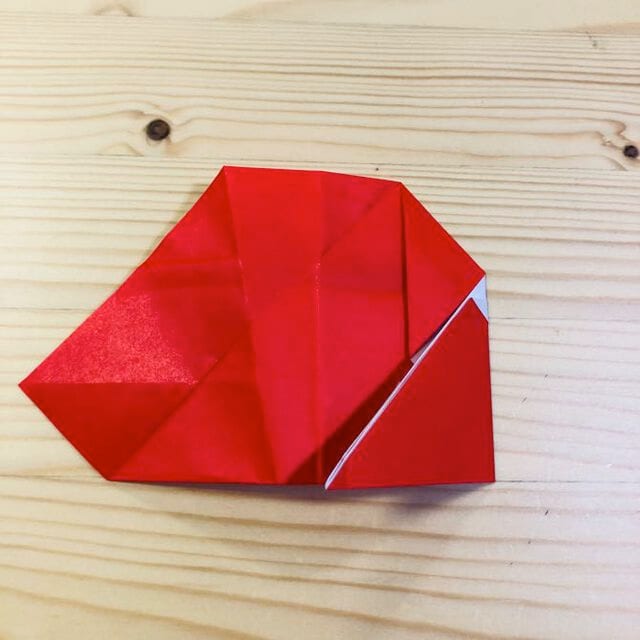
STEP 19
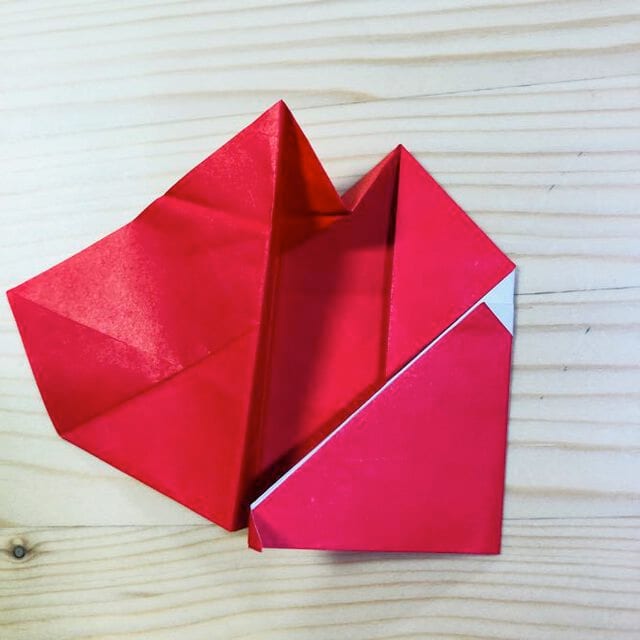
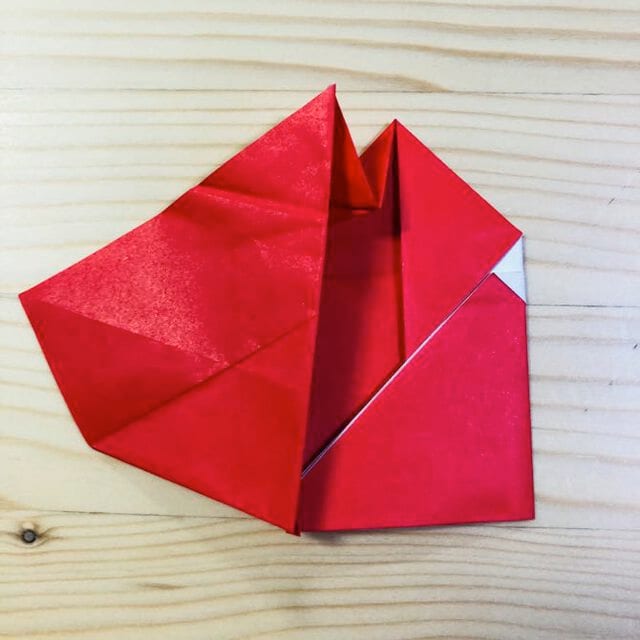
Fold it where shown in the photo.
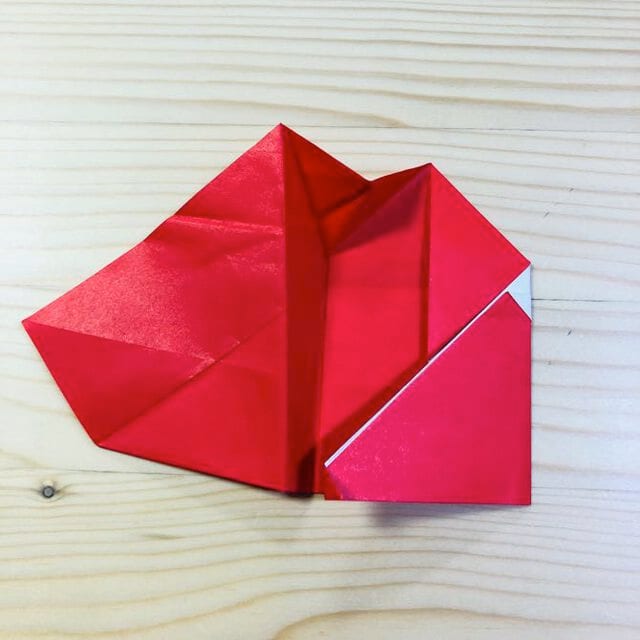
STEP 20
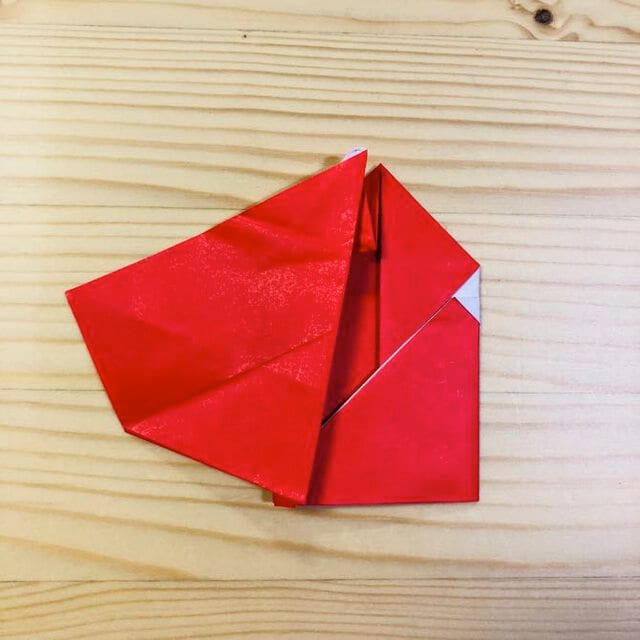
Fold it where shown in the photo.
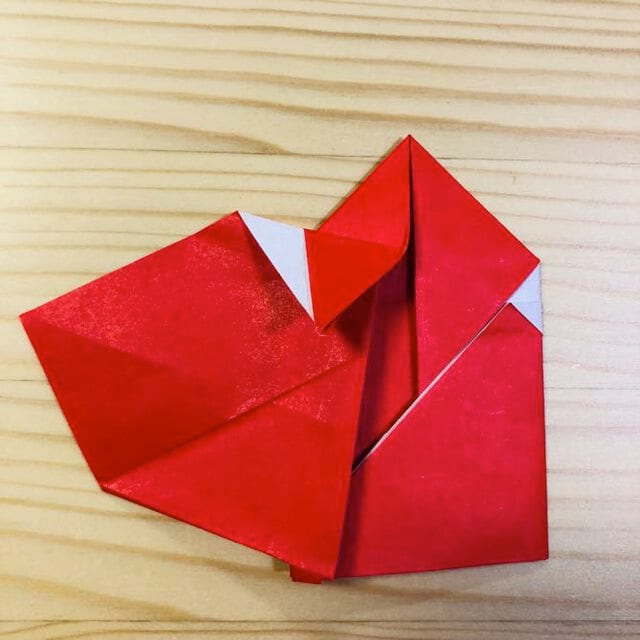
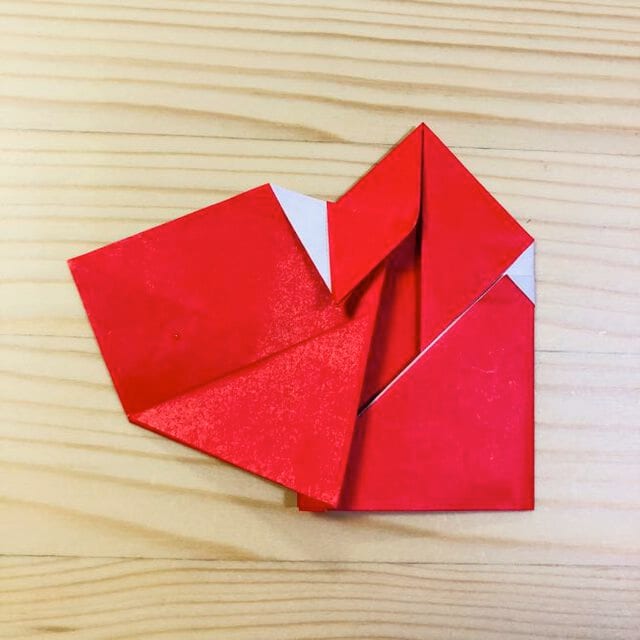
STEP 21
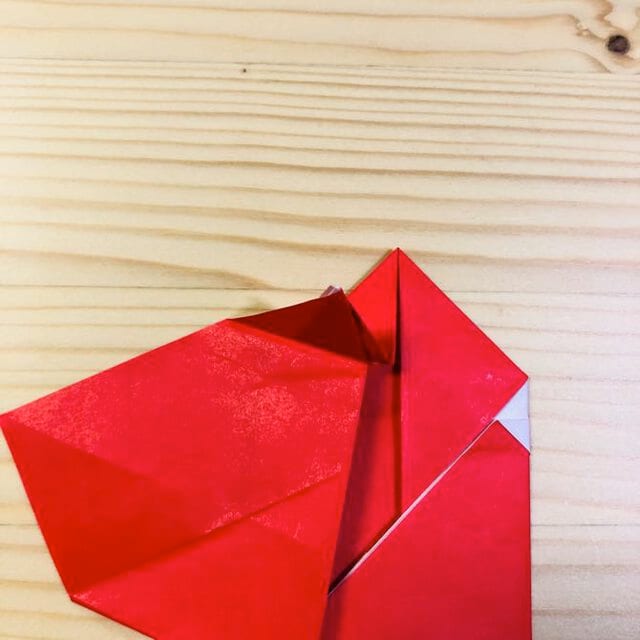
Turn it over.
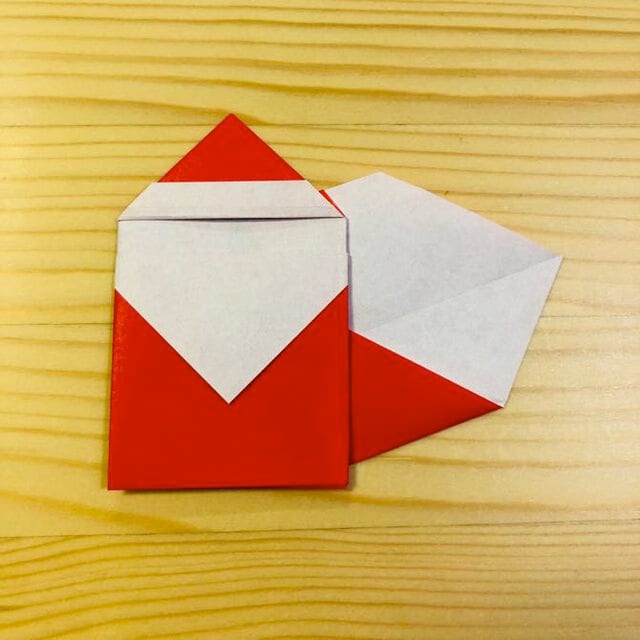
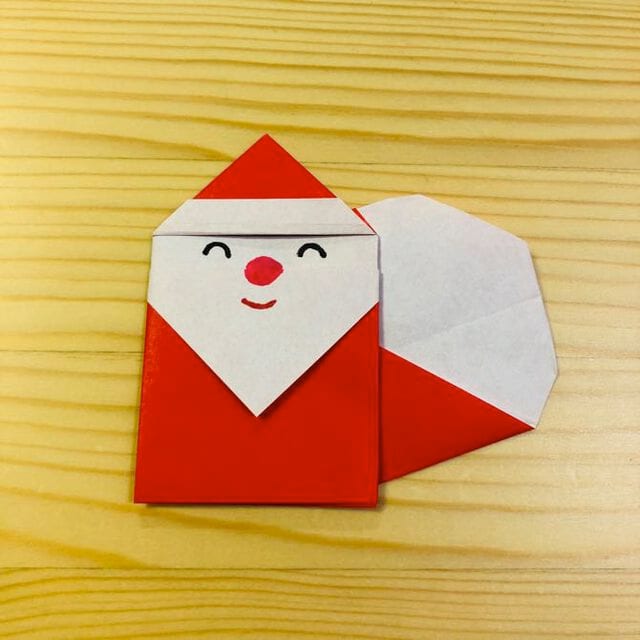
It is complete!
Once you draw his face, your Santa Claus is complete.