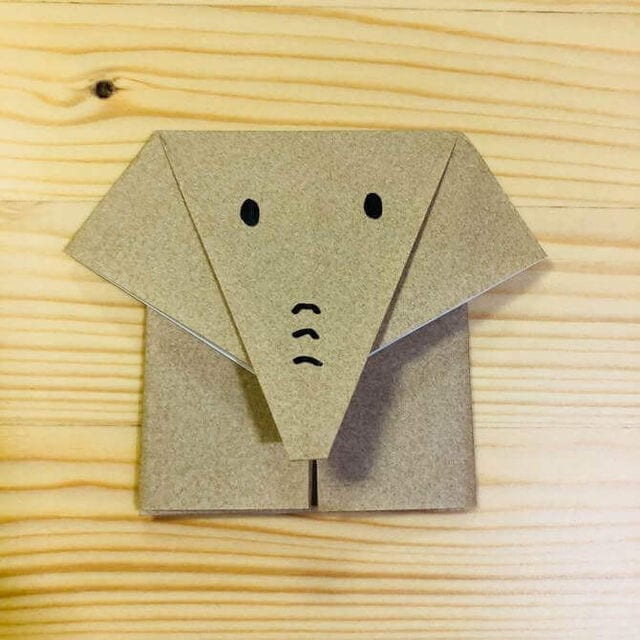
Origami Finger Puppet (Short Tutorial)
A finger puppet is the kind of origami that gets an immediate smile — you fold it, draw a face, and suddenly your finger is a little character. This short version keeps it to eleven easy steps.
What’s nice is how much you can tweak: the ear angle, the side width, where the top folds. Make a whole family of them and let them chat on your fingers.
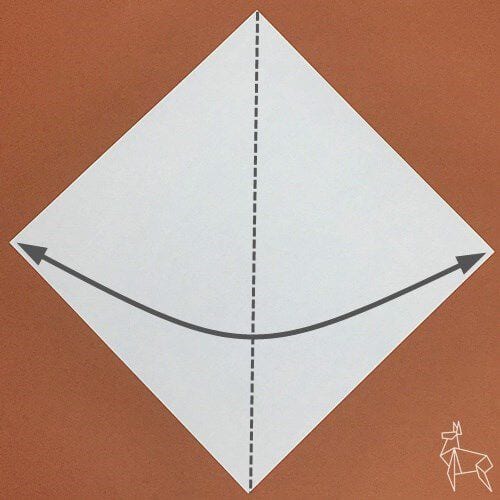
STEP 1. Place the origami paper with the color you want for the face (except the ears) facing up, oriented as shown, and fold it in half along the dotted line to set a crease.
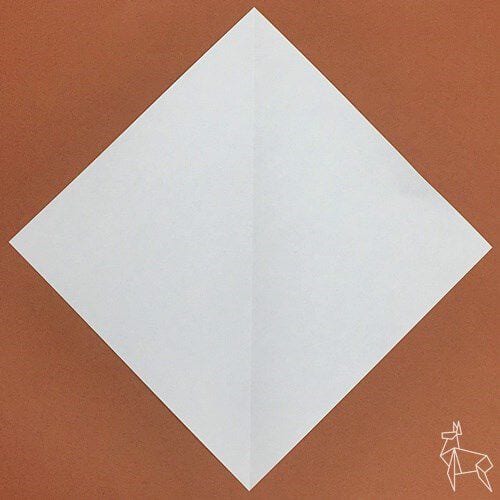
STEP 2. Fold it in half along the dotted line.
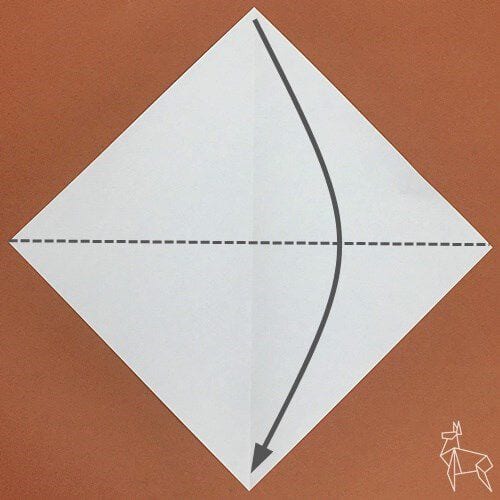

STEP 3. Fold along the dotted line so the corners meet.

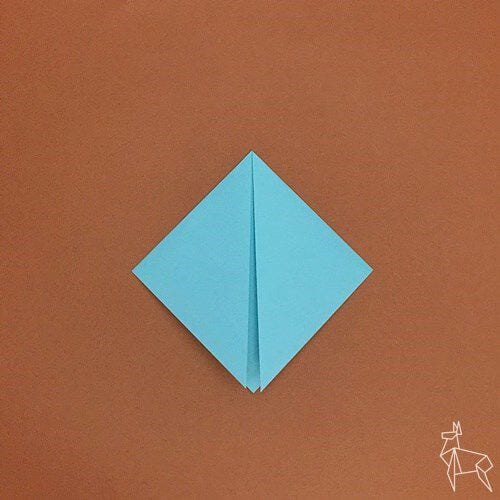
STEP 4. Flip one sheet and fold it diagonally (adjust the angle to taste).
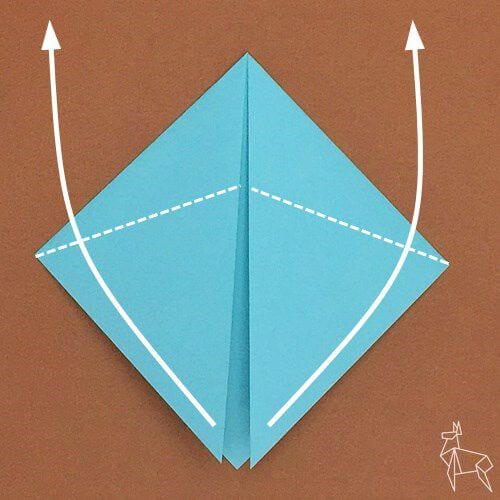
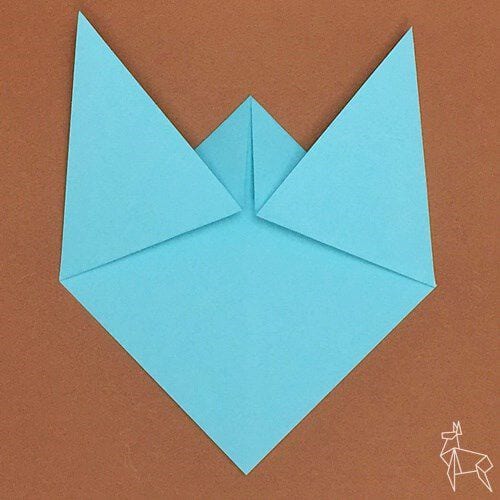
STEP 5. Turn one sheet over and fold along the dotted line so the corners meet.
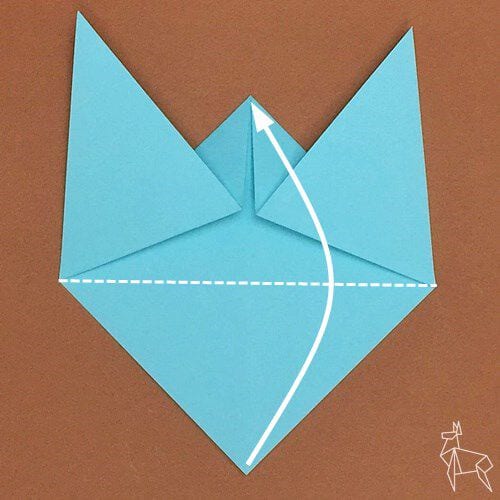
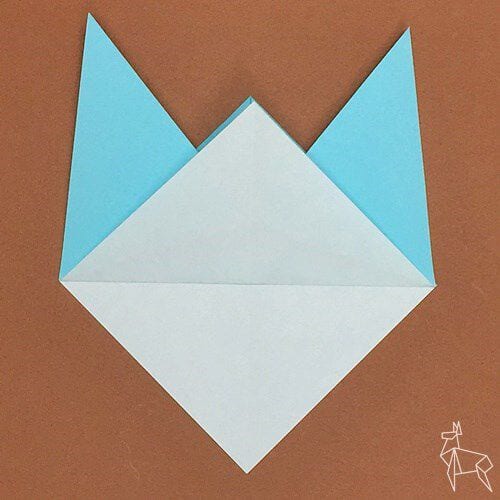
STEP 6. Turn it over.
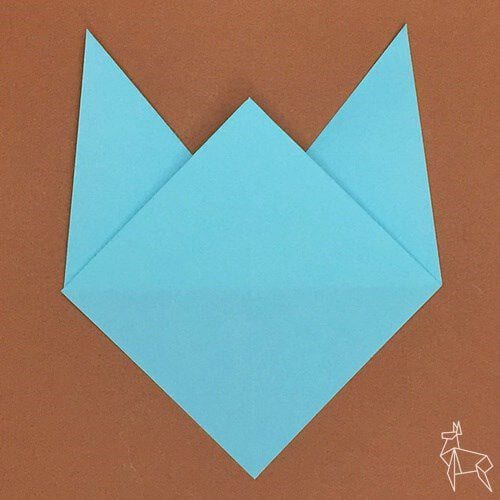
STEP 7. Fold the left and right corners inward (adjust the angle and width to taste).

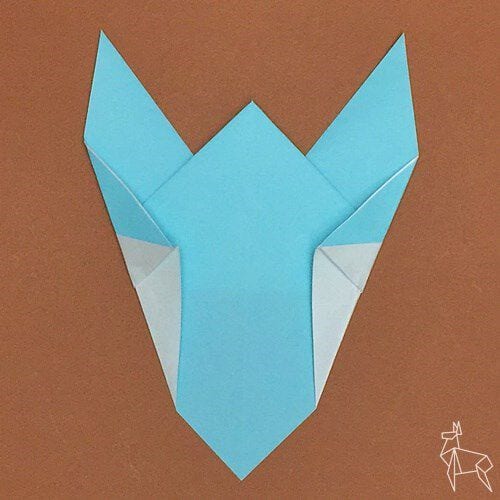
STEP 8. Fold along the dotted line so the corners meet.
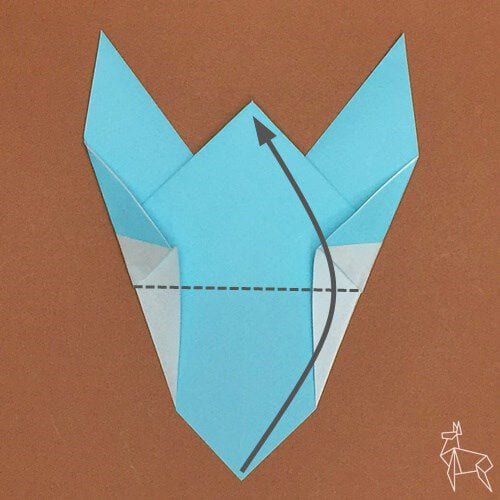
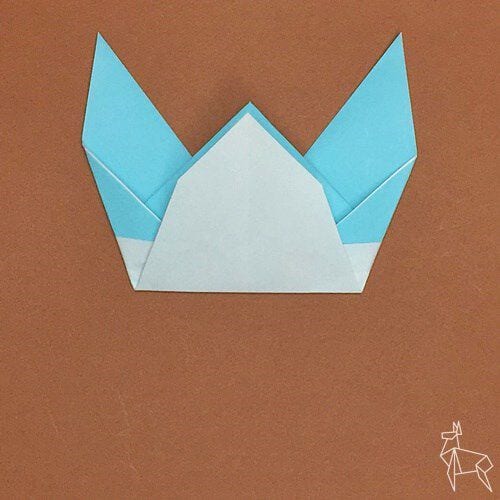
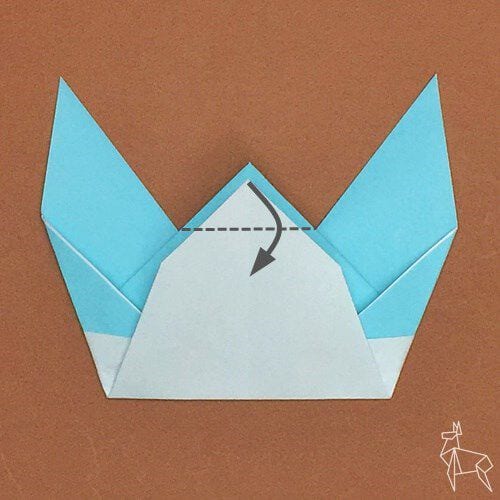
STEP 9. Fold the top corner down (adjust the position to taste).
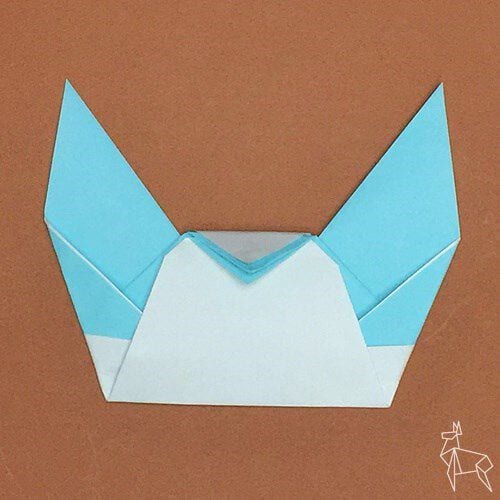
STEP 10. Turn it over.
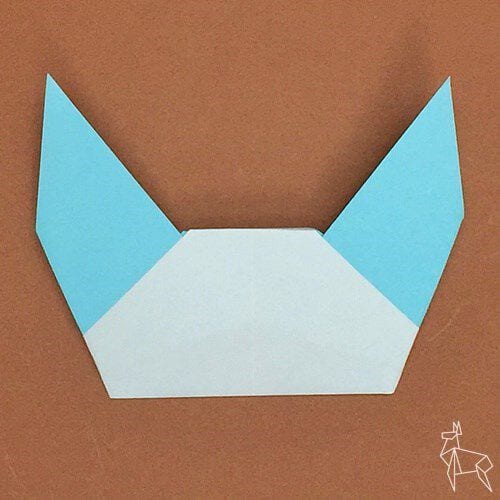
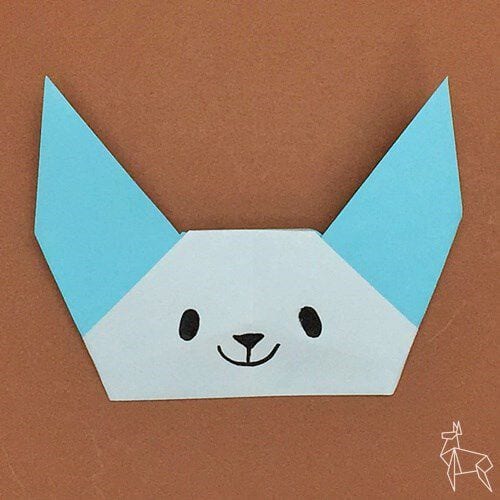
STEP 11. Once you draw on the face, your ear-topped finger puppet is complete.