Origami Strawberry (Complete Tutorial)
Strawberry season is the perfect excuse to fold a bowlful of paper ones — and this strawberry is special because it actually inflates. Two sheets do the job: red for the fruit, green for the leafy calyx, each folded with the same simple moves and then pressed together.
The magic moment is the last step, when you blow into a little hole and the flat paper pops into a rounded, three-dimensional berry. It's easy enough to fold a whole batch with a child, and a plate piled high with these makes a delightful pretend shop or a splash of summer on the shelf.
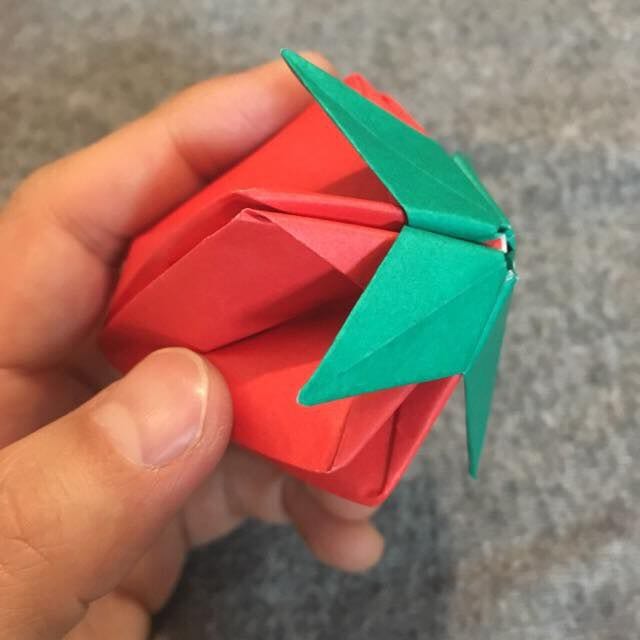
Strawberry season is here, and the strawberry is my favorite fruit of them all. This time I’d like to fold one in origami.
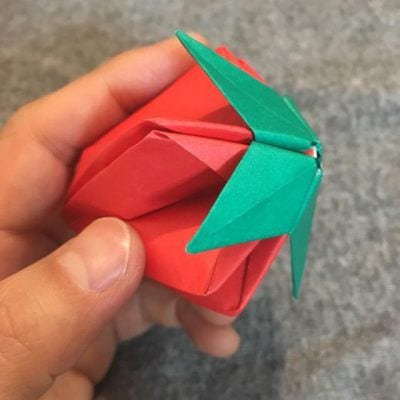
This is a strawberry origami that you inflate like a balloon to make it three-dimensional. Fold a whole plateful and you can set up your own little strawberry shop.
How to Fold a Three-Dimensional Strawberry
I’ll use two sheets of origami this time — one red for the fruit and one green for the calyx — and fold them separately before combining them in the middle. (You could also tape them together, but folding them apart and joining later gives a cleaner result.) It’s easy, so try folding a batch with your child.
STEP 1. First, prepare one red and one green sheet of origami paper.
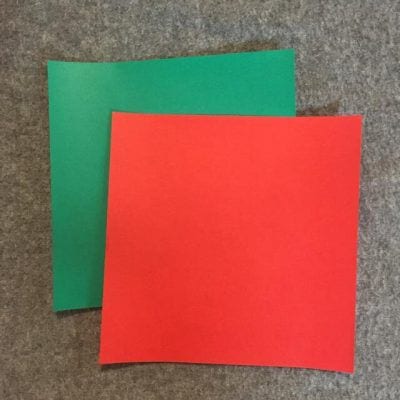
STEP 2. Start with the fruit from the red paper. Fold it into a triangle with the color on the outside.
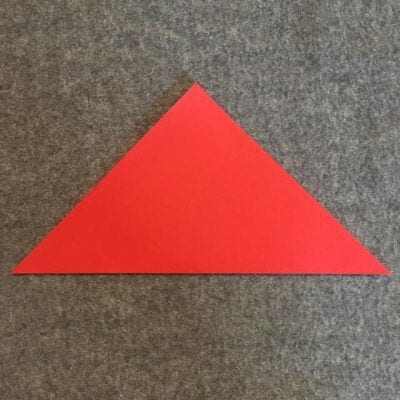
STEP 3. Fold it once more into a smaller triangle.

STEP 4. Open the pocket; open the other side the same way.


STEP 5. Open all four sections of the pocket to complete the basic shape.
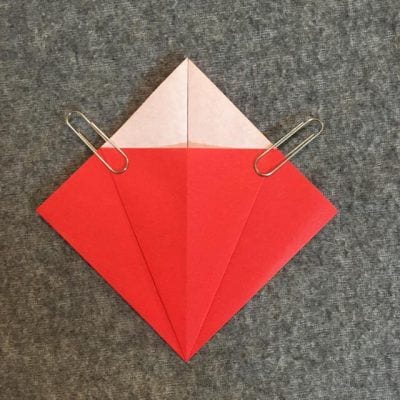

STEP 6. Fold the calyx from the green paper into a triangle with the color on the inside, using the same procedure as before.

STEP 7. Align the two sheets of origami.
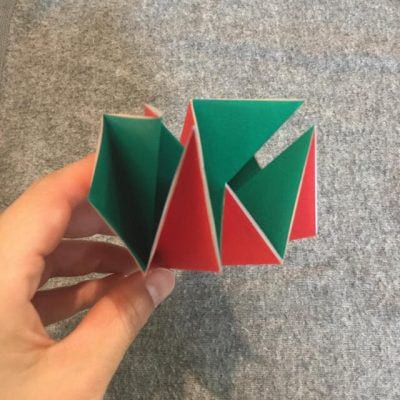
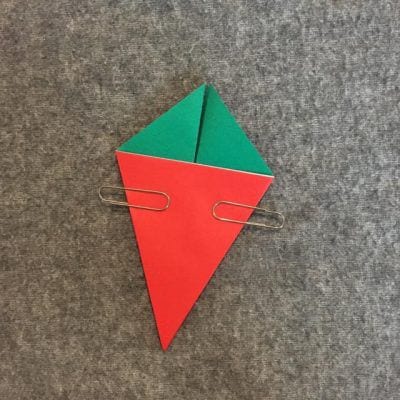
STEP 8. Turn the front and back one by one so the red color comes to the front.
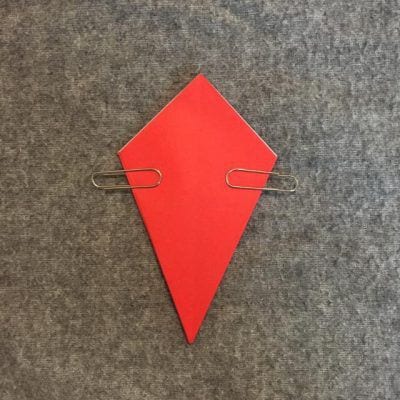
STEP 9. Place it as shown and fold along the center line.


STEP 10. Fold up the folded part.
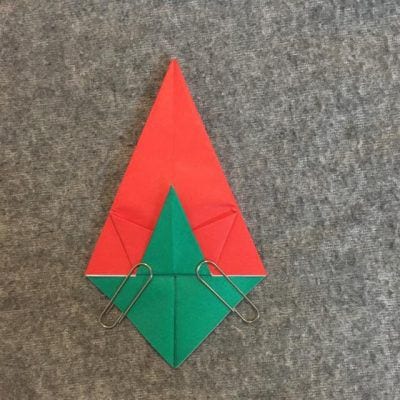
STEP 11. Turn it over and fold the same way.
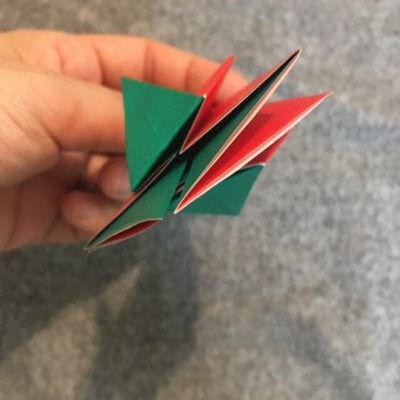
STEP 12. Turn the paper so the red is on the front and fold as before.

STEP 13. Fold the back side the same way.
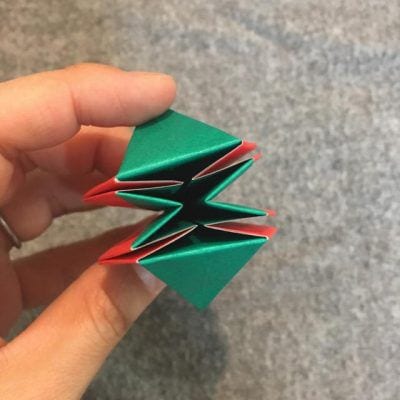
STEP 14. Again turn the paper so the red is on the front and fold as shown (same on the back).
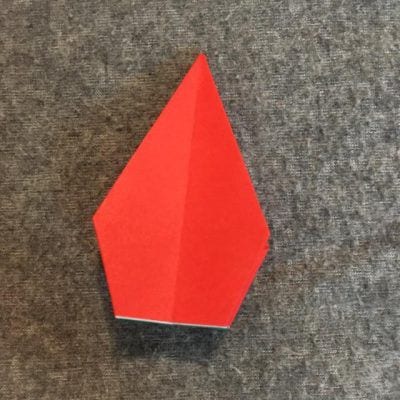

STEP 15. Turn the paper over and fold the same way as before (same on the back).
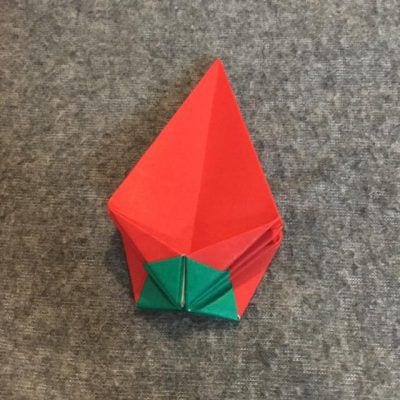
STEP 16. Hold it as shown and blow into the hole to complete your strawberry.
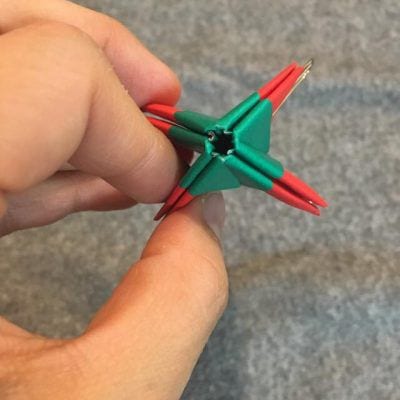
Well done! Because the fruit and calyx are folded the same way for half the steps, once you get used to it you can fold these quickly. Joining the two parts is just like folding a flower, so it isn’t as hard as it looks.