Origami Frog Face
A frog face is about the friendliest origami you can make with a child — just a square of green paper, a handful of easy folds, and a marker at the end to draw the face.
There's almost nothing to trip over here: crease, fold edges to the middle, unfold, then do one little pull-and-flatten on each side. Flip it over, add two eyes and a smile, and you've got a grinning frog ready for a card or the fridge door.
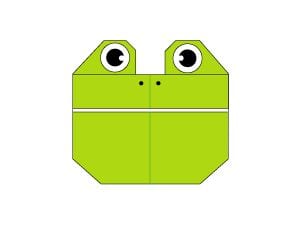
Learn how to make an easy origami frog face. I suggest you use green origami paper, because frogs usually have green skin. Follow the tutorial step by step — it’s easy to do and very suitable for beginners and kids. Let’s get started.

STEP 1. Fold in half twice to make creases, then fold back.
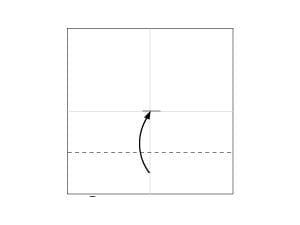
STEP 2. Fold the bottom edge to meet the center line.
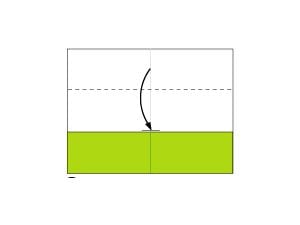
STEP 3. Fold the upper edge to meet the center line.
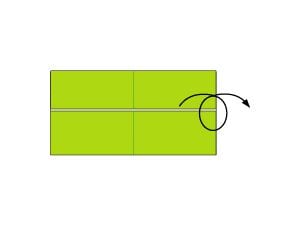
STEP 4. Turn the model over.
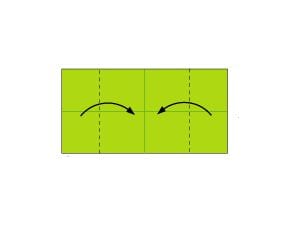
STEP 5. Fold both the left and right edges to meet the center line.
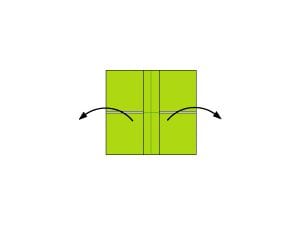
STEP 6. Unfold.
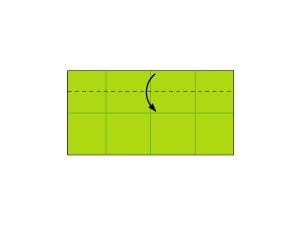
STEP 7. Fold the upper edge to meet the center line.
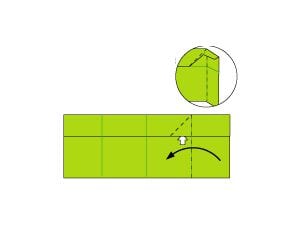
STEP 8. Fold the right edge to the center line and pull it out along the dotted line as shown, then flatten.
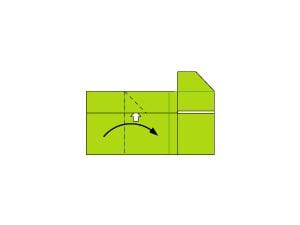
STEP 9. Fold the left edge to the center line and pull it out along the dotted line as shown, then flatten.
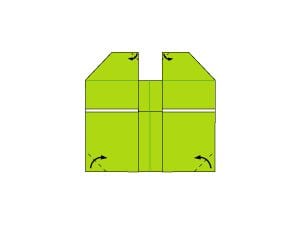
STEP 10. Fold the corners inward along the dotted line as shown.
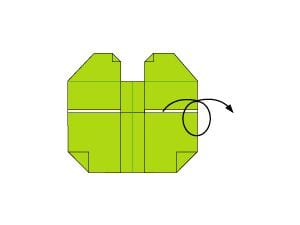
STEP 11. Turn the model over.
STEP 12. Draw a face and your frog face is finished.