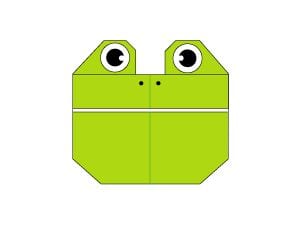
Paper Origami Reindeer
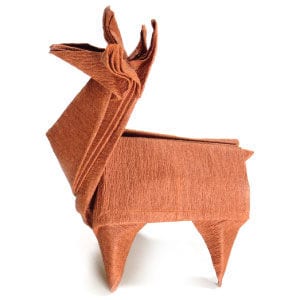
Few origami projects say 'Christmas' quite like a little paper reindeer. This one is built in two friendly halves — a head and a body — that you fold separately and then join, so you can tackle either part first.
The body is mostly gentle creases and one satisfying pair of inside reverse folds that bring the legs to life. Grab a square of red paper if you want the classic festive look, then fold it with the kids; by the end you'll have a reindeer ready to stand on the mantle or decorate a holiday card.
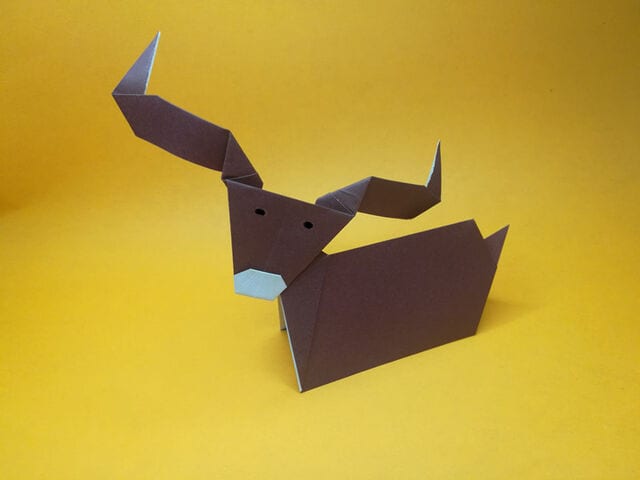
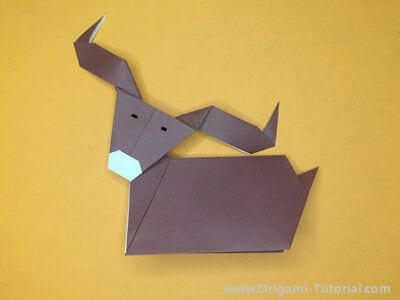
It’s very easy to make a reindeer out of paper. Here are detailed instructions and diagrams to guide you. Just fold step by step following the tutorial. When you have finished the deer’s head and body, you can make a little artwork simply by combining them — the process is very simple. You can choose red paper to finish it.
When Christmas comes, I always fold this with my children. It brings a lot of happiness to my family, and I believe you and your family will like it too, because it really is a perfect origami for the holidays.
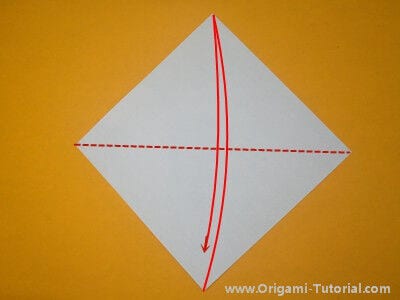
STEP 1. Start with a square sheet of paper. Make a crease as shown, then unfold.
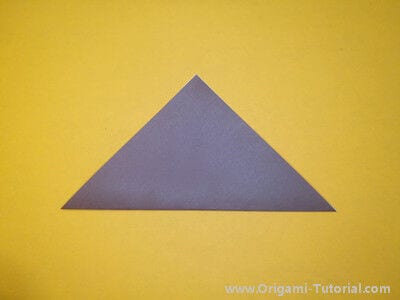
STEP 2. Fold on the creases.
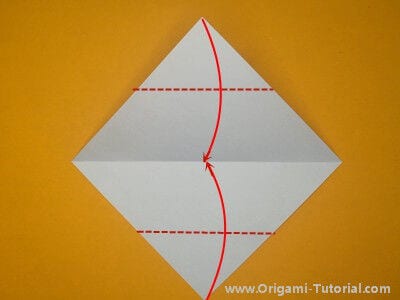
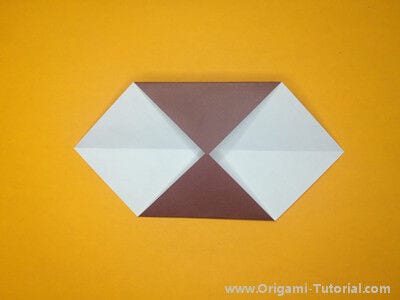
STEP 3. Fold on the crease.
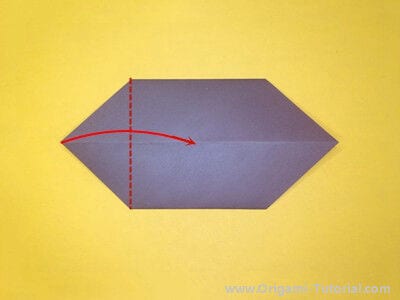
STEP 4. Make a crease as shown below.
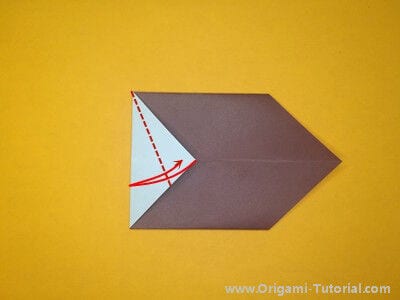
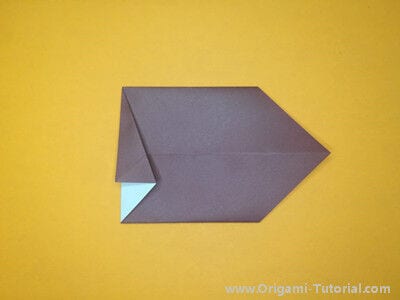
STEP 5. Fold on the crease as shown below.
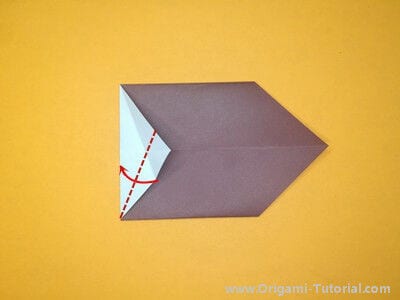
STEP 6. Open and fold as shown below.
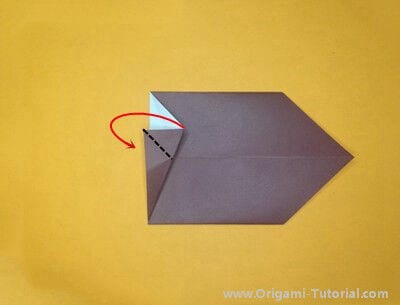
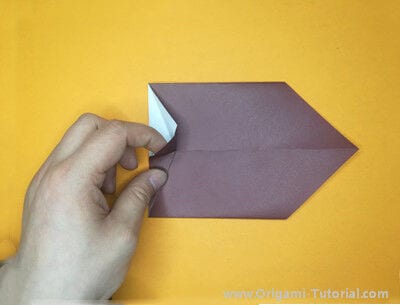
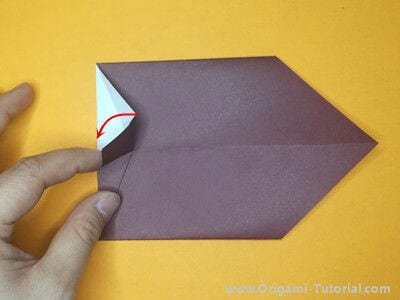
STEP 7. Fold behind. The black dotted line is the mountain fold.
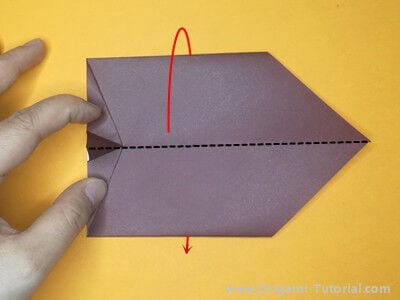
STEP 8. Make a crease as shown below.
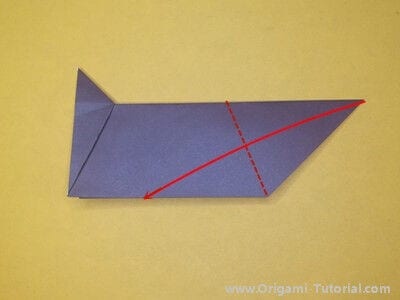
STEP 9. Make a crease as shown below and decide the size of the tail. The black dotted line is the mountain fold.
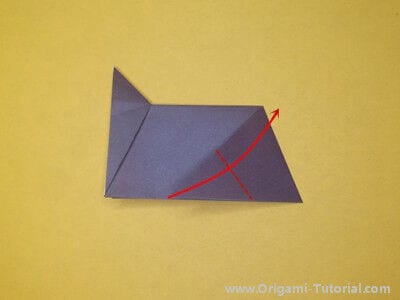
STEP 10. Open and fold.
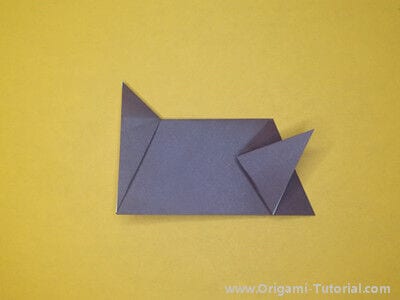
STEP 11. Make inside reverse folds twice as shown below. The black dotted line is the mountain fold, the red dotted line is the valley fold.
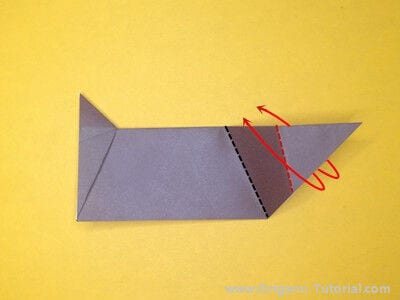
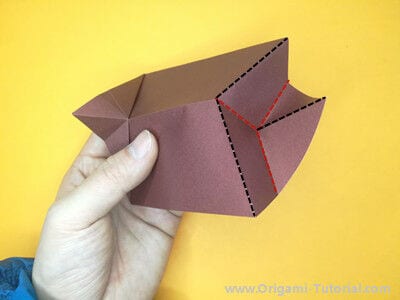
STEP 12. Fold inward as shown below.
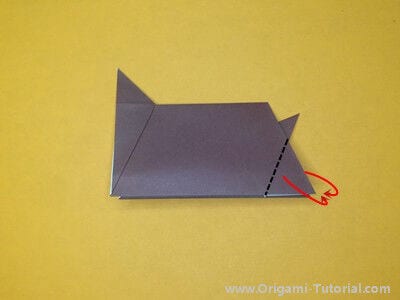
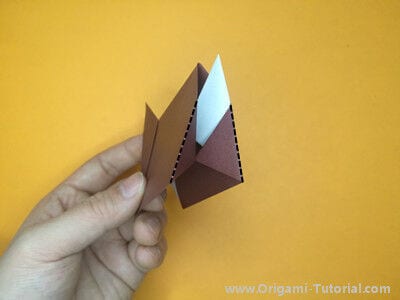
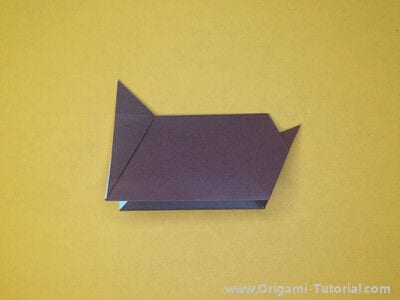
STEP 13. The body of the origami deer is finished. If you have already folded the head of the origami deer, put the head and body together as shown.