Origami Piano (Complete Tutorial)
A tiny paper piano is one of those models that makes people do a double take — it actually stands up and shows its little keyboard. This is the full, detailed version, sixteen steps from a flat square to a recognizable instrument.
Don't be put off by the length: most of the work is just valley folds and creases that set up the shape, with a couple of satisfying squash folds in the middle. By the end you'll have bent the sides into a neat right-angled case, and if the corners want to pop open, a touch of tape or glue makes it permanent. Fold it in black and white paper and it looks just like a miniature grand.
Things to prepare
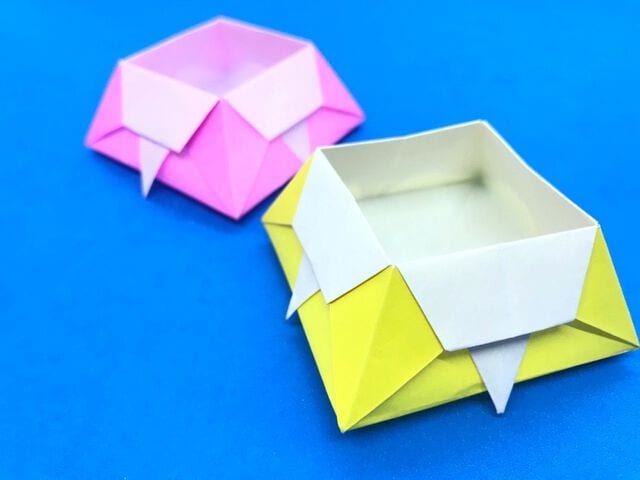
1 sheet of normal size origami (15cm x 15cm)
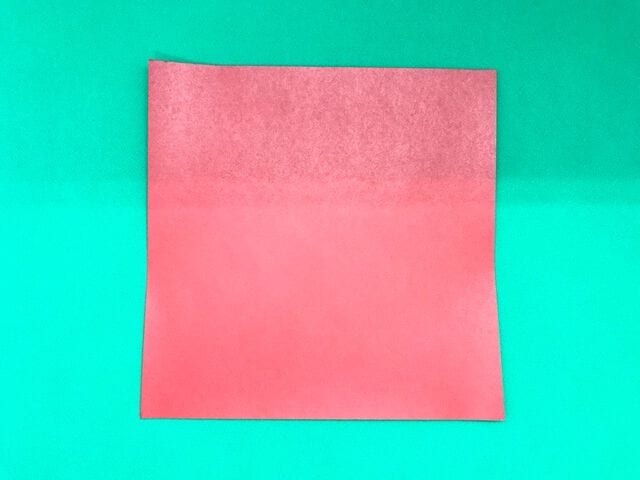
How to Fold the Piano
STEP 1. Turn the uncolored side of the origami face up and fold the center vertically to make a crease.
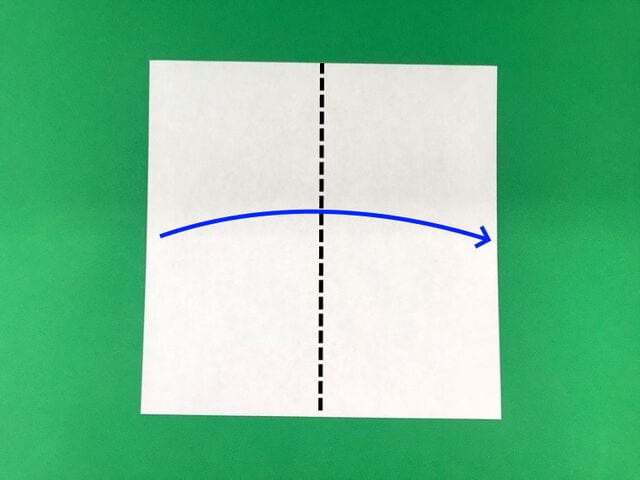
STEP 2. Fold it in a valley fold like this and unfold.
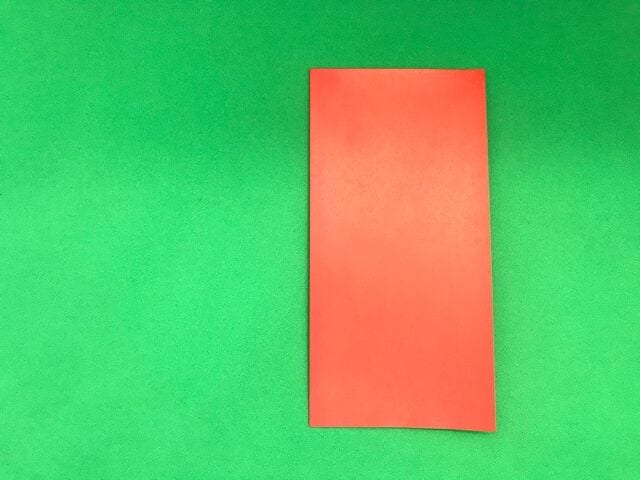
STEP 3. After unfolding, fold the center sideways.
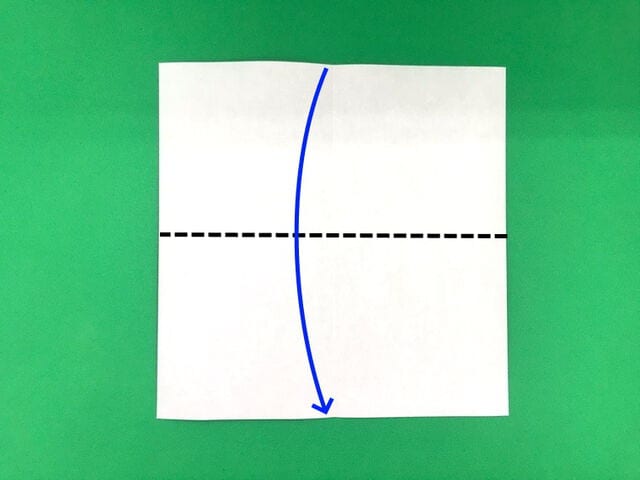
STEP 4. Make a valley fold at the dotted line so it aligns with the middle crease.
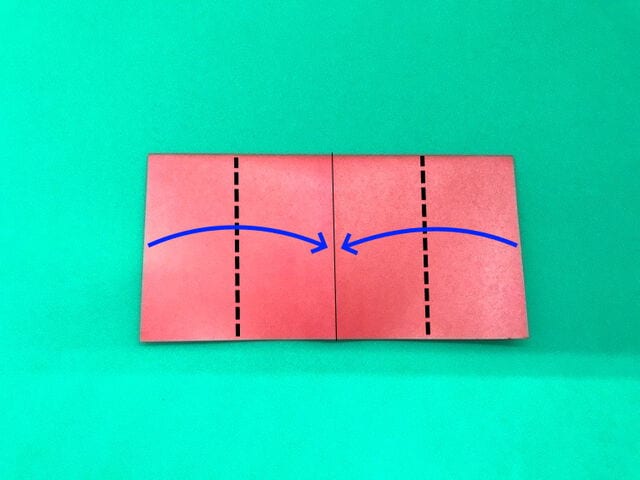
STEP 5. Make a valley fold at the dotted line and crease.
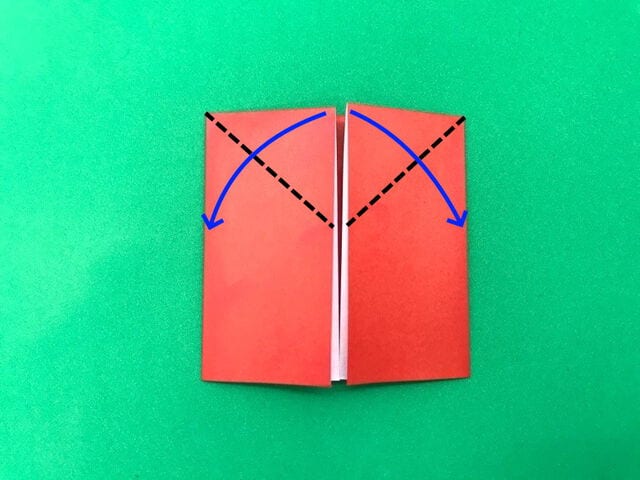
STEP 6. After making a valley fold and crease like this, unfold.
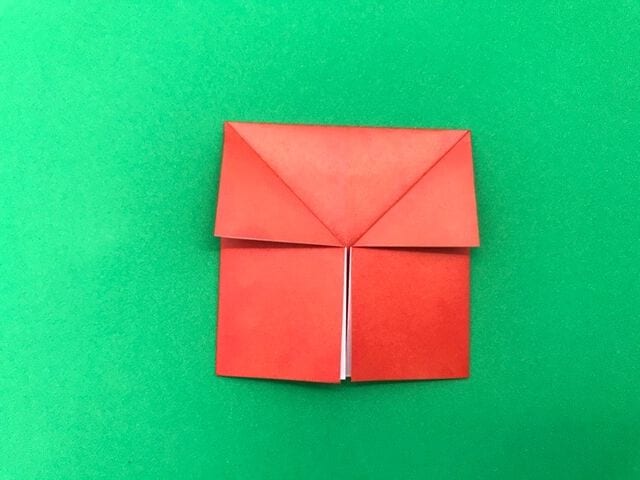
STEP 7. Take the front flap to the left, open the pocket, and squash-fold it.
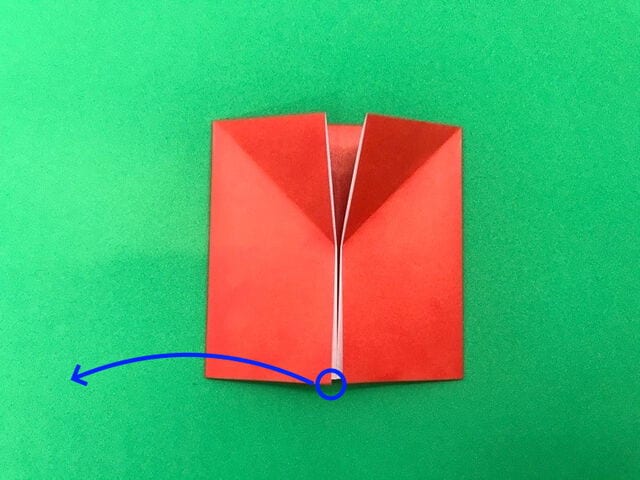
While unfolding like this, fold at the dotted line using the crease.
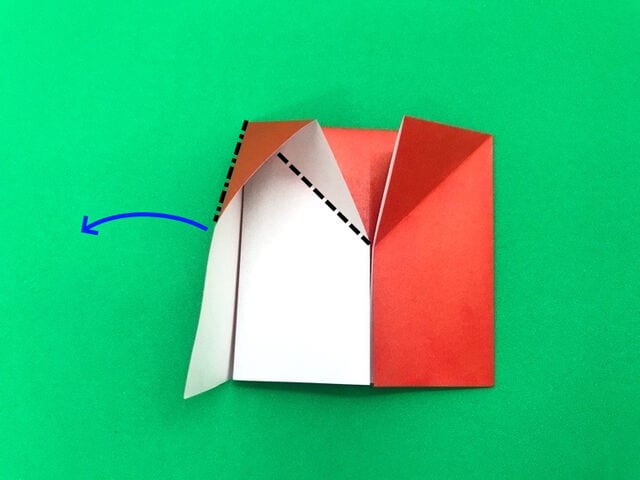
STEP 8. Bring the front flap to the right, open the pocket, and squash-fold it.
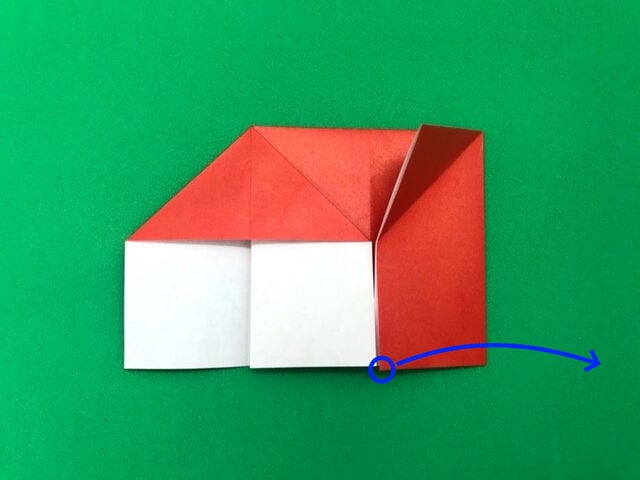
While unfolding like this, fold at the crease position.
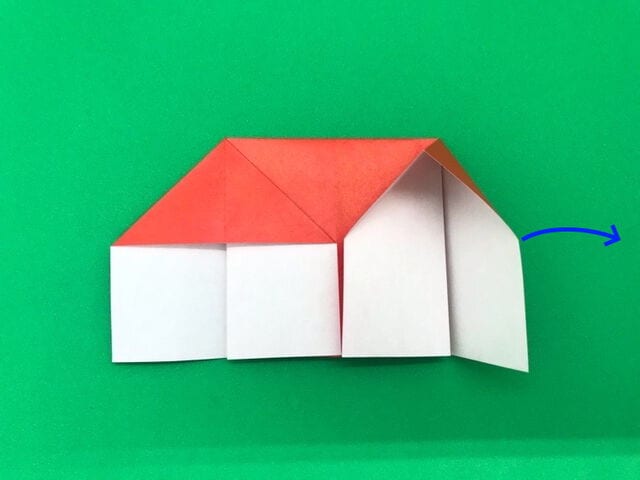
STEP 9. Fold the front paper at the dotted line to make a crease.
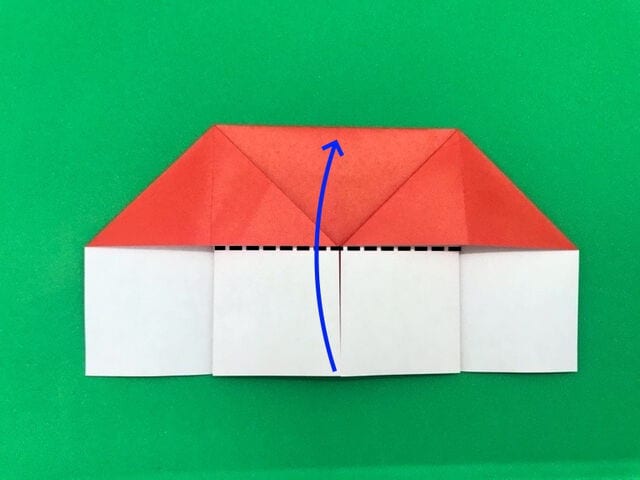
STEP 10. Fold the folded paper further at the dotted line to make a crease.
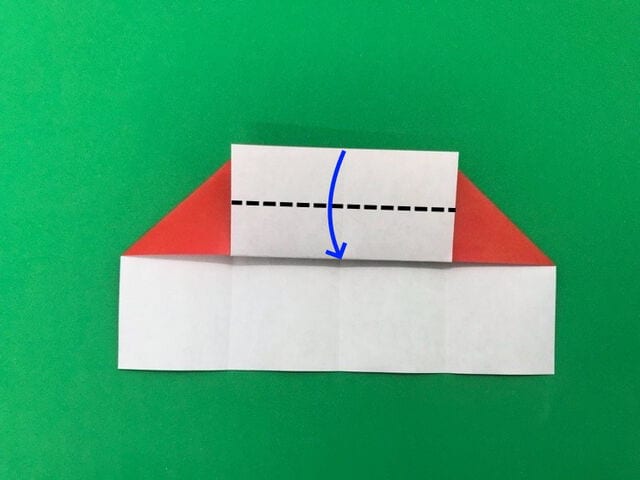
STEP 11. Then make a valley fold at the dotted line to crease.
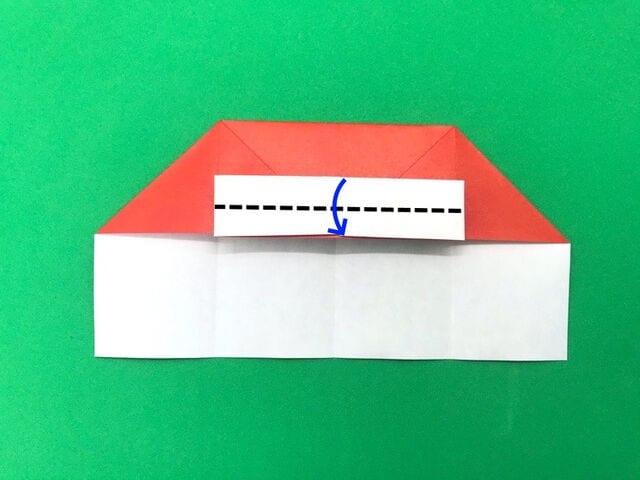
STEP 12. Spread the part that will become the piano keyboard down to the bottom.
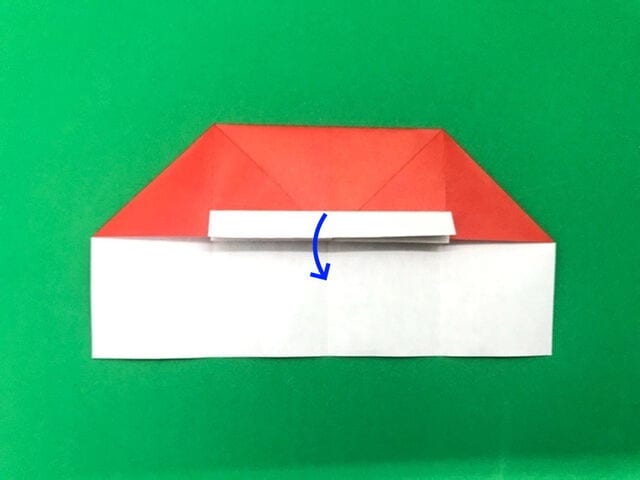
STEP 13. Make a valley fold at the dotted line and crease.
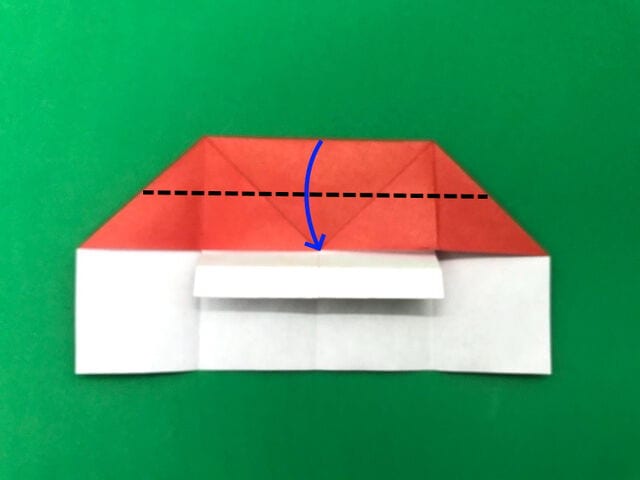
STEP 14. After making a valley fold and crease like this, unfold.
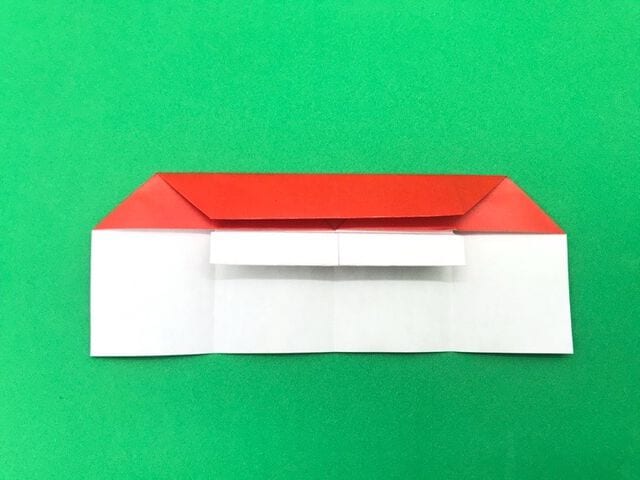
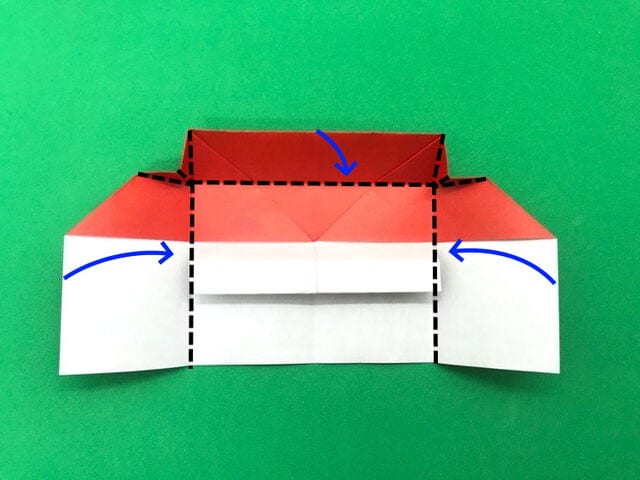
STEP 15. Shape the piano as you fold at the dotted line.
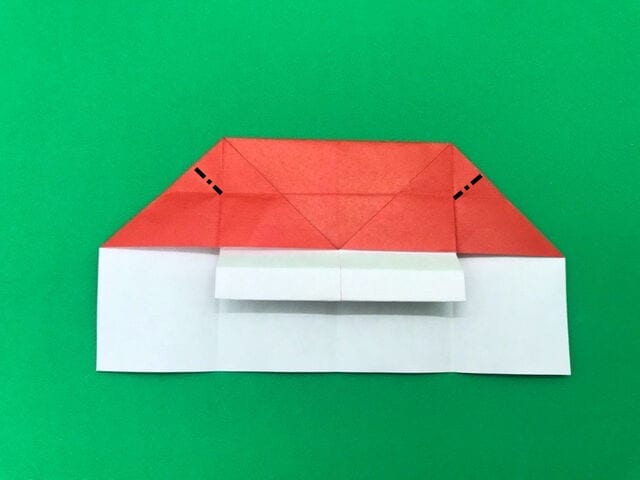
Bend the left and top parts at right angles following the arrow at the thin dotted line, and mountain-fold at the thick dotted line.
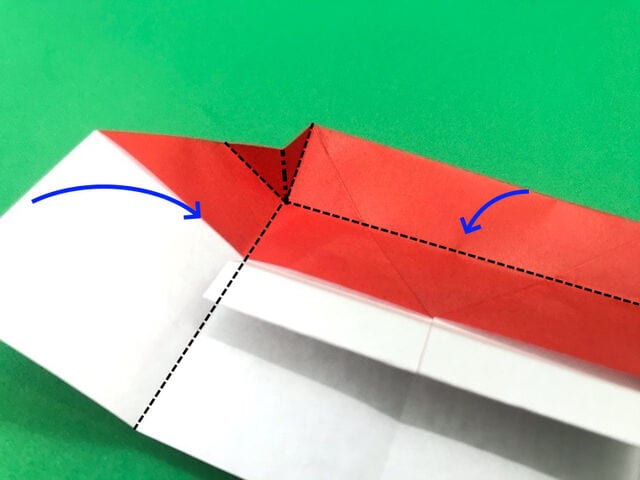
In the same way, bend the right and top parts at right angles following the arrow at the thin dotted line, and mountain-fold at the thick dotted line.
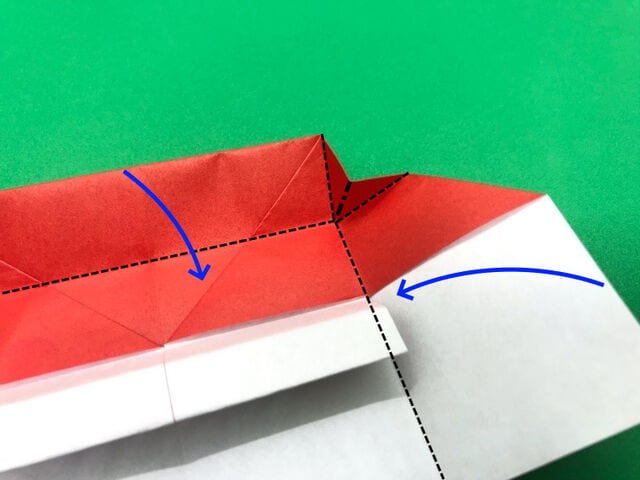
Midway through bending: bend the left, right, and top at right angles following the arrow, and bend the keyboard part at a right angle to shape it.
STEP 16. This completes the piano! The upper corners tend to come apart, so if you secure them with tape or glue the model will hold its shape firmly.