Origami Chestnut
Chestnuts mean autumn: roasted on a street corner, stirred into rice, or hidden inside a sweet dorayaki. This little paper version keeps that warm feeling without any cooking.
It looks like a lot of steps at first glance, but every move is just a fold, a crease, or a tuck — and the payoff is a rounded chestnut you bring to life with a single puff of air. Set aside a quiet few minutes, grab a sheet of brown paper, and let's fold one together.
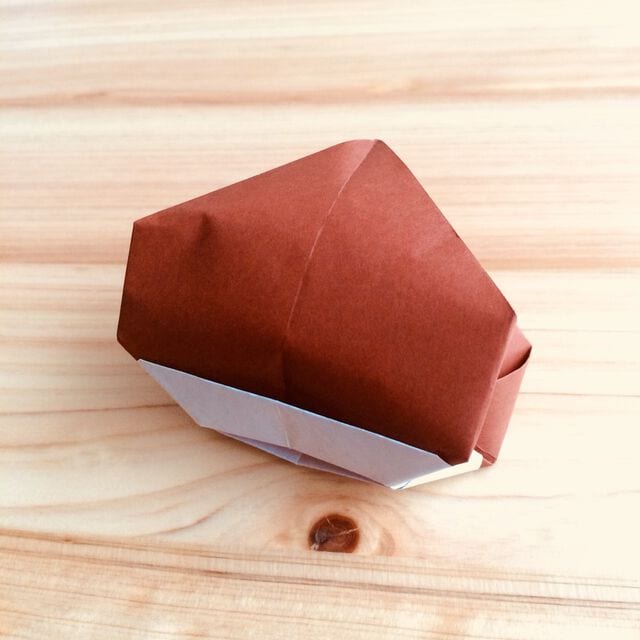
Chestnuts are a true taste of autumn — delicious simply boiled, lovely mixed into rice, and my personal favorite tucked inside a dorayaki. This origami chestnut captures that cozy flavor in a single sheet of paper.
Easy Way to Fold an Origami Chestnut
Because this is a chestnut, prepare one sheet of brown-based origami paper, then let’s fold it now.
STEP 1. With the white side facing up, fold the paper in half diagonally into a triangle, crease, and unfold.
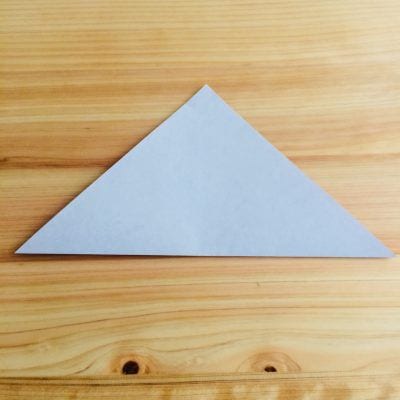
STEP 2. Fold the other diagonal in the same way, crease, and unfold.
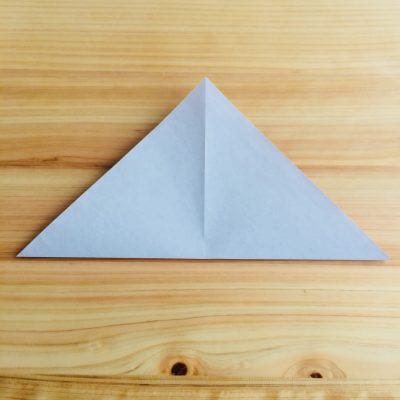
STEP 3. Turn the paper brown side up, fold it in half into a rectangle, crease, and unfold.
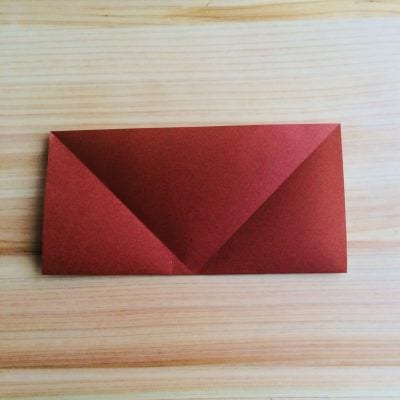
STEP 4. Fold the other rectangle direction in the same way, crease, and unfold.
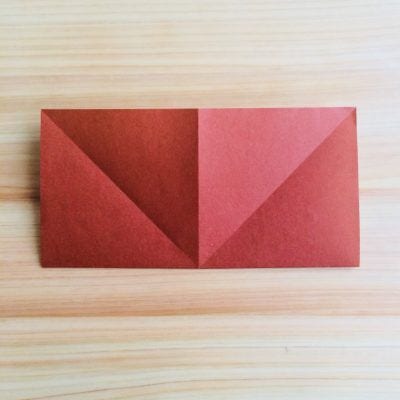
STEP 5. Using the creases, fold the paper into a square base.
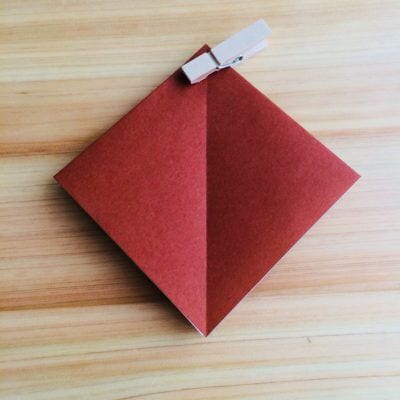
STEP 6. Fold a bottom corner up to the top corner, crease, and unfold.
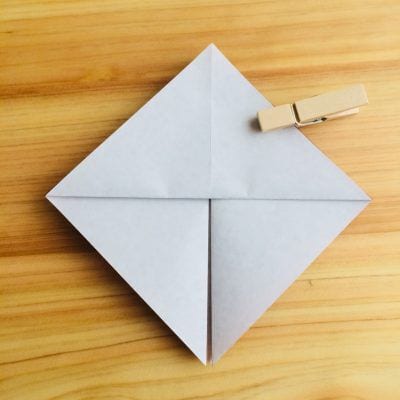
STEP 7. Fold the bottom corner up to the crease you just made, crease, and unfold.
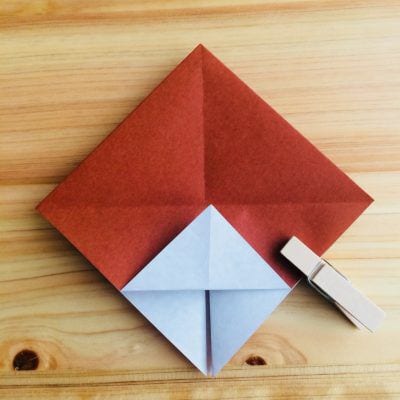
STEP 8. Fold the bottom corner up to that crease and keep it folded.
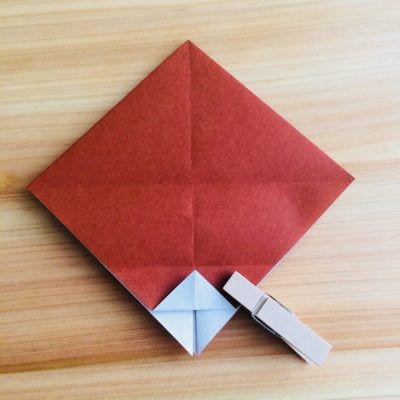
STEP 9. Fold it up once more along the existing crease.
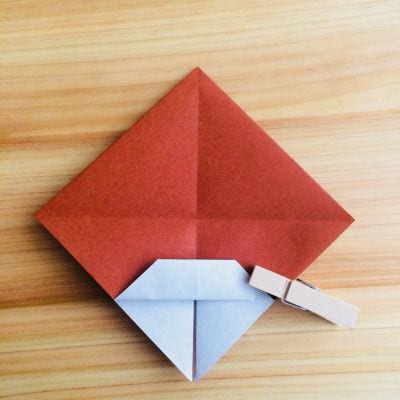
STEP 10. Fold it up so it aligns with the crease.
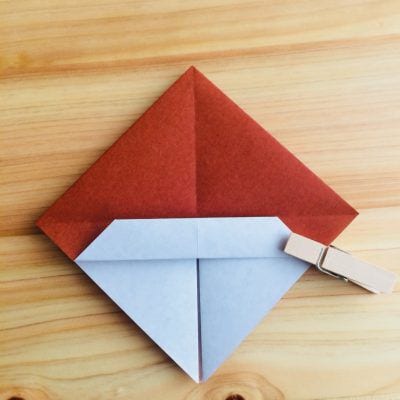
STEP 11. Turn the model over, then fold the right edge to the left.
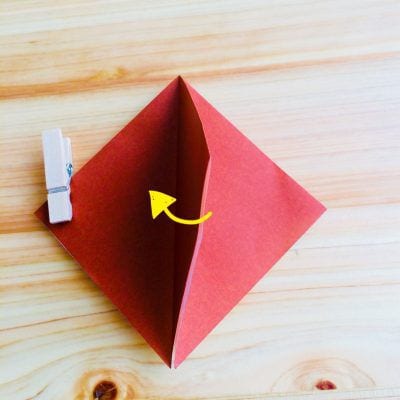
STEP 12. Fold the right corner toward the center.
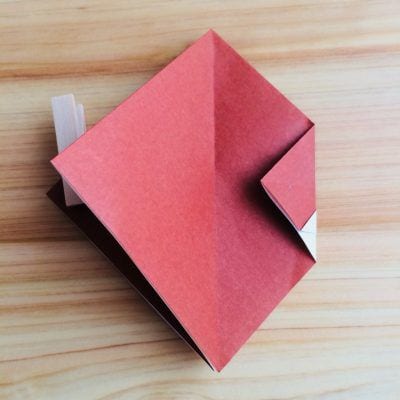
STEP 13. Fold the left edge toward the right.
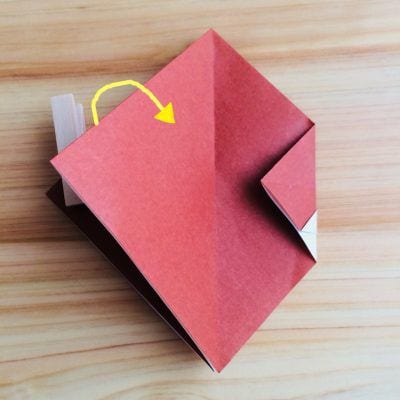
STEP 14. Fold the left corner toward the center.
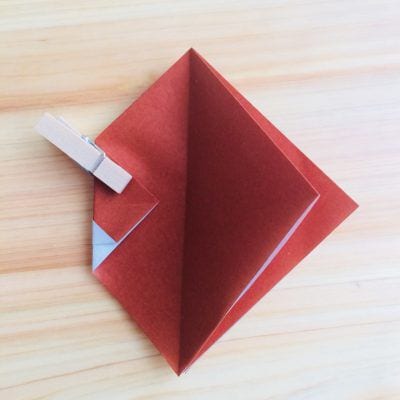
STEP 15. Repeat steps 6 through 10 on this side.
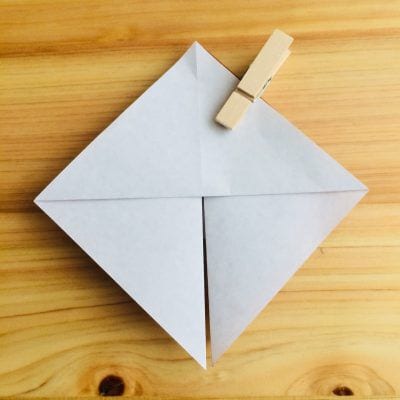
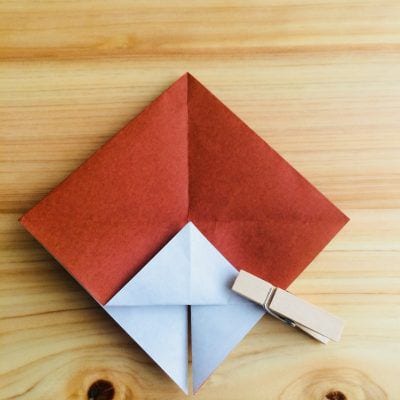
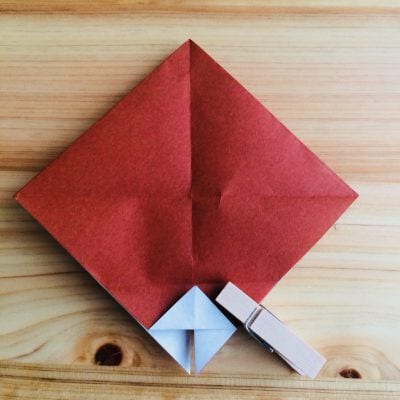
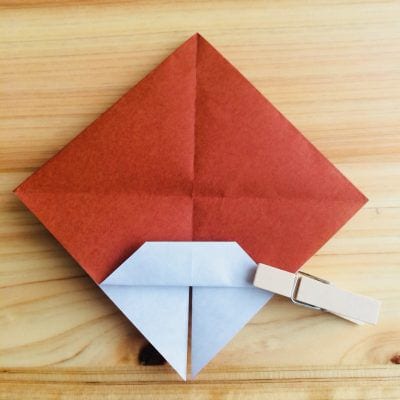
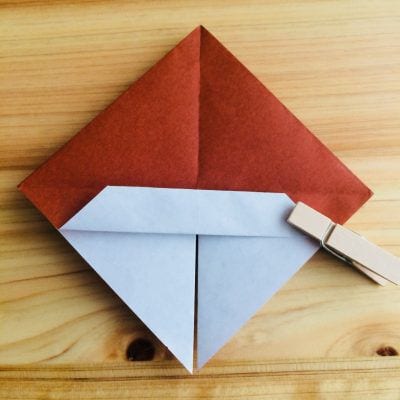
STEP 16. Fold the right edge to the left.
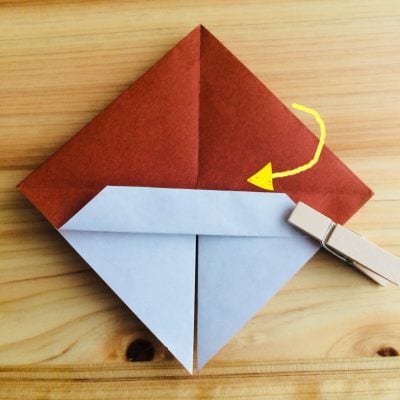
STEP 17. Fold the left corner toward the center.
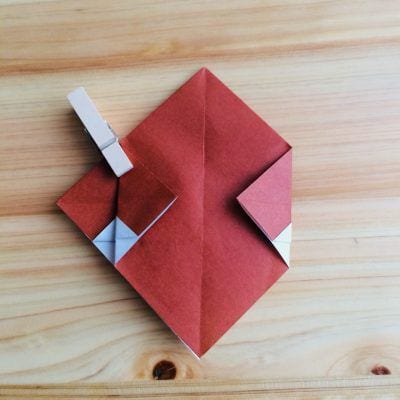
STEP 18. Fold the left flap back to the right.
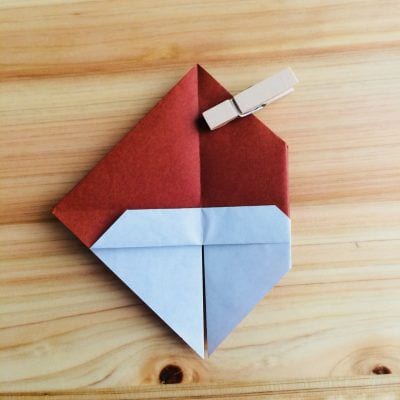
STEP 19. Fold the left edge toward the right.
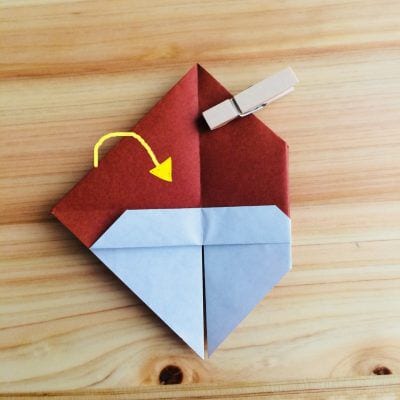
STEP 20. Fold the left corner toward the center.
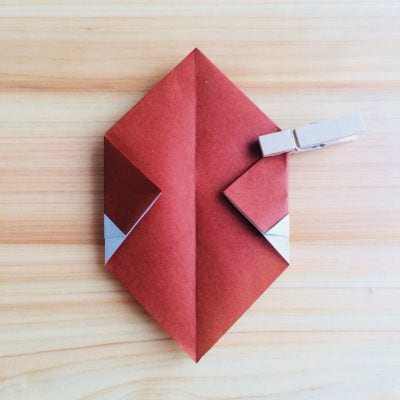
STEP 21. Fold the right flap back to the left.
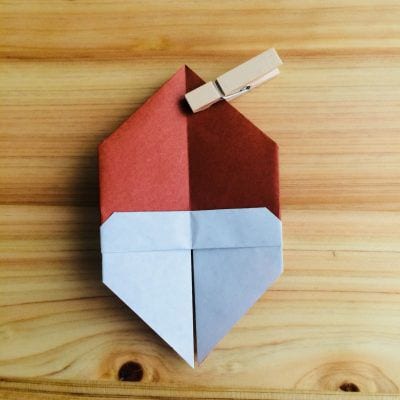
STEP 22. Fold the bottom tip up in two spots, crease, and unfold.
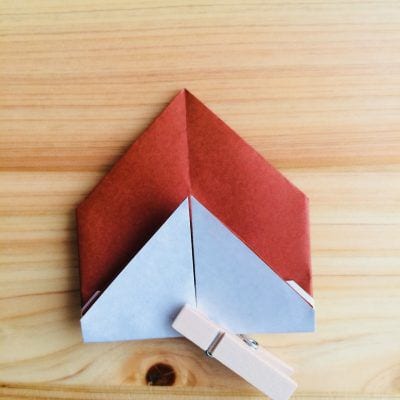
STEP 23. Tuck one of the bottom tips between the layers of paper.
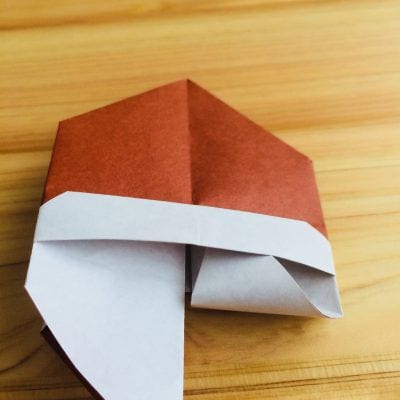
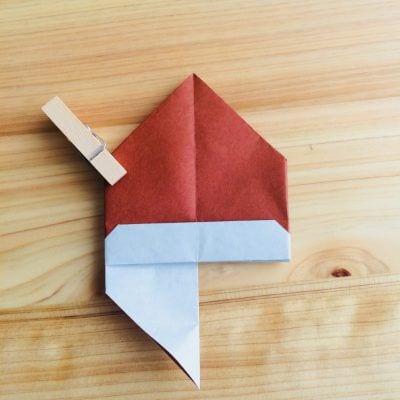
STEP 24. Tuck the other tip between the layers the same way.
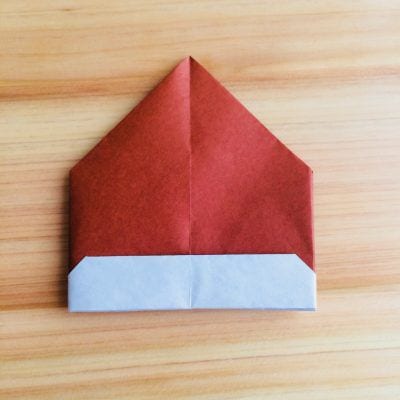
STEP 25. Fold the bottom-left and bottom-right corners up and crease.
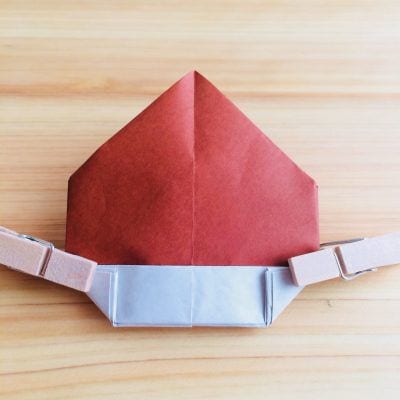
STEP 26. Valley-fold the right corner along the crease and tuck it between the layers.
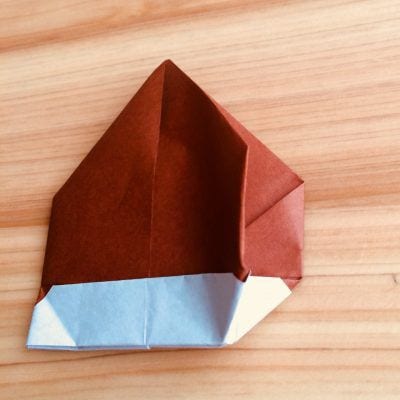
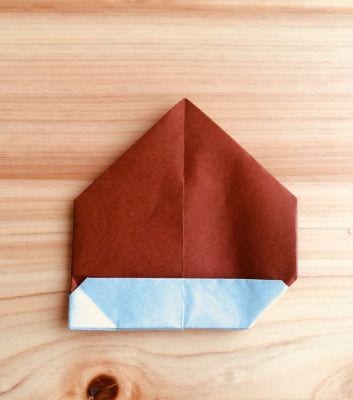
STEP 27. Do the same with the left corner, tucking it between the layers.
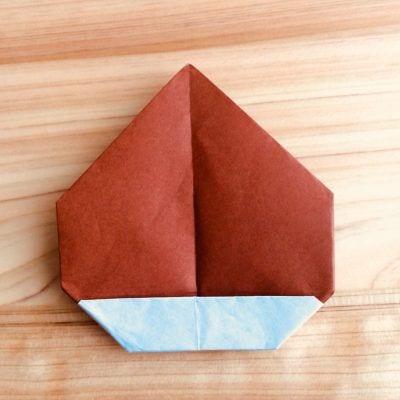
STEP 28. Blow air inside the model to inflate it.
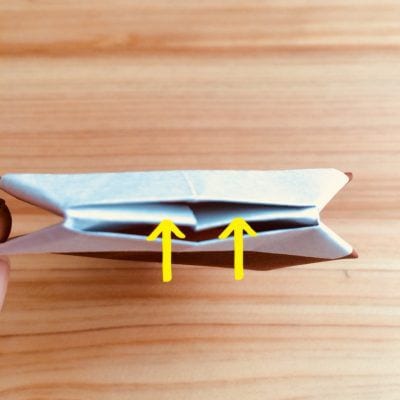
STEP 29. Round it out slightly for a three-dimensional look; your chestnut is complete.
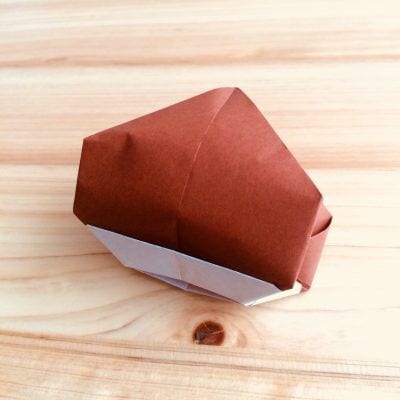
Well done! How did it turn out? One warning: if you blow too much air inside, it can pop, so inflate gently.