Origami Mushroom (Complete Tutorial)
Mushrooms are the quiet stars of autumn craft: warm, rounded, and endlessly cute in paper form. This one belongs to our food origami series, and it is genuinely easy — the kind of fold you can share with a small child without anyone getting frustrated.
I folded mine from plain brown paper, but the site's dotted patterns are just as adorable, so pick whichever color makes you happy. Make a handful in seasonal tones to scatter across a shelf, or line them up next to other food origami to build a tiny paper pantry.
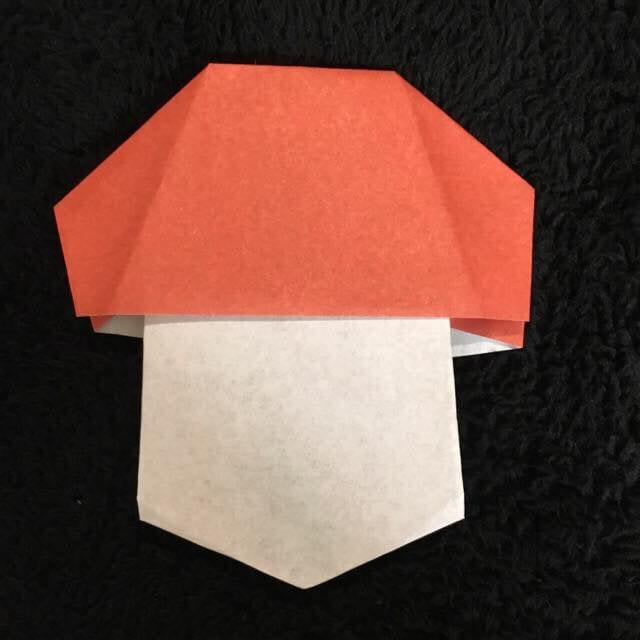
This mushroom is part of our food origami series, and it is super easy — a perfect one to fold together with a young child. Fold a few in warm autumn colors to decorate the season, or make them alongside other food origami and set up a tiny paper playhouse.
There are plenty of ways to use them, and because they are so simple, they are a joy to fold. They may look tricky at a glance, but don’t be fooled — let’s fold one right away.
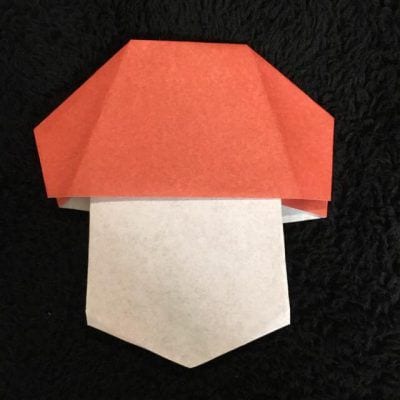
How to Fold an Origami Mushroom
I folded mine from brown origami paper this time, but when I looked into it I found lots of dotted patterns too. Patterned paper looks cute as well, so feel free to try any color you like.
STEP 1. Imagine a mushroom cap and a stem, then fold the paper as shown in the photo.
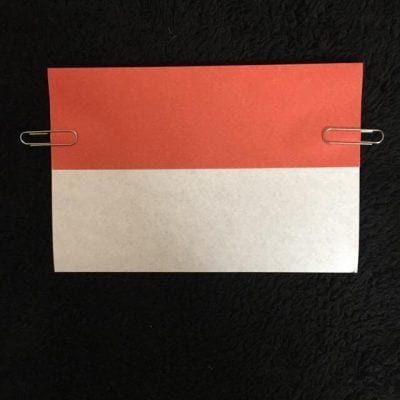
STEP 2. Turn the model over and fold it as shown in the photo.
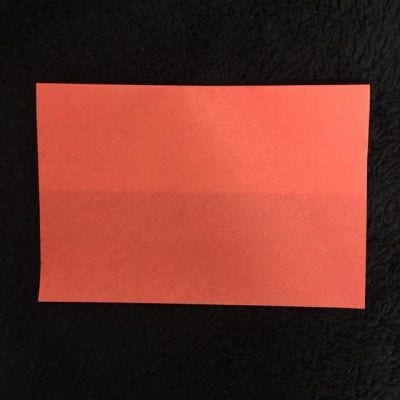

STEP 3. Fold the open part under the cap.
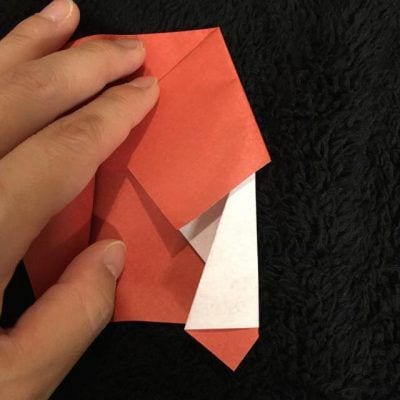
STEP 4. Fold the other side in the same way.
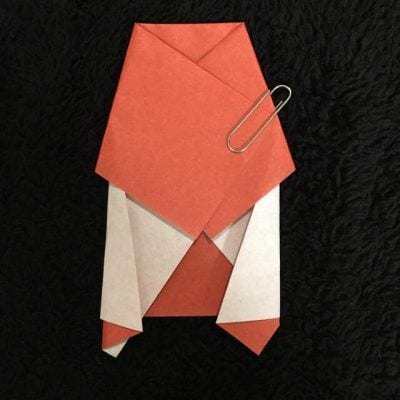
STEP 5. Fold both ends of the bottom inward as shown, shaping the stem of the mushroom.
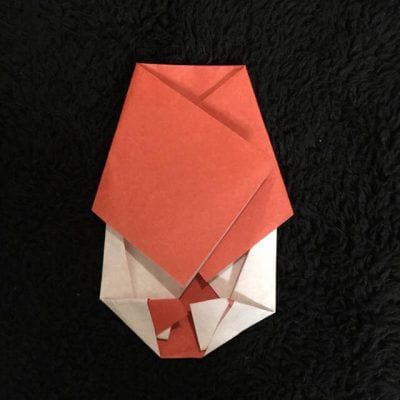
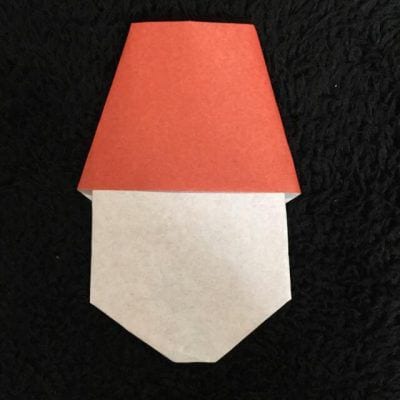
STEP 6. Open out the cap section as shown in the picture.
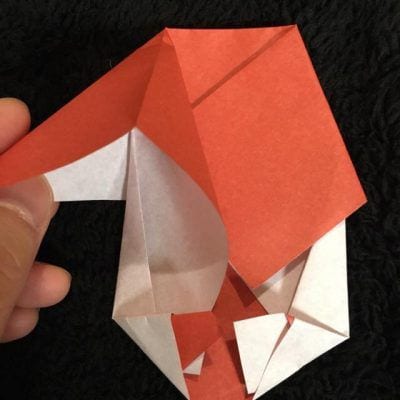
STEP 7. Open the other side in the same way.
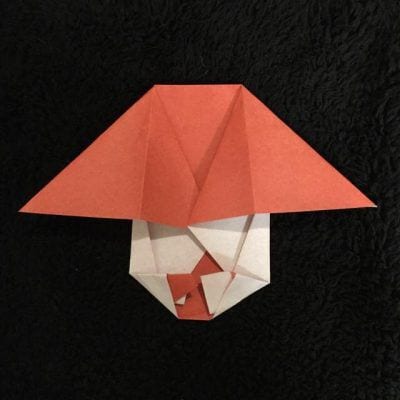
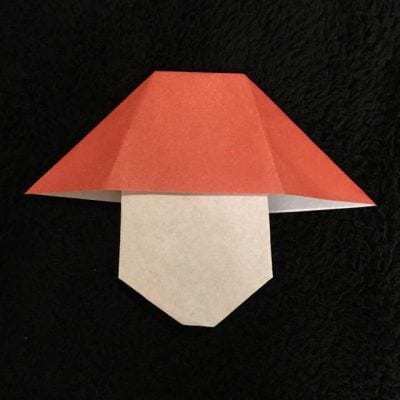
STEP 8. Fold both ends inward.
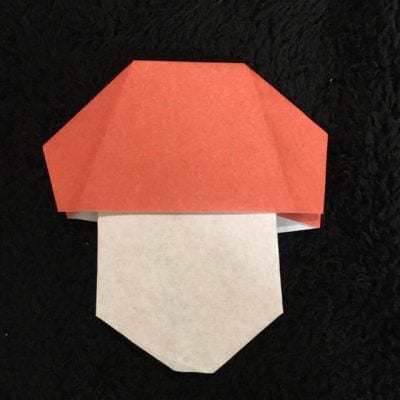
STEP 9. Shape the model and your mushroom is complete.
Well done! How did it turn out? Even a rough fold comes out looking great, so this is a lovely origami project for small children.