Origami Cicada (Short Tutorial)
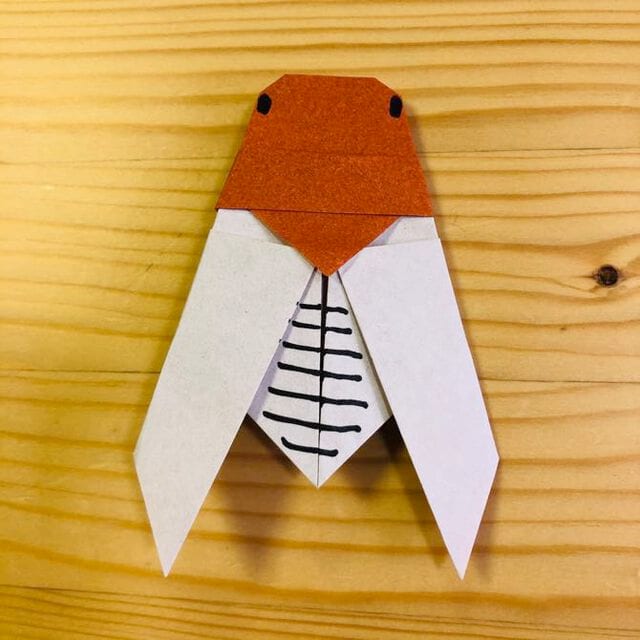
Few summer sounds are as nostalgic as a chorus of cicadas, and folding one out of paper is a fun way to bring a little of that buzz indoors. This is the short, friendly version of the classic origami cicada: instead of a long ritual of inside reverses and sinks, you get a recognizable little insect in about ten folds.
Every step is simply "fold at the position shown in the photo," so there is nothing tricky to learn — just a center crease to start, a couple of folds on the front, a flip, and a couple more on the back. Grab any square of paper, fold a few, and see who can make the sleekest cicada.
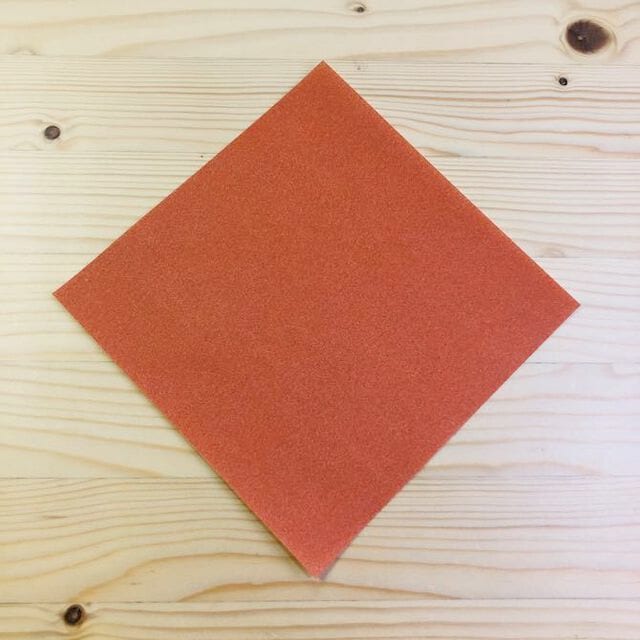
STEP 1. Fold the paper in half.
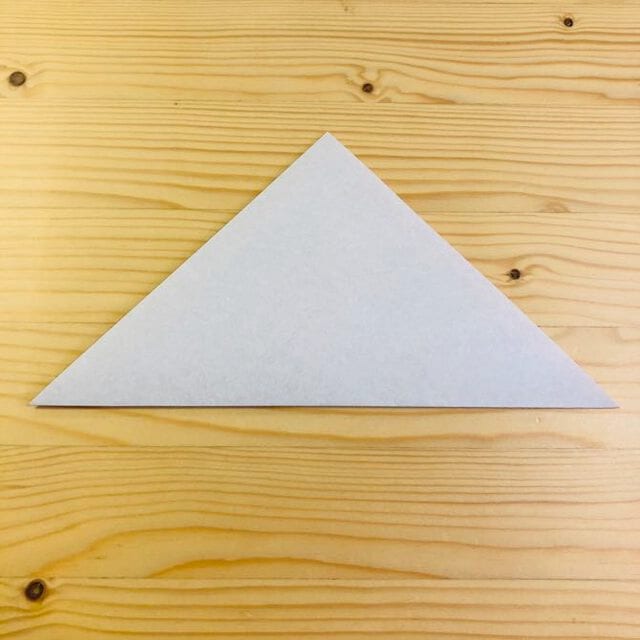
STEP 2. Fold it up at the position shown in the photo.
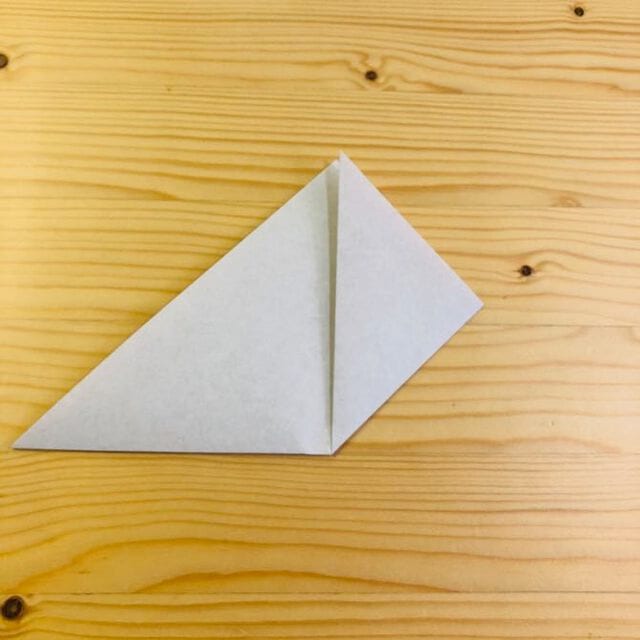
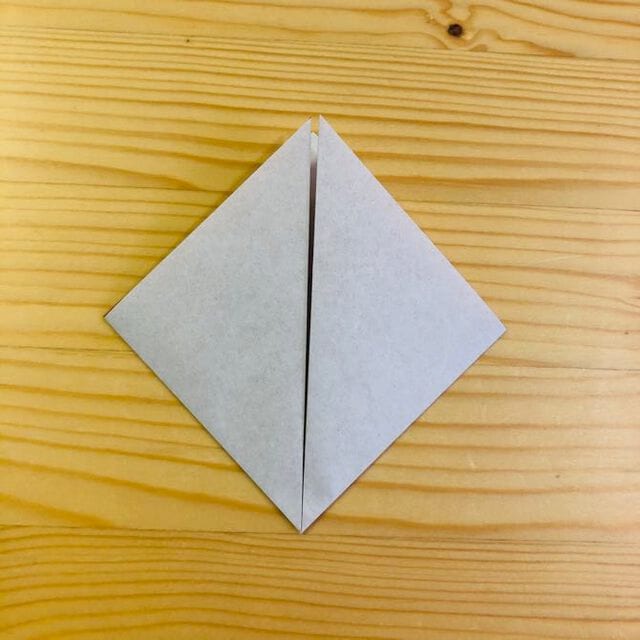
STEP 3. Fold it down at the position shown in the photo.
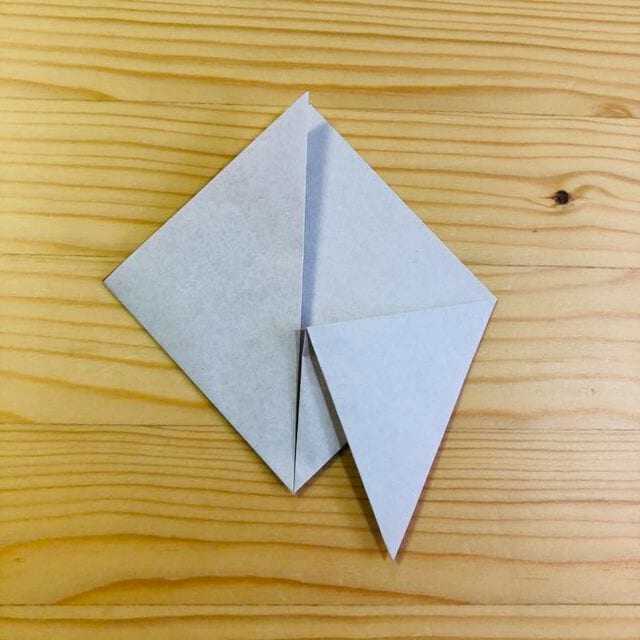
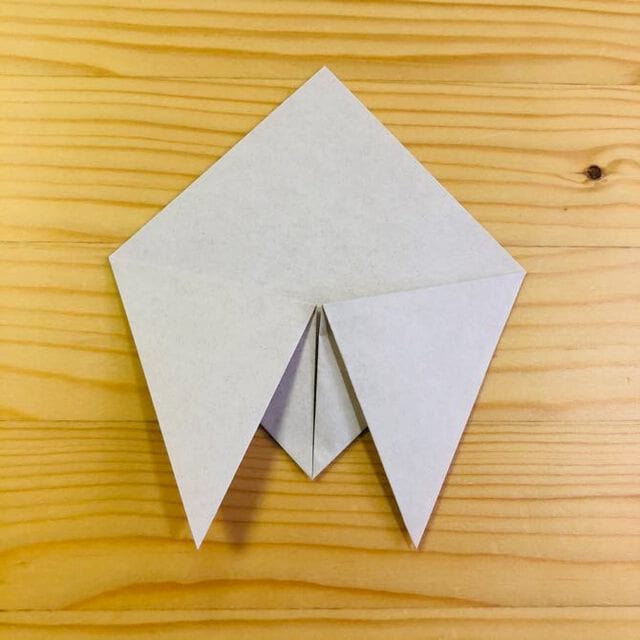
STEP 4. Make a crease at the position shown in the photo.
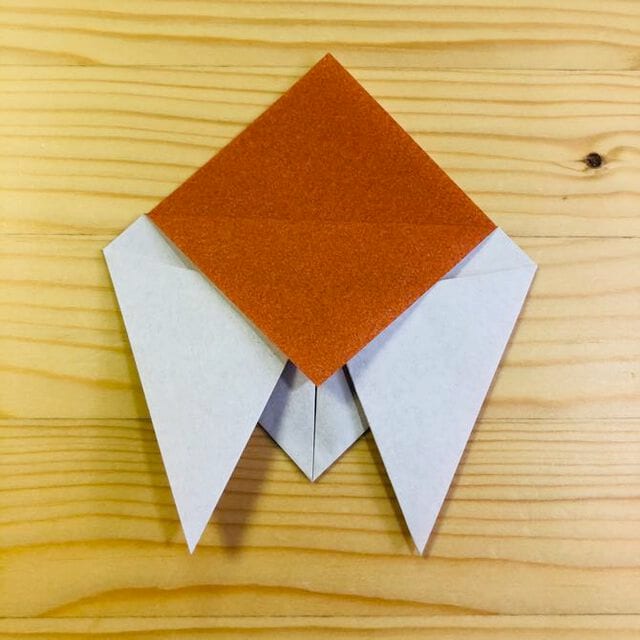
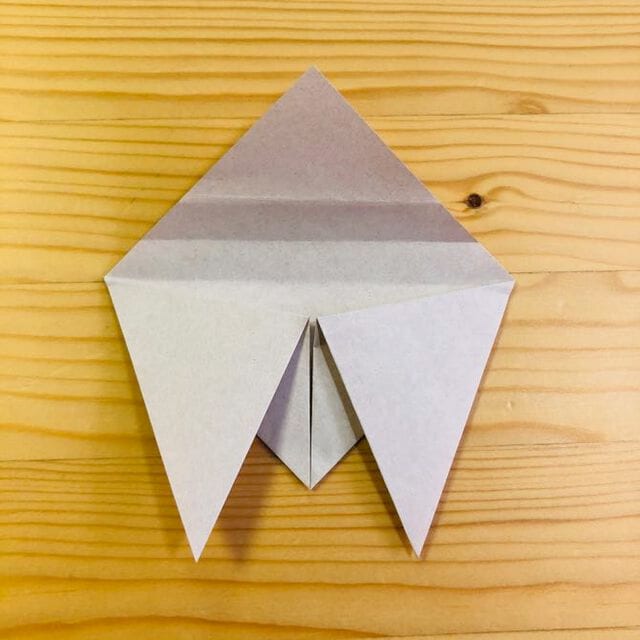
STEP 5. Fold it at the position shown in the photo.
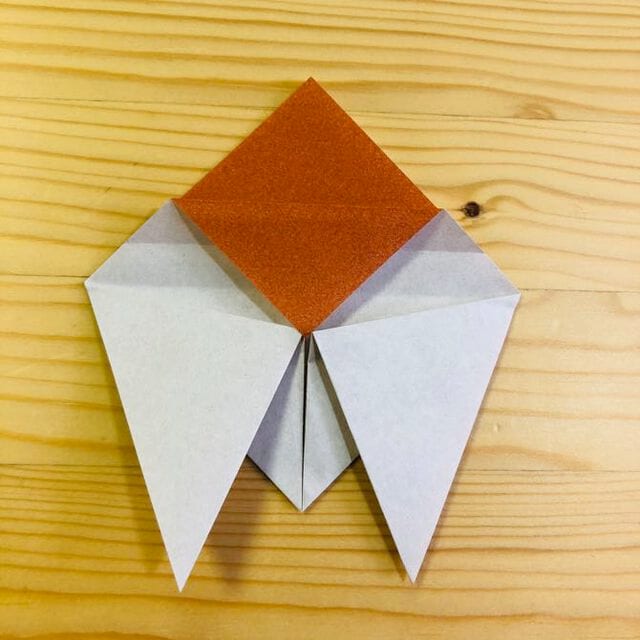
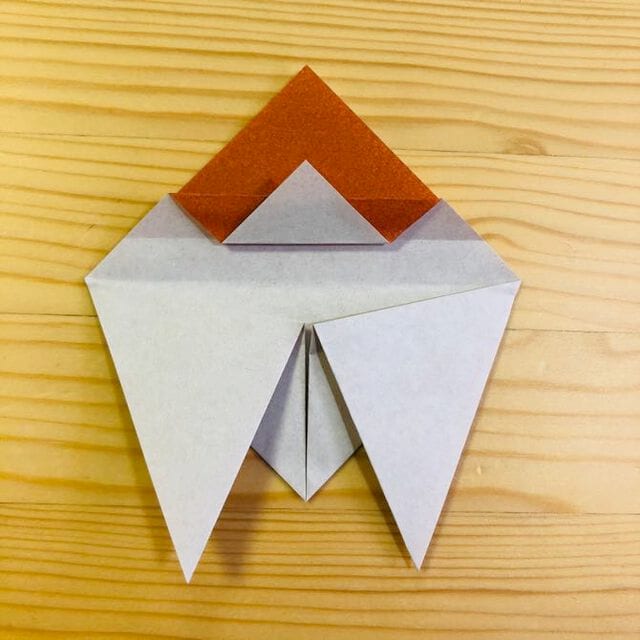
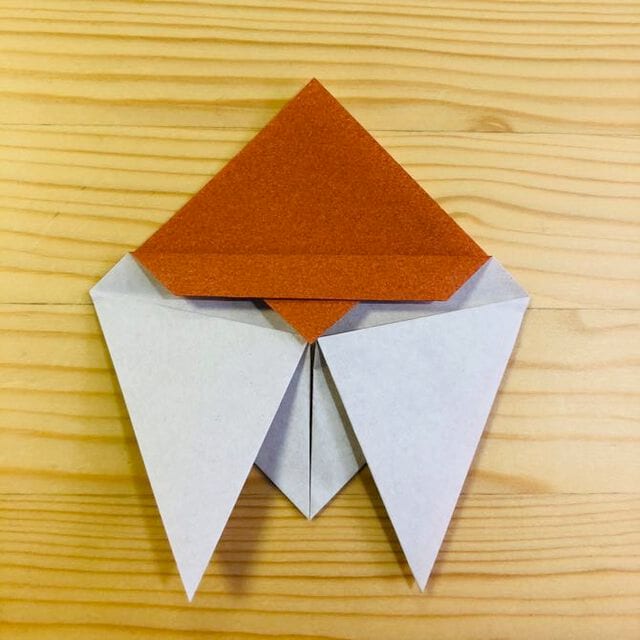
STEP 6. Turn the model over.
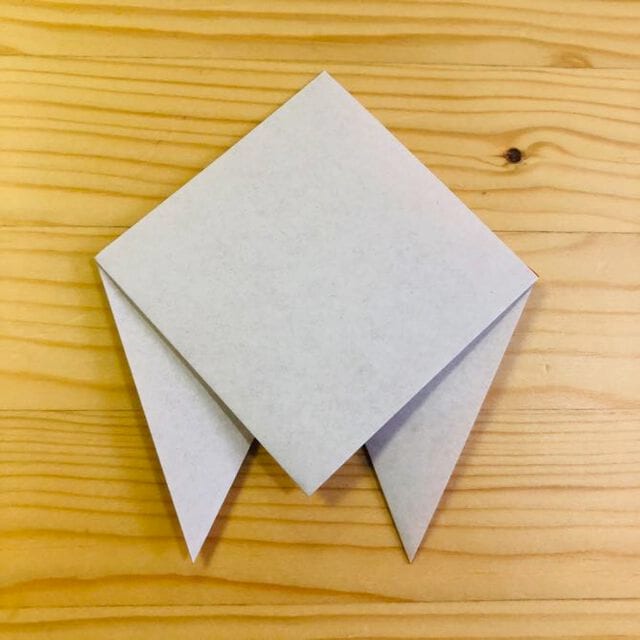
STEP 7. Fold it at the position shown in the photo.
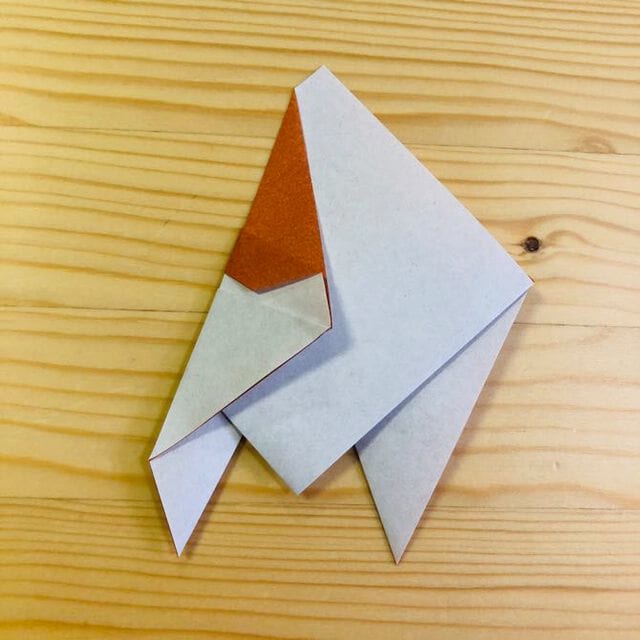
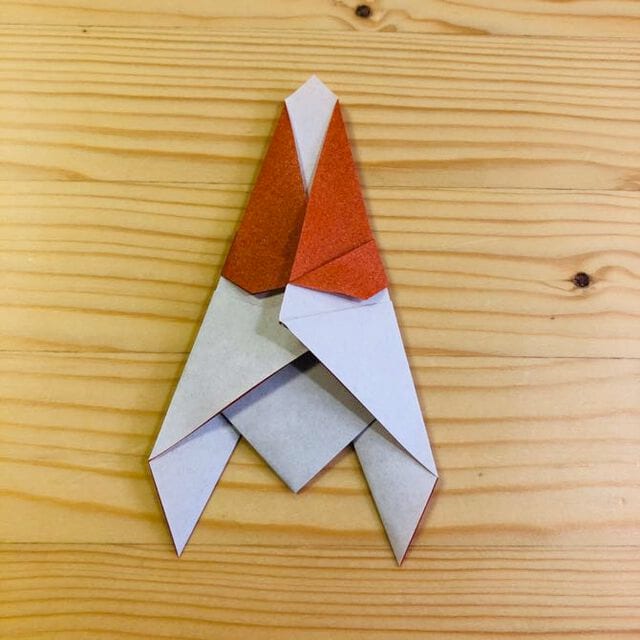
STEP 8. Fold it at the position shown in the photo.
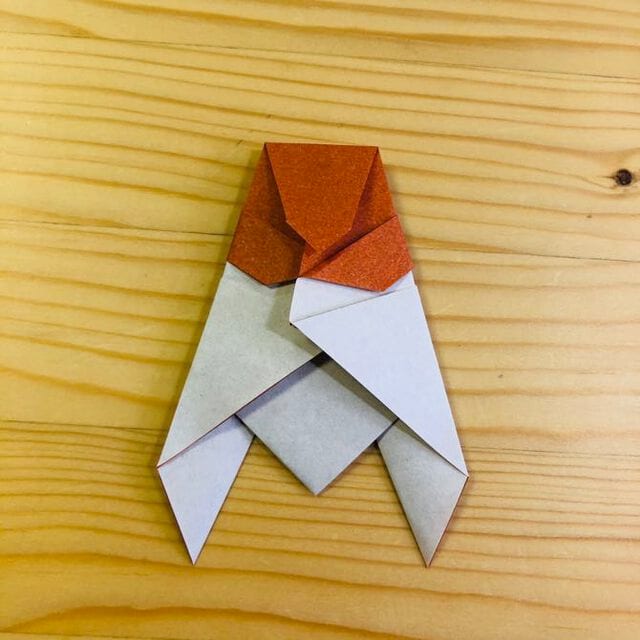
STEP 9. Fold it at the position shown in the photo.
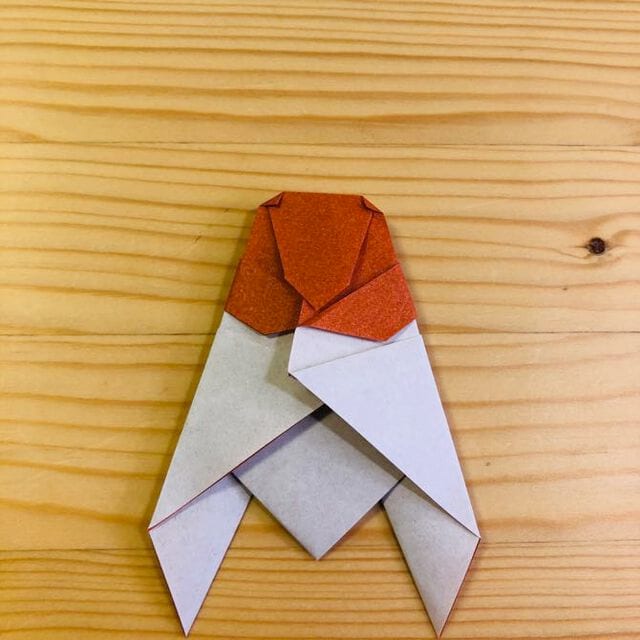
STEP 10. Turn the model over.
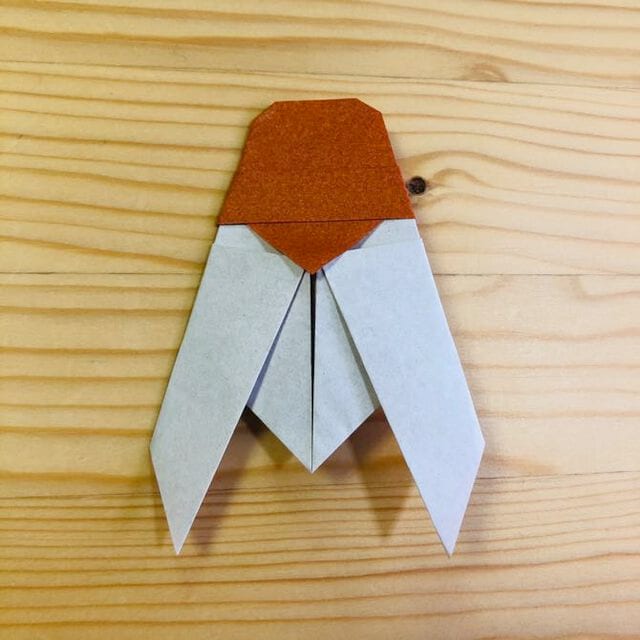
Completion!
The cicada is complete.