How to Fold Origami Stars (Pentagonal Star & Shooting Star)
There’s something instantly cheerful about a pile of paper stars. In this tutorial we’ll make two of them: a crisp pentagonal star from a single sheet, and a little shooting star you build from cut pieces. Neither needs special paper or fancy skills — just a square and a pair of scissors for the second one.
They’re made for the holidays: hang them on the Christmas tree, mix big and small ones onto bamboo for Tanabata, or just scatter a handful across a shelf. Grab your kids and fold a batch — the more the merrier.
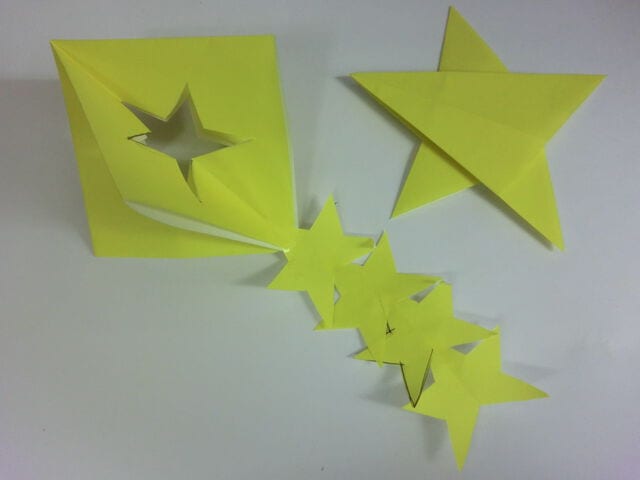
In this tutorial I’ll show you how to fold origami stars. Star origami makes wonderful Tanabata and Christmas decorations, so it’s well worth learning!
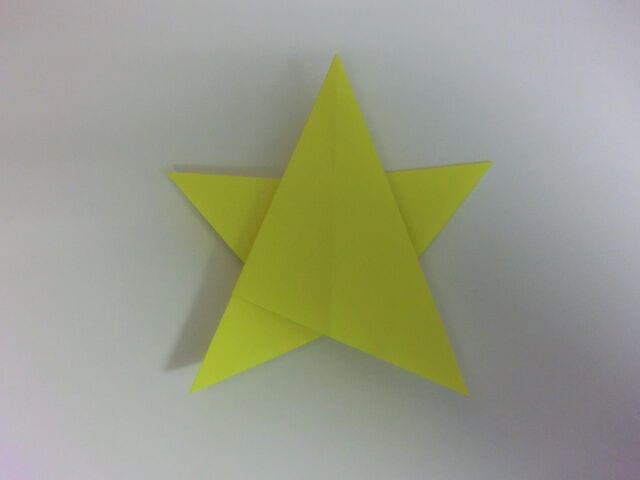
Folding a whole batch can be a little tricky, but a pile of stars looks wonderfully festive — so why not make them together with your kids? As always, we’re after the easiest way to fold each one.
How to fold an origami star
First up: a star you can fold from a single sheet. Prepare one sheet of origami paper (we used yellow).
We referred to this video for the fold.
Let’s fold it right away!
First, fold it into a square.
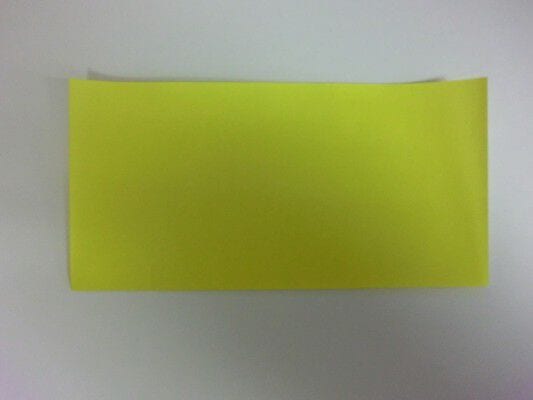
Fold it into a square again.
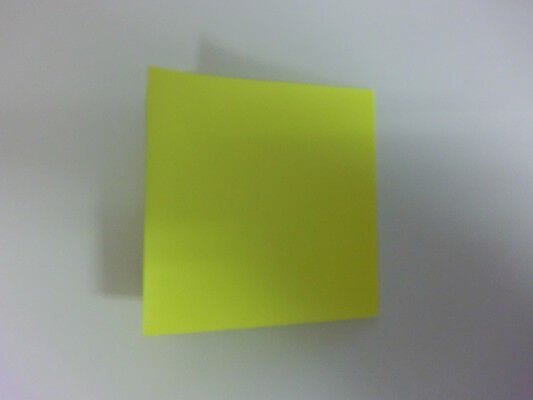
Open it up and squash-fold.
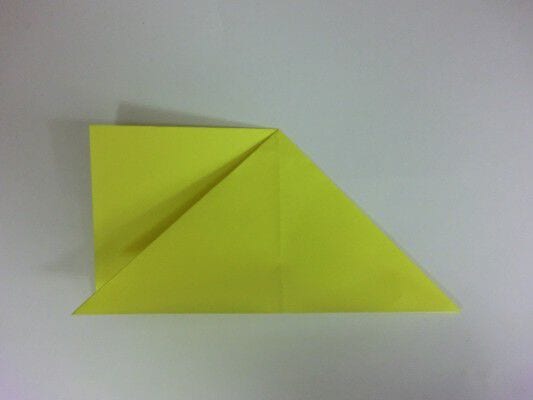
Open the other side and squash it. Tip: it’s easier if you first fold it into a triangle to set a crease.
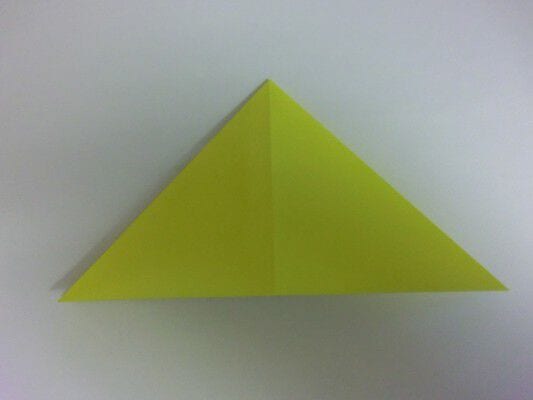
Fold the left triangle’s apex down along the center line.
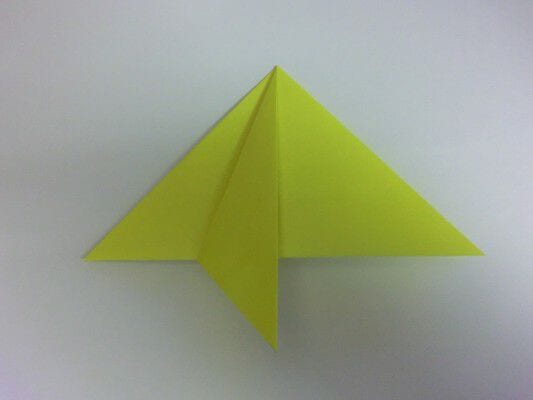
Turn it over.
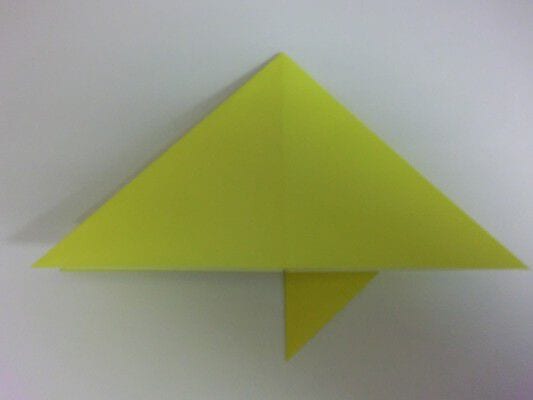
In the same way, fold the left triangle’s apex down along the center line.
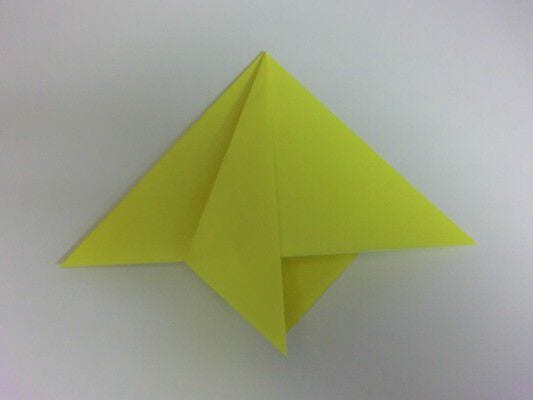
Pull the left and right sides apart to open it up a little.
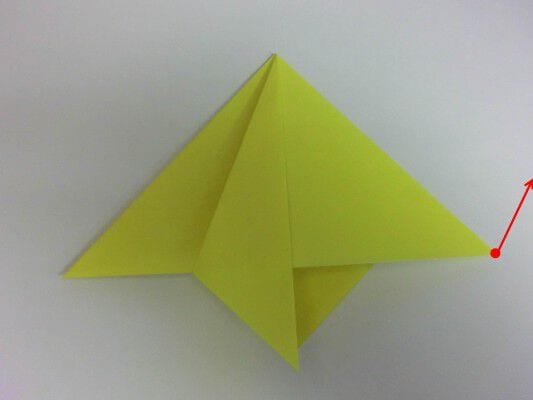
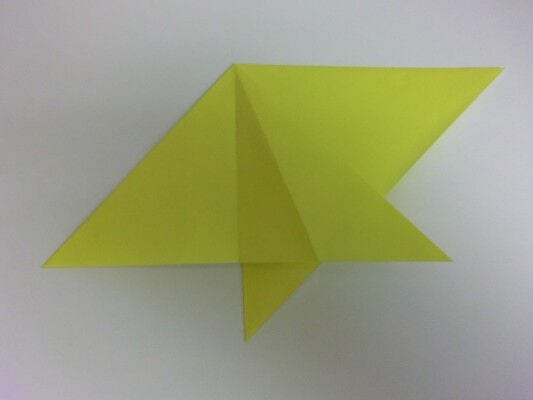
Align the right vertex with the bottom edge and mark it. As shown in the photo, use the center as a guide.
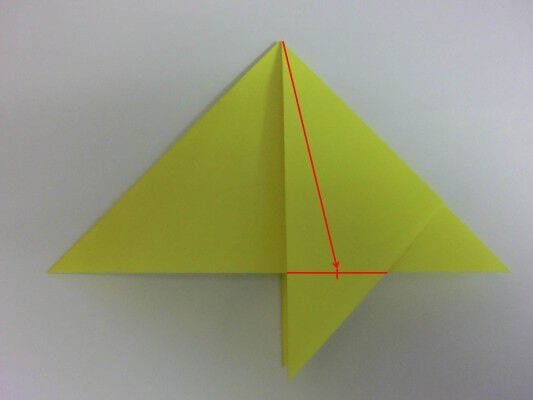
Make a crease where your finger is and use it as a mark.
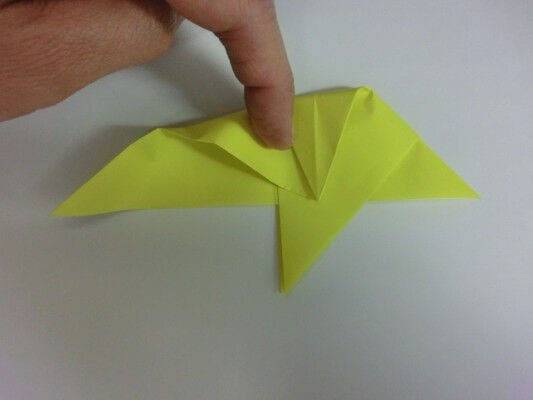
Fold the right part of the star using the mark as a guide.
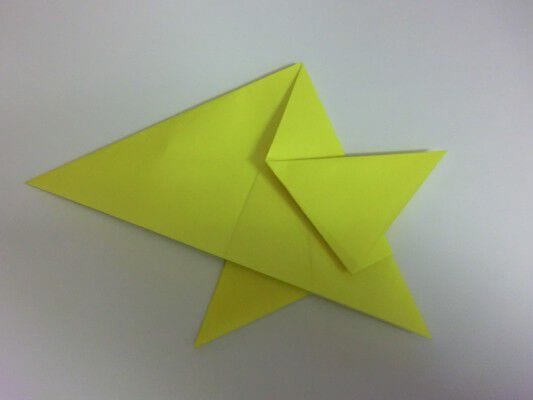
Align the left vertex with the bottom-right vertex.
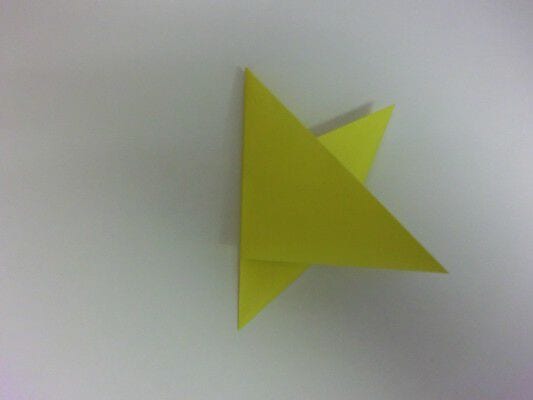
Fold the bottom-right apex to the left to form the left part of the star.
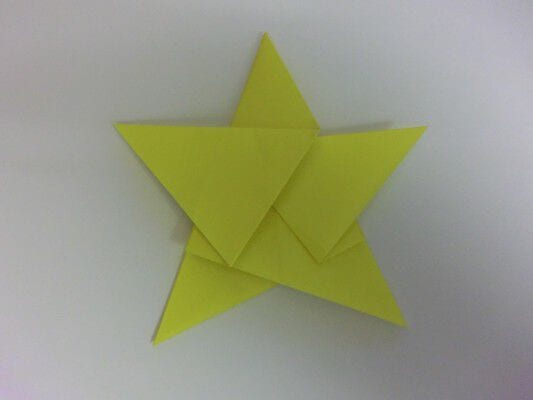
Turn it over, and it’s done!
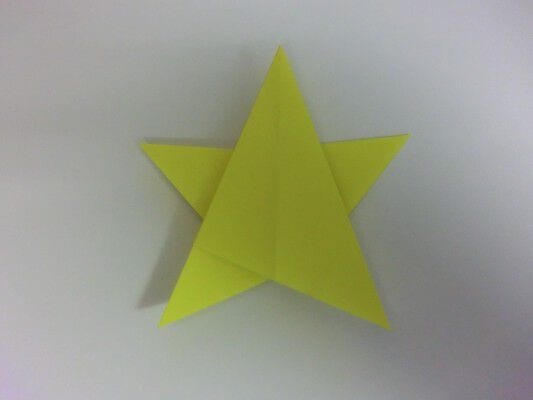
For Christmas, you can decorate a tree beautifully: cut the star to size, make about a quarter of them into larger stars, and stud them onto the tree as eye-catching accents. For Tanabata, attach them to the bamboo branch — try cutting about a quarter of them smaller and decorating with a mix of large and small stars.
Next, let me introduce the shooting star!
How to fold an origami shooting star
We referred to this video for the shooting-star fold. The paper is blue in the clip, but since it’s a star we went with yellow.
Let’s fold it right away!
First, fold it into a square.
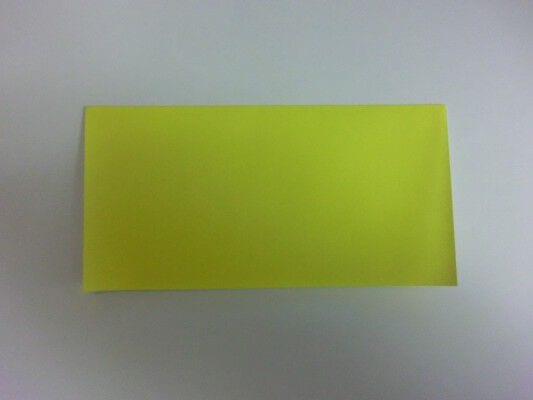
Fold it into a square again.
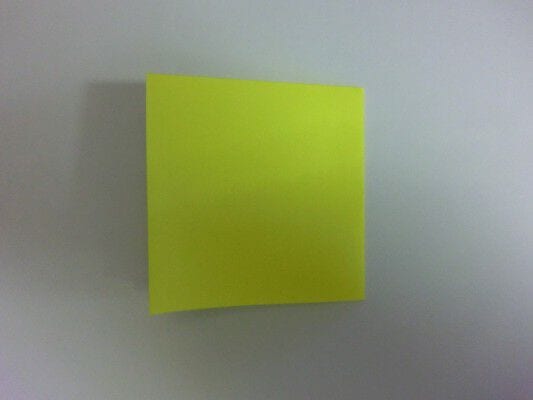
Fold it into a triangle.
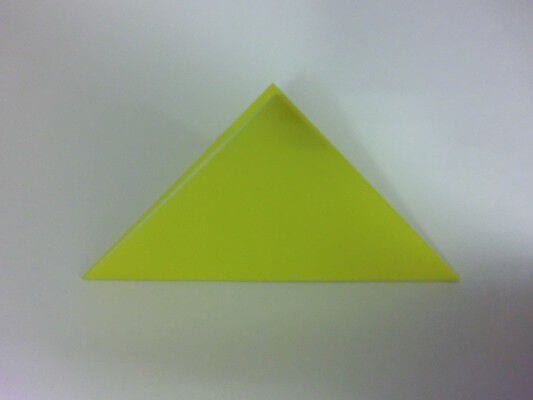
Sketch the shape of a half star on the paper.
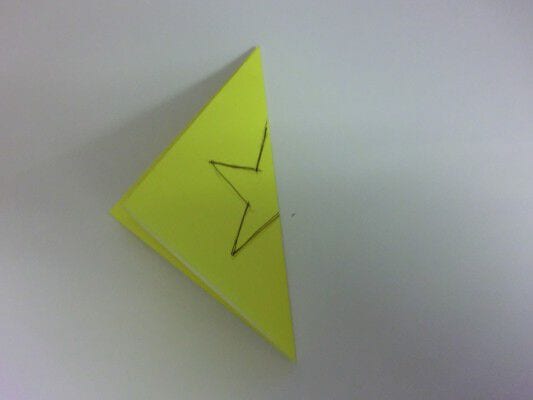
Cut it out with scissors.
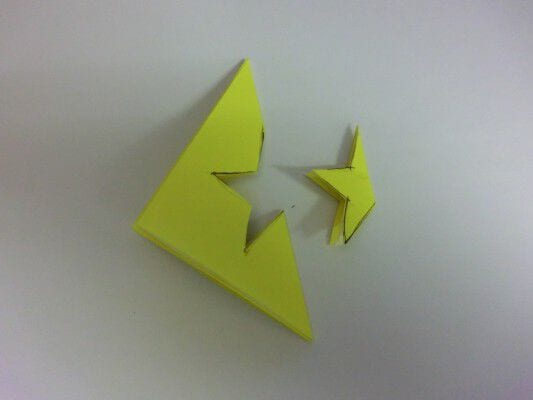
Open out the four star-shaped pieces.

Open the piece still in the frame into a 3D shape. The square fold becomes a mountain fold, and the triangular fold becomes a valley fold.
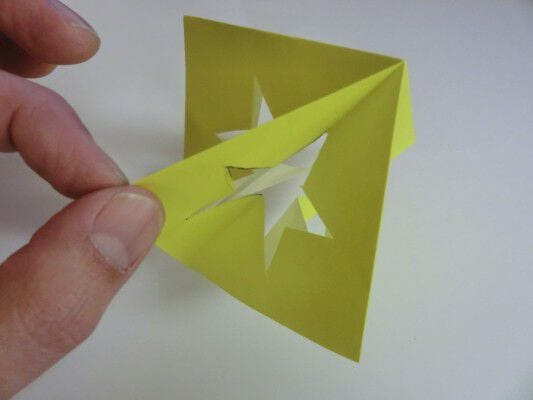
Stick them all together and you’re done!