Origami Rose (3D, Three Sizes)
A flat paper rose is nice, but a rounded, three-dimensional one feels like a tiny real flower. This version is made by folding three sheets — large, medium, small — and nesting them so the petals layer naturally.
Don’t be put off by the number of steps; each piece follows the same logic, and the soft, slightly deflated shape at the end is exactly what makes it look alive.
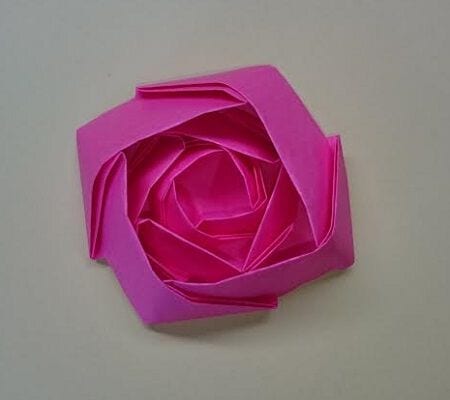
Origami Rose — three-dimensional and easy to fold
What you need: one 15 cm × 15 cm sheet, one 10 cm × 10 cm sheet, and one 6 cm × 6 cm sheet.
The rose is made by combining three differently sized pieces.
STEP 1. With the colored side facing up, fold the paper into a triangle twice to set creases.
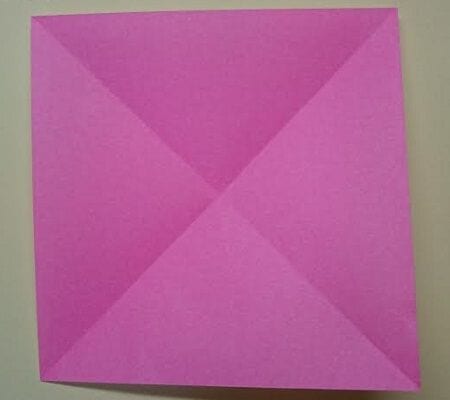
STEP 2. Make creases on the vertical and horizontal sides at three equal positions.
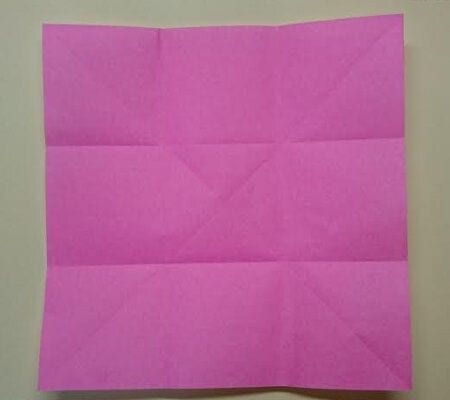
Turn it over.
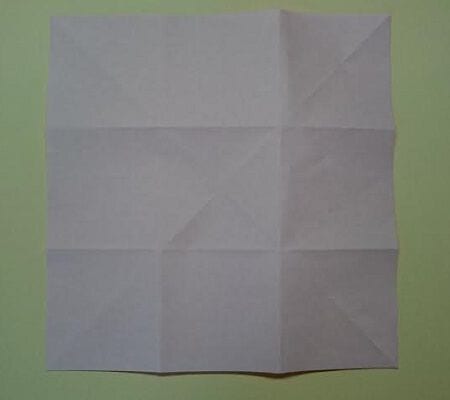
STEP 3. Fold along the dotted lines.
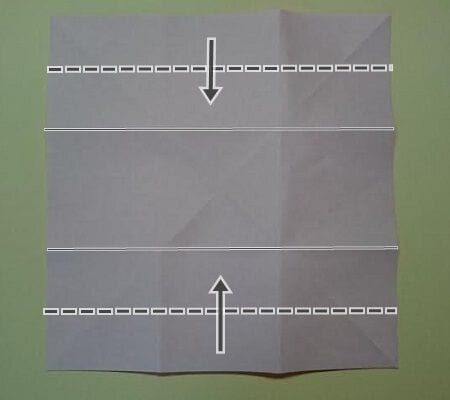
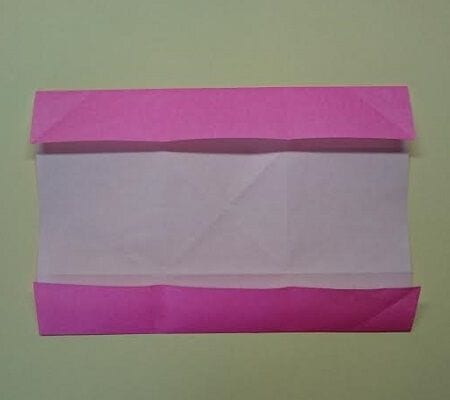
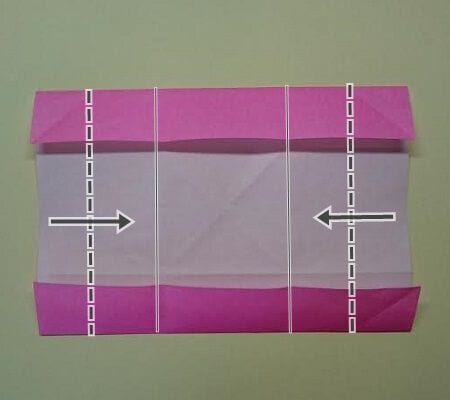
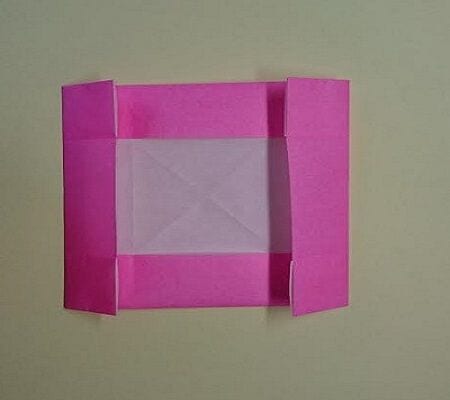
STEP 4. Fold along the dotted lines (4 places).
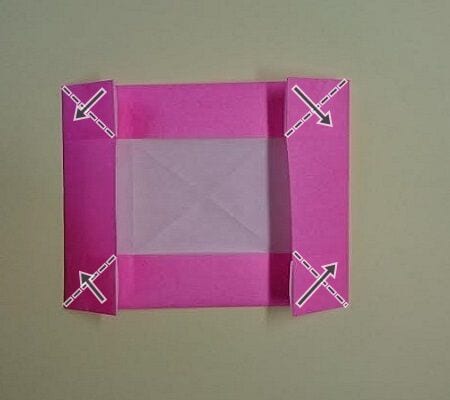
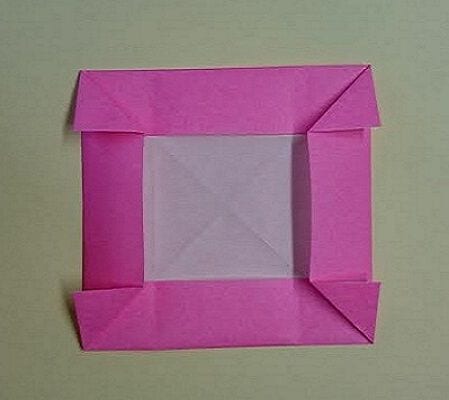
STEP 5. Pull out the corners as shown in the photo and fold them (4 places).


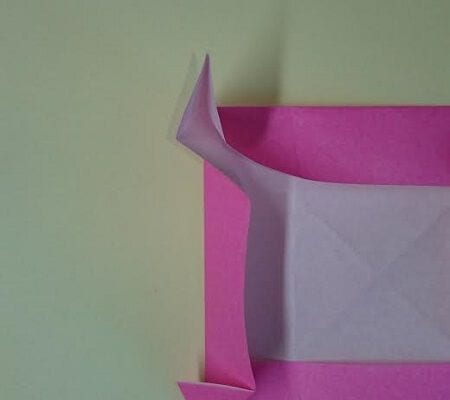
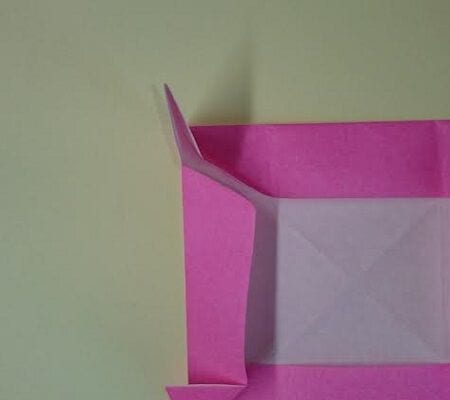
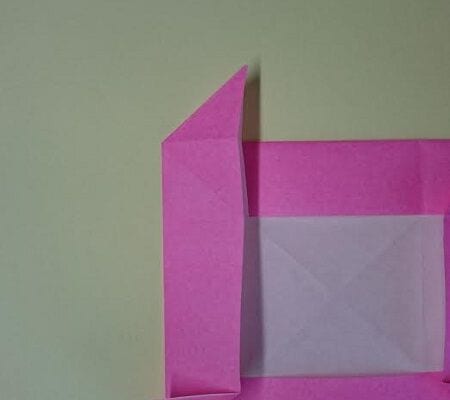
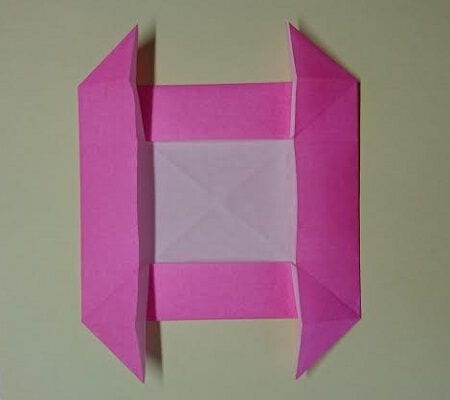
STEP 6. Fold along the dotted lines (2 places).
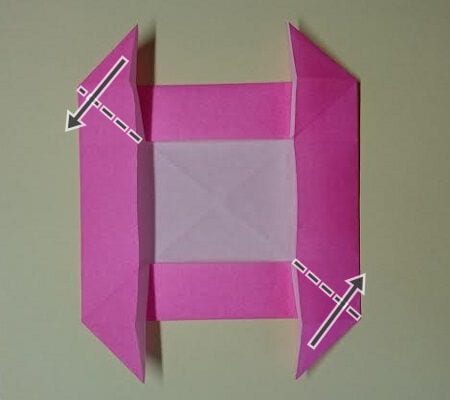
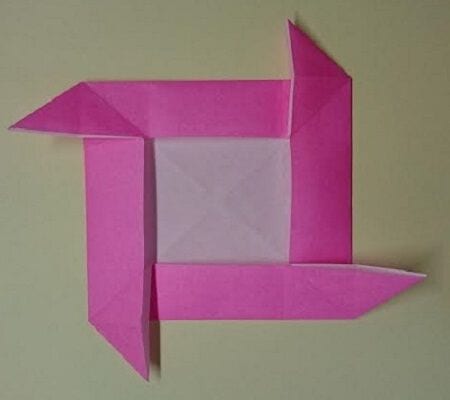
STEP 7. Fold along the dotted lines (4 places).
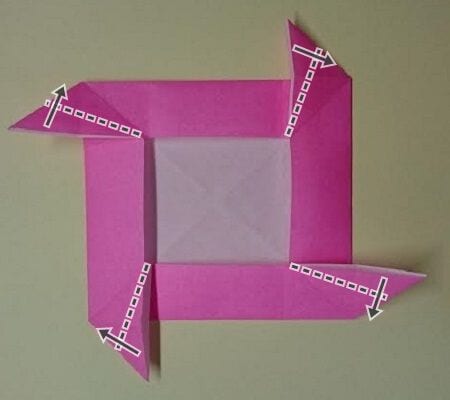
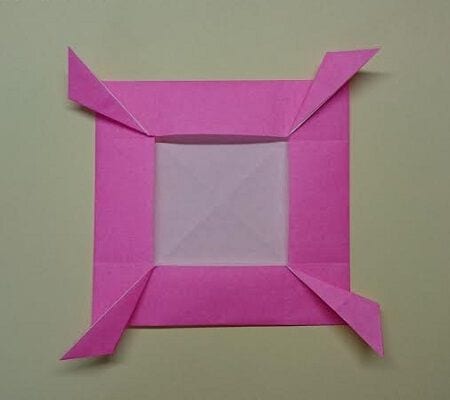
STEP 8. Open it back out and turn it over.
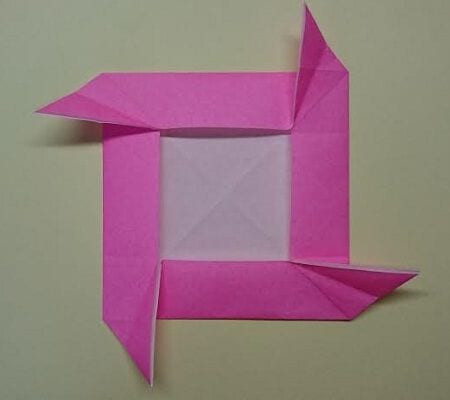
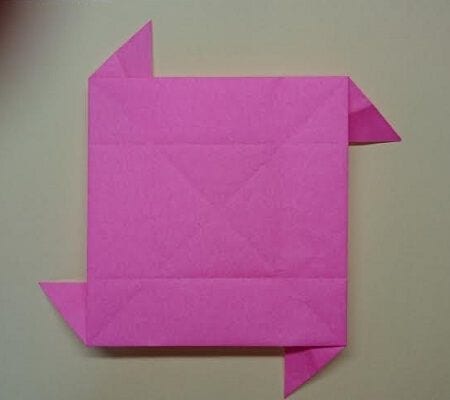
STEP 9. Crush the four corners to form a rectangle.
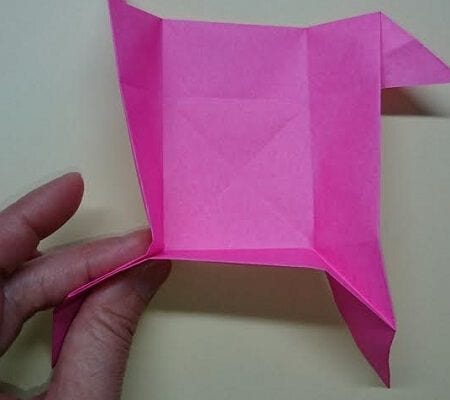
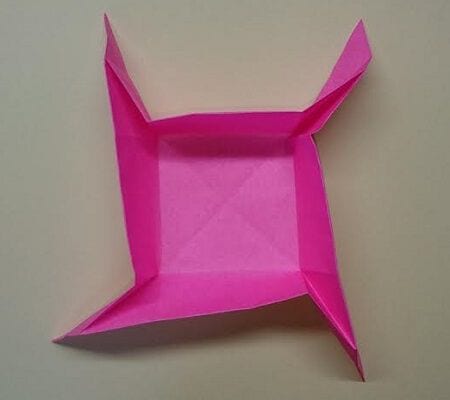
STEP 10. Pull in the direction of the arrow and fold it down.
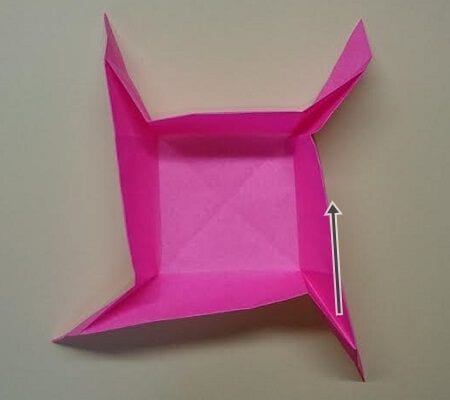
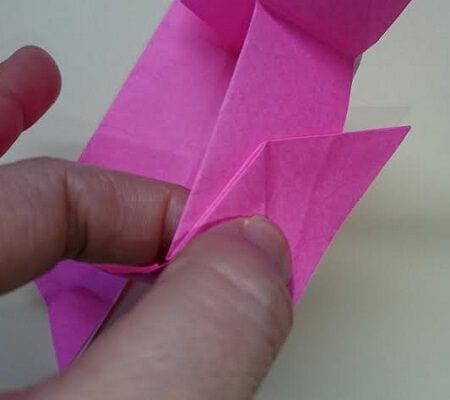
While pulling toward the back (bottom)…
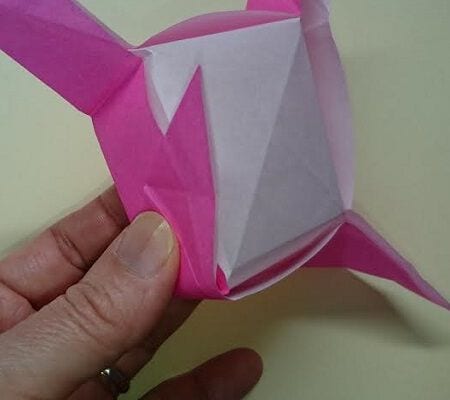
Insert into the gap on the back (4 places).
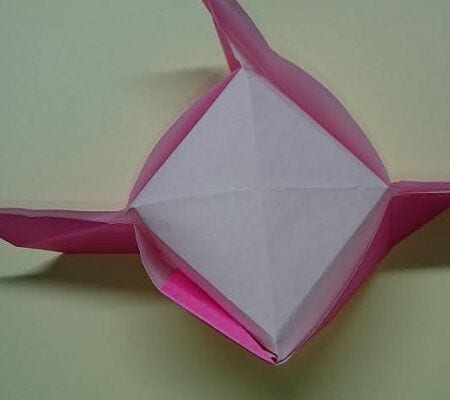
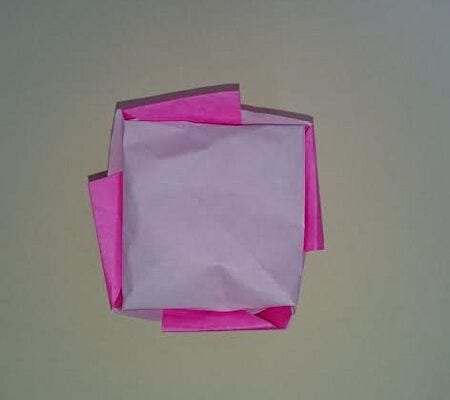
Rather than keeping it square like the image…
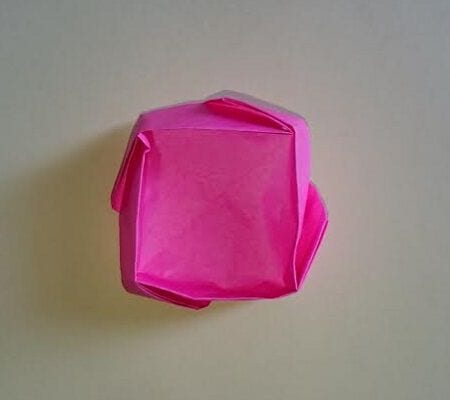
…a slightly deflated shape gives a cleaner finish.
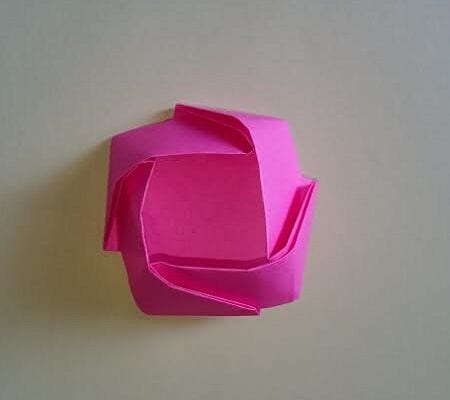
Make three — large, medium, and small.
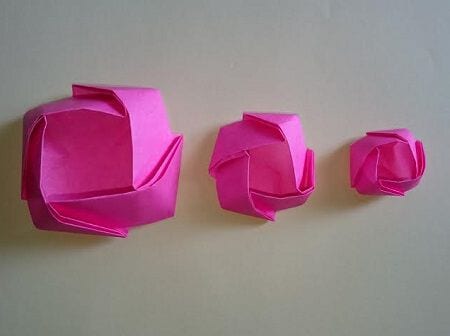
STEP 11. Nest them together. If they don’t quite fit, place them slightly apart.
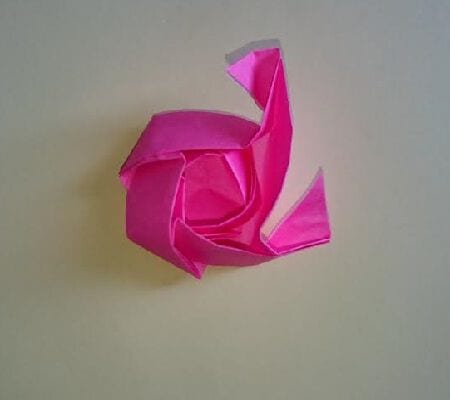
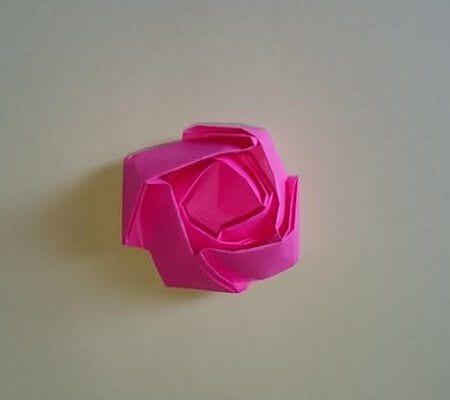
And you’re done!