Crane (Short Tutorial)
If origami has a signature model, this is it: the crane. The word “origami” itself comes from folding paper, and the crane is the fold everyone remembers, the one tied to the legend of a thousand cranes and a single wish. This short tutorial keeps things tight — seventeen photo steps, no detours — so you can run through the bird base and bring the neck and tail to life without wading through extra explanation. It is the perfect refresher if you have folded a crane before, or a confident next challenge if you have just mastered the basics. Grab a square and let’s make the bird that started it all.

STEP 1.
Take a square sheet of paper and fold in half downward.




STEP 2.
Fold the item in half sideways.






STEP 3.
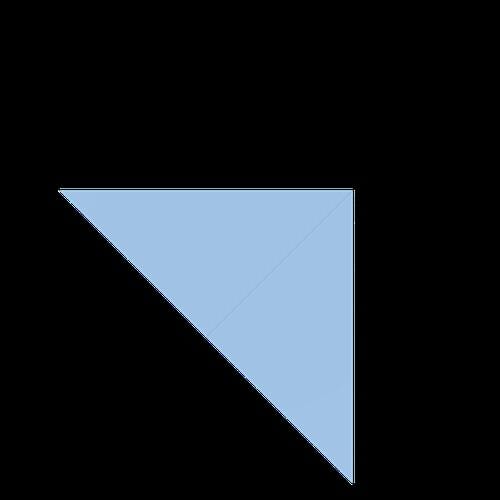
Bring the upper layer of the left corner to the bottom corner and unfold.





STEP 4.
Open the left corner and bring it to the bottom corner. Turn the item over.









STEP 5.
Open the right corner as previously.
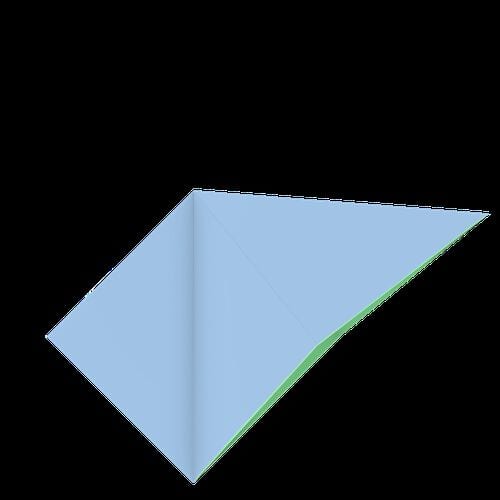
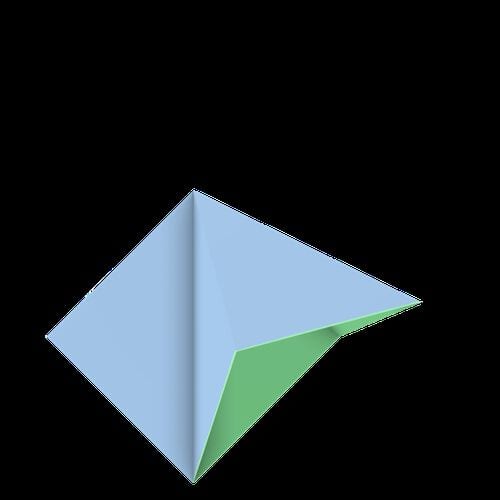





STEP 6.
Fold the bottom edges to meet the center line.



STEP 7.
Fold the top corner downward and unfold.



STEP 8.
Unfold the bottom edges.



STEP 9.
Open the bottom corner and then turn the item over.









STEP 10.
Open the bottom corner again.





STEP 11.
Fold the upper layers of the bottom edges to meet the center line.



STEP 12.
Fold the bottom edges backward.


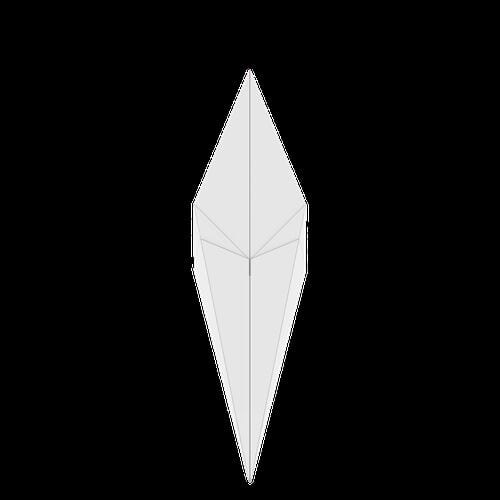

STEP 13.
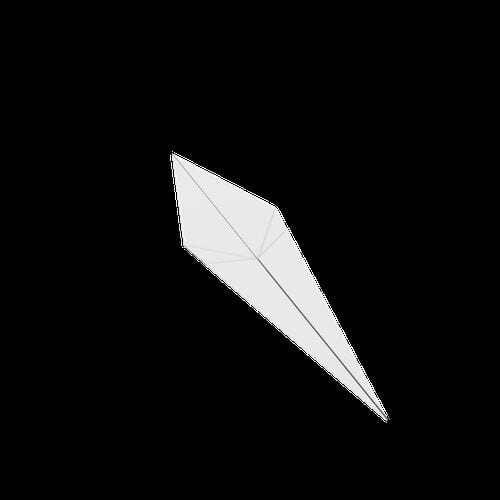
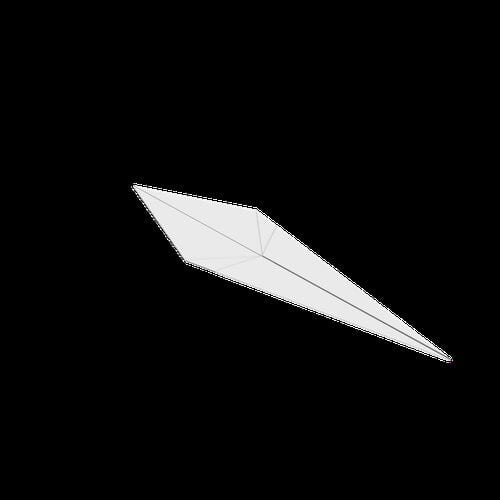
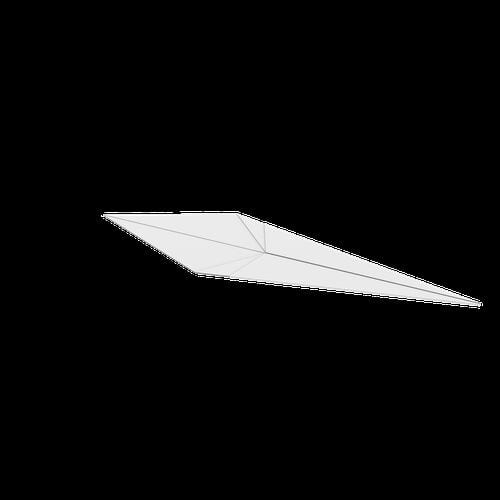
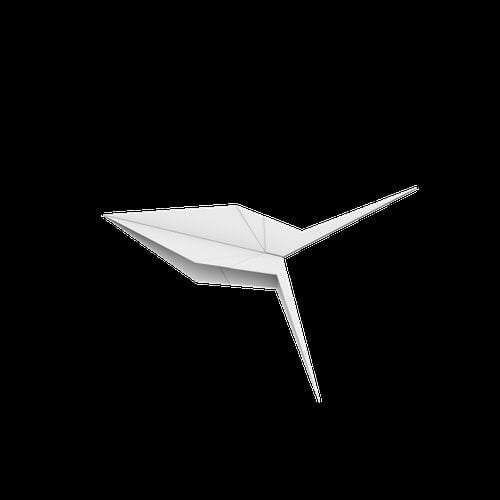
Fold the two halves of the right part inward.

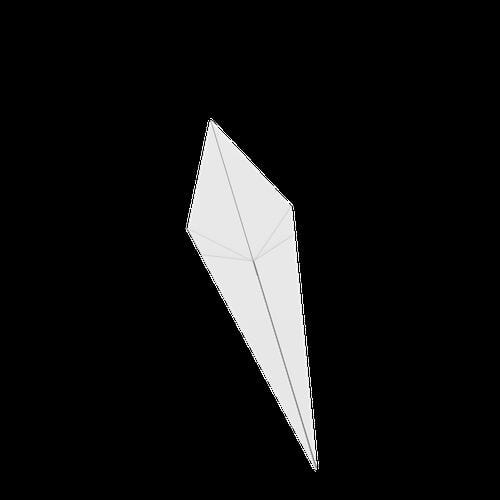
STEP 14.
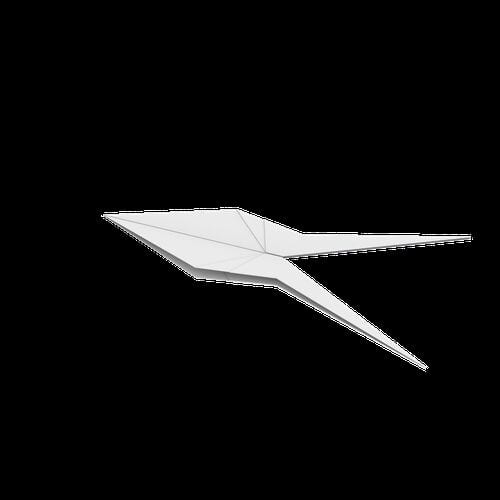
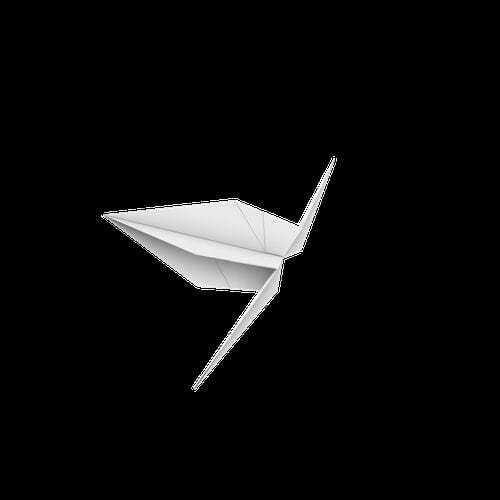
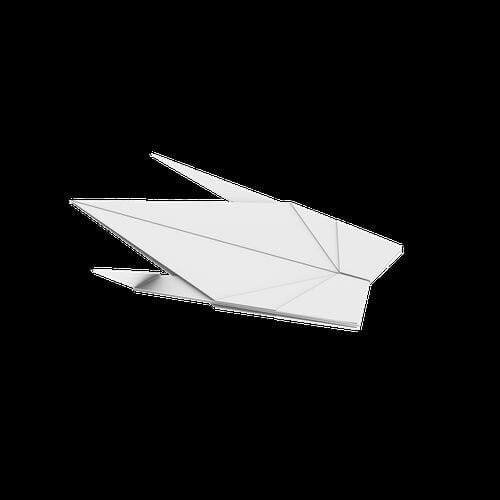
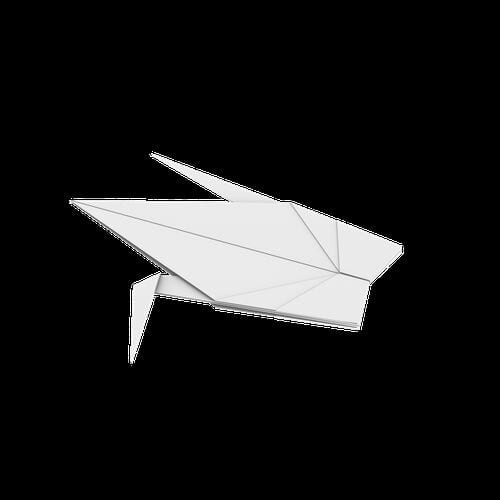
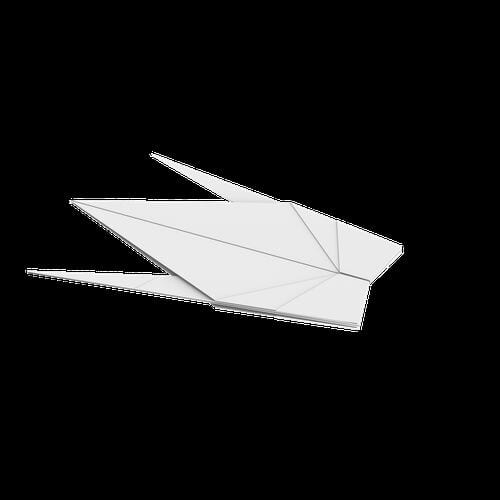
Fold the tip downward to make a crease and unfold.
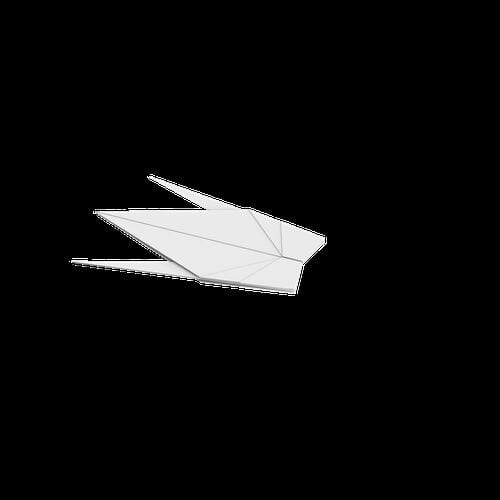
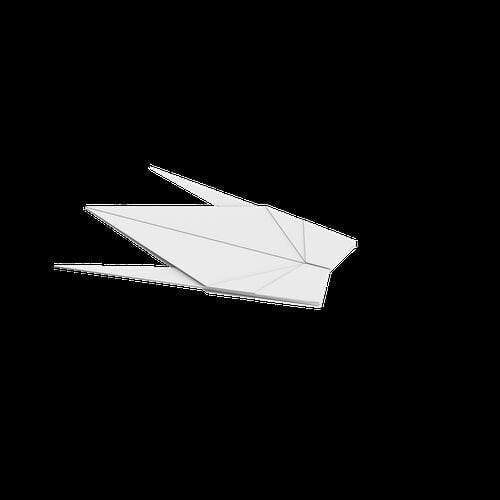
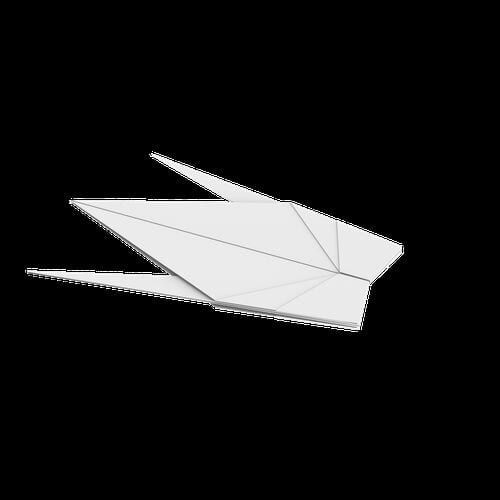
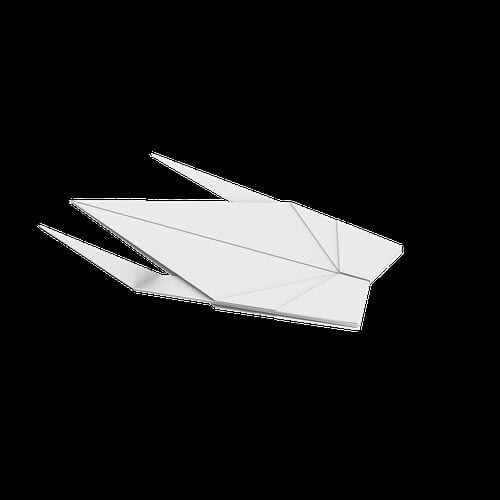
STEP 15.
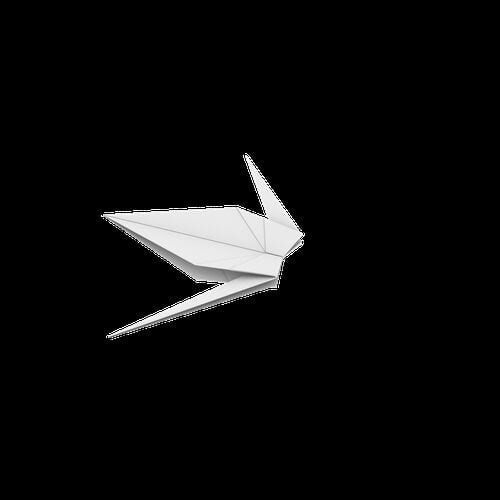
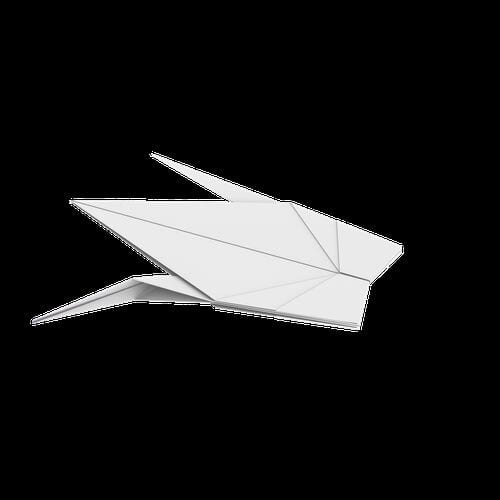
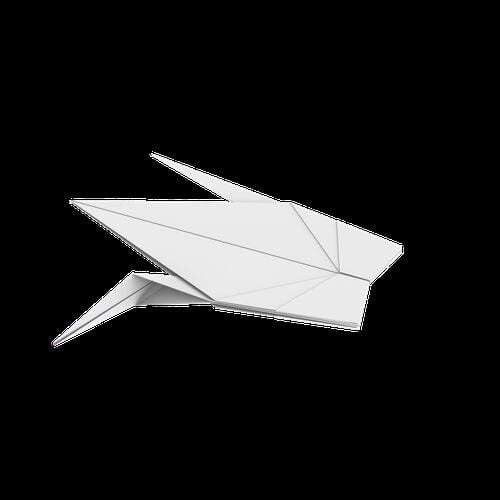
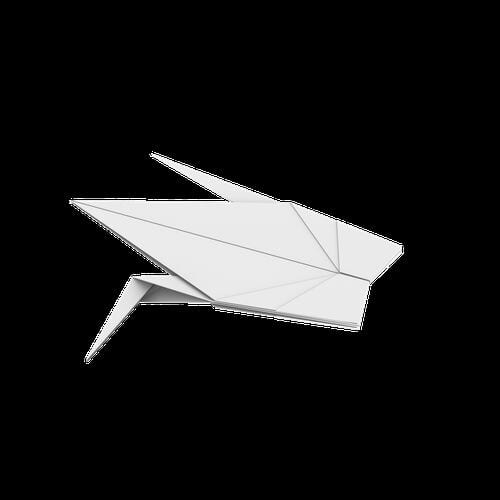
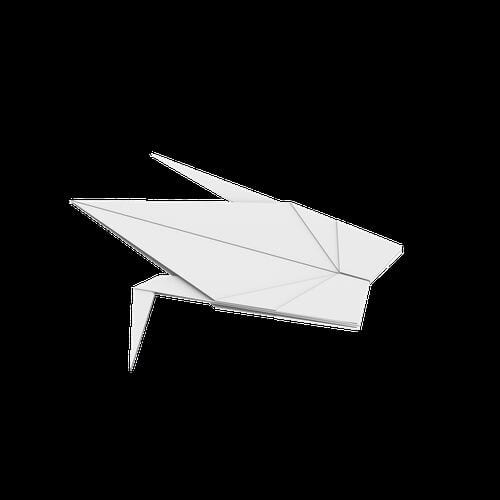
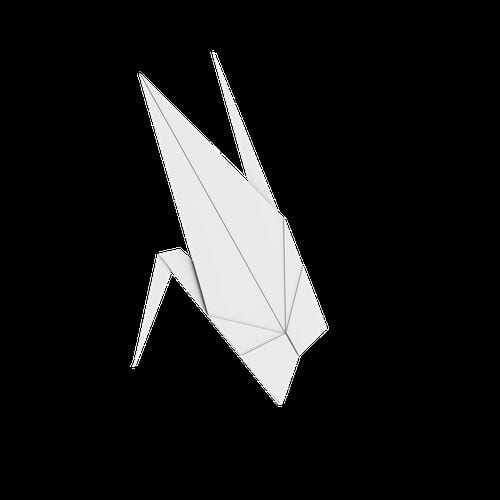
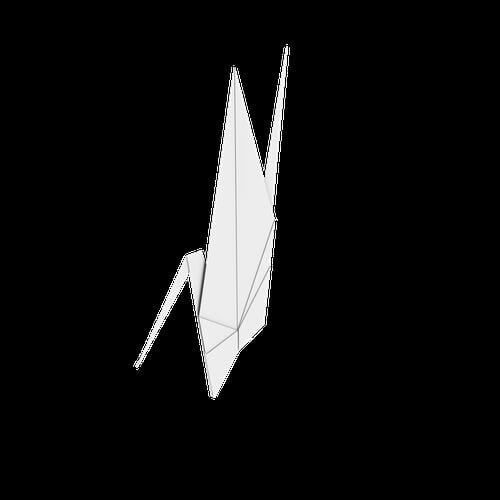
Fold the tip inward to make the head.
STEP 16.
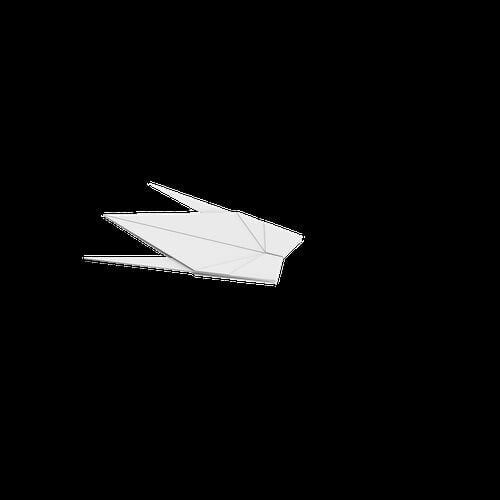
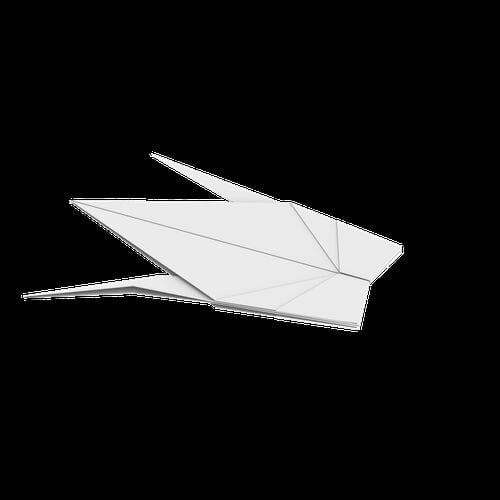
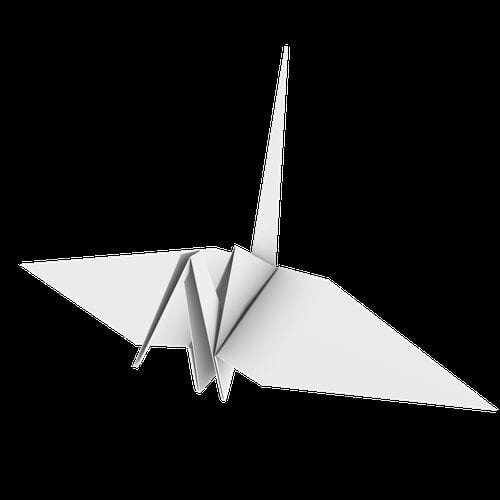
Fold the side flaps downward to make the wings.


STEP 17.
The crane is complete!