Large Square Origami Box Cover
A square box is only half the charm — a fitted lid is what turns a simple container into something that feels finished and gift-worthy. This large square origami box cover is the perfect companion to the large square origami box, and once you learn the base folds, you can make lids for boxes of any size.
If you have folded the box base before, most of this will feel familiar: you are just building a shallow frame that drops snugly over the top. Grab a square sheet (paper with a slightly different front and back makes the creases easier to read), and let’s put the finishing touch on your box.
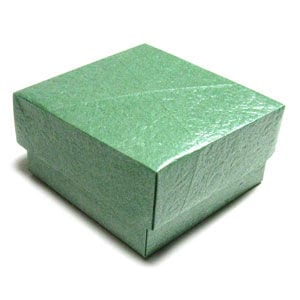
This page is for those who want instructions to fold a large square origami box cover.
The large square origami box cover is the lid for the large square origami box.
You may use any kind of paper to fold this origami box cover (it is easier if the front and back of the paper are slightly different, whether in texture or color).
Make sure the paper you use is a square (all sides equal and all angles equal 90 degrees).
This is the front side of a square sheet of paper.
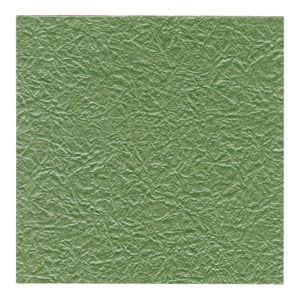
This is the back side of a square sheet of paper.
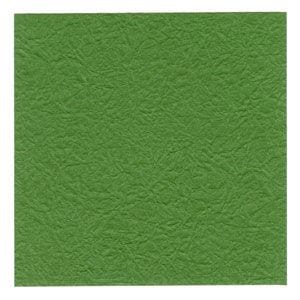
STEP 1.
Start with the back side of the paper facing up. Fold it diagonally as a valley fold, then unfold.

STEP 2.
Fold it diagonally as a valley fold, then unfold.

STEP 3.
We now have two diagonal crease lines. Prepare to make one valley fold.

STEP 4.
Make the valley fold prepared in step #3. Prepare to unfold.
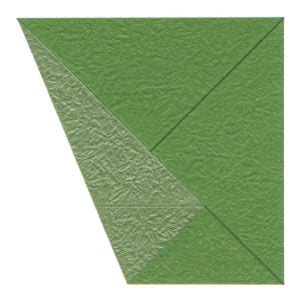
STEP 5.
Unfold the fold made in step #4. Prepare to make a valley fold.
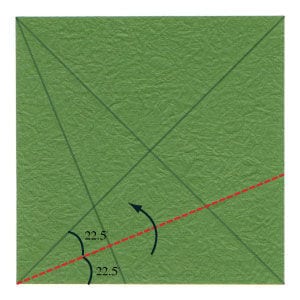
STEP 6.
Make the valley fold prepared in step #5. Prepare to unfold.
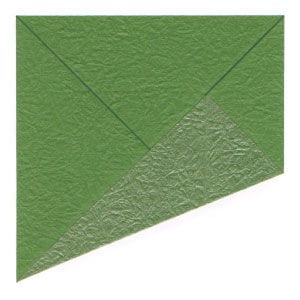
STEP 7.
Unfold the fold made in step #6. Prepare to make a valley fold.

STEP 8.
Make the valley fold prepared in step #7. Prepare to unfold.
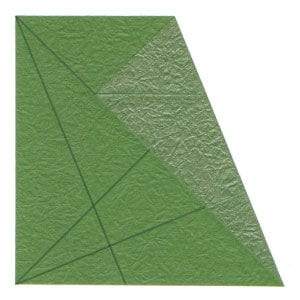
STEP 9.
Unfold the fold made in step #8. Prepare to make a valley fold.

STEP 10.
Make the valley fold prepared in step #9. Prepare to unfold.
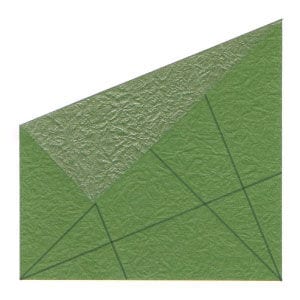
STEP 11.
Unfold the paper completely.
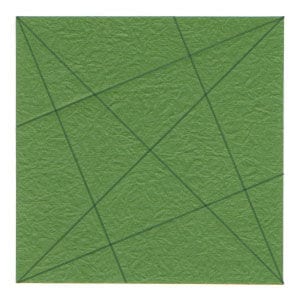
STEP 12.
Prepare to make four mountain folds.

STEP 13.
Make the four mountain folds prepared in step #12.

STEP 14.
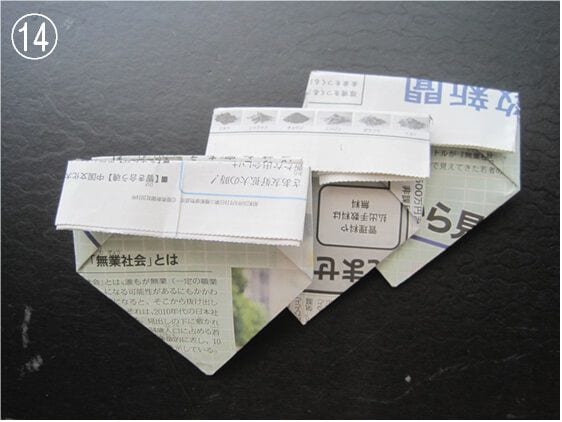
Let's work on one corner. Align the two crease lines as shown in the picture on the left.
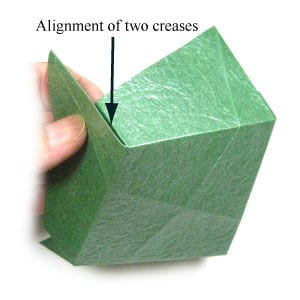
STEP 15.
Prepare to make a mountain fold from the outside.
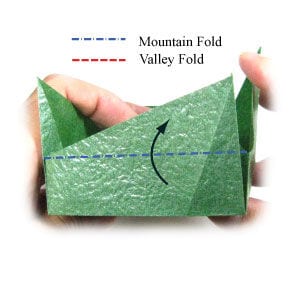
STEP 16.
The mountain fold from step #15 becomes a valley fold when viewed from the inside.
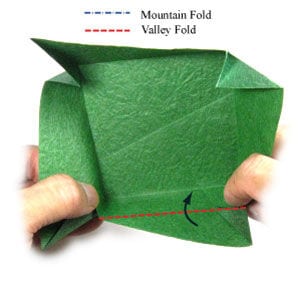
STEP 17.
Begin making the valley fold from step #16.
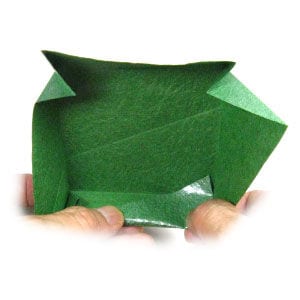
STEP 18.
Finish making the valley fold from step #16.
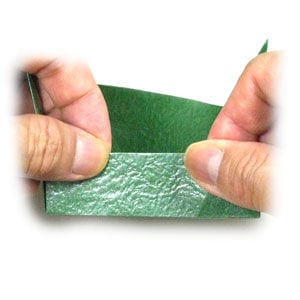
STEP 19.
Repeat steps #14-18 on all four sides.
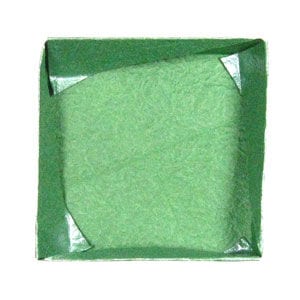
STEP 20.
Turn the model over. Prepare to place this cover onto the large square origami box.
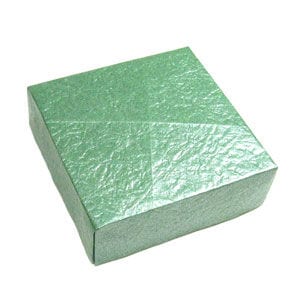
STEP 21.
Congratulations! You have completed your large square origami box cover.