Origami Witch's Broom for Halloween (Step-by-Step)
Every witch needs a broom, and it turns out a square of paper can stand in nicely for one. This little origami broomstick is the kind of fold that earns a spot on a Halloween card or a shelf of spooky decorations - small, flat, and just recognizable enough to make people squint and smile.
The secret is mostly patience. First you build a very fine 16x16 grid of creases across the sheet, then rotate it and follow a single crease pattern that collapses all that work into one thin, bristle-edged stick. No new or scary folding moves, only the valley and mountain folds you already know, plus a short piece of string tied near the top to finish the look.
Give it a try in black or orange paper, tie on the string, and you have a paper broom that is far more charming than its modest materials suggest - ready to ride along with the rest of your Halloween make-believe.
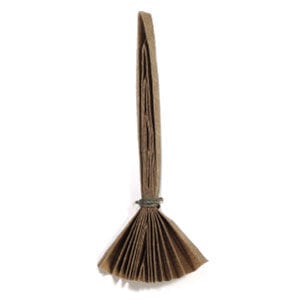
This page is for anyone who wants clear instructions for folding an origami witch’s broom for Halloween.
This origami broom starts from a 16x16 matrix base. Once that grid of creases is in place, all you do is follow the crease pattern - no special folding techniques are needed.
Before working on this model, you need to know what a valley fold and a mountain fold are. If you know those two techniques, you will have no trouble making the broom.
If you are ready, then let’s get started.
The paper I am using here is a square sheet of 15 cm x 15 cm.
This is the front side of the paper.
This is the back side of the paper.
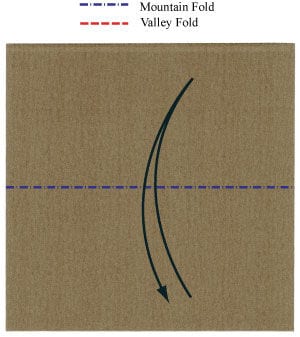
STEP 1.
Start with a square paper. Prepare to mountain-fold it horizontally, then unfold.
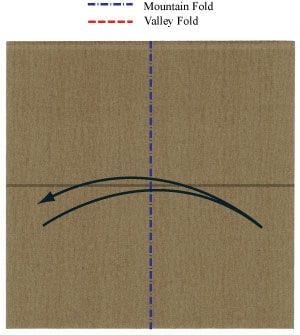
STEP 2.
Mountain-fold it horizontally as in step 1, then unfold. Prepare to mountain-fold it vertically, then unfold.
STEP 3.
Mountain-fold it vertically as in step 2, then unfold. Prepare to apply a horizontal gate fold, then unfold.
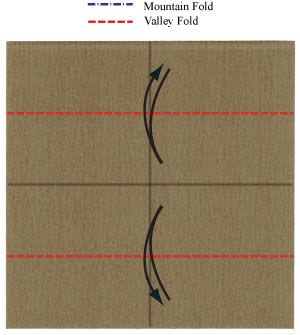
STEP 4.
Apply the horizontal gate fold from step 3, then unfold. Prepare to apply a vertical gate fold, then unfold.
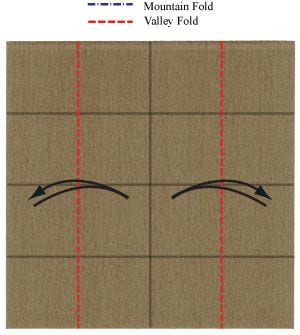
STEP 5.
Apply the vertical gate fold from step 4, then unfold. Prepare to apply four horizontal valley folds, then unfold.
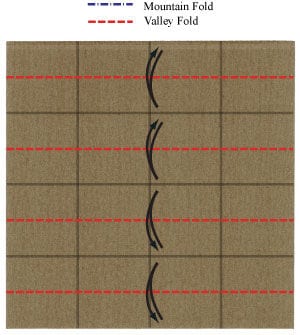
STEP 6.
Apply the four horizontal valley folds from step 5, then unfold. Prepare to apply four vertical valley folds, then unfold.
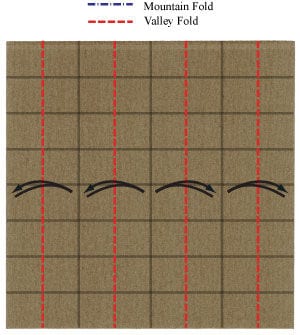
STEP 7.
Apply the four vertical valley folds from step 6, then unfold. Prepare to apply eight horizontal valley folds, then unfold.
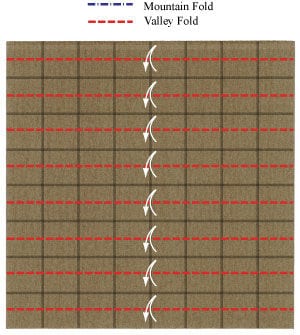
STEP 8.
Apply the eight horizontal valley folds from step 7, then unfold. Prepare to apply eight vertical valley folds, then unfold.
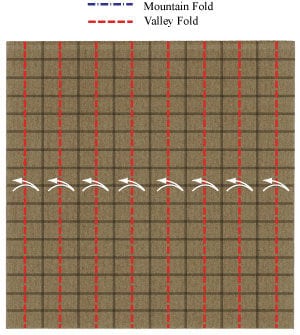
STEP 9.
Apply the eight vertical valley folds from step 8, then unfold. You have completed the 16x16 matrix base. Prepare to rotate the paper by 45 degrees.
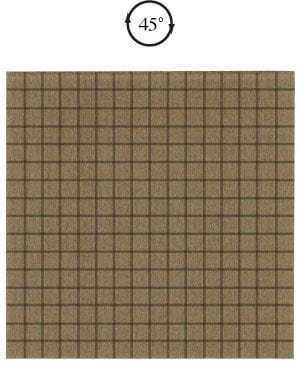
STEP 10.
Rotate the paper by 45 degrees. Prepare to apply the crease pattern (CP) shown on the left.
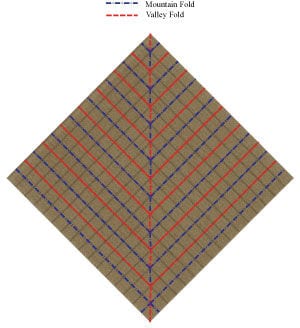
STEP 11.
Start applying the crease pattern from step 10.
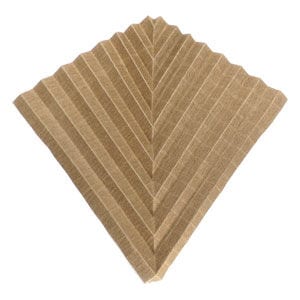
STEP 12.
Complete the crease pattern from step 10. Prepare to compress the broom model along the two arrow directions.
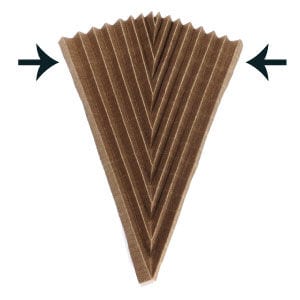
STEP 13.
Compress the broom model into a flat stick. Prepare to pinch it with two fingers at the two arrow points.
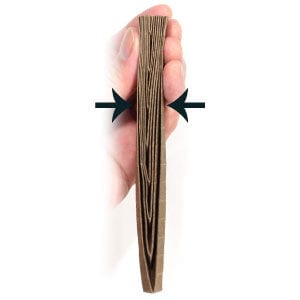
STEP 14.
Pinch the broom model with two fingers.

STEP 15.
Take a piece of string. Prepare to tie it into a loop.
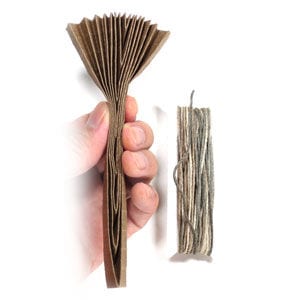
STEP 16.
Start tying the string into a loop.
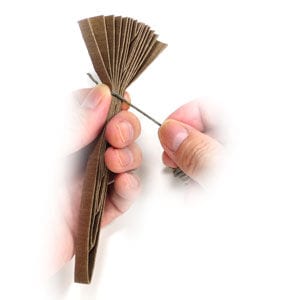
STEP 17.
Complete one mountain fold and one valley fold from step 15. Prepare to tie a knot at the arrow point.

STEP 18.
Tie a knot at the arrow point from step 17. Prepare to cut the string at the two arrow points.
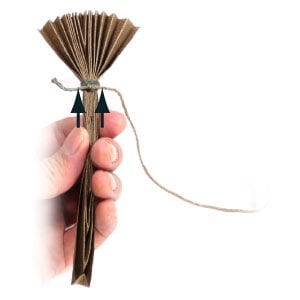
STEP 19.
Cut the string at the two arrow points from step 18. Prepare to turn the witch model over.
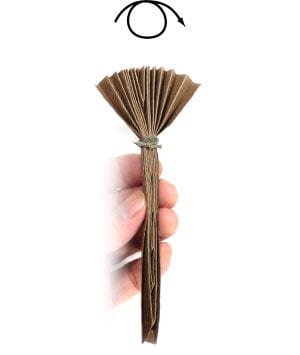
STEP 20.
Turn the witch model over. Prepare to rotate the broom model by 180 degrees.
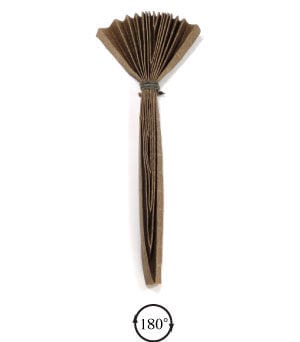
STEP 21.
Rotate the broom model by 180 degrees. Congratulations! You have just completed an origami witch’s broom for Halloween.