How to Fold a Celebration Crane (Step-by-Step)
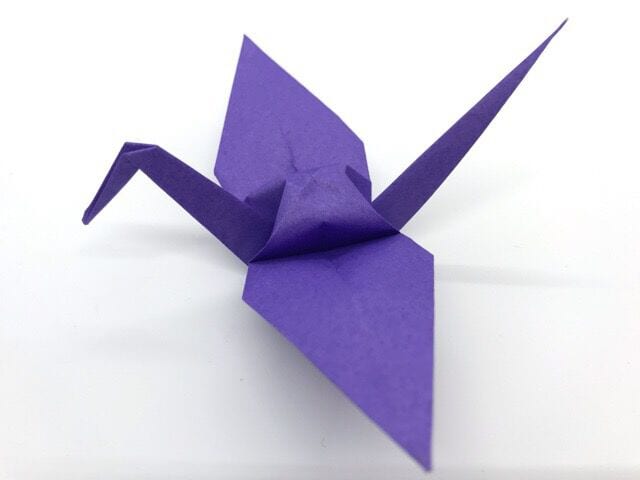
A standard origami crane is lovely, but fold the wings open and suddenly it is mid-flight - a celebration crane, the version people reach for at weddings, anniversaries and any moment worth marking with paper.
This one is not a quick fold. It follows the crane you already know through the square and bird bases, then keeps going: a chain of open-and-reverse moves that unlocks the wings and lays them flat and wide. There are 46 steps, and a few of them ask you to open a crease, fold it the other way, and open it again - fiddly, but that is what makes both wings match.
String several together in white or gold and you have a banner; hang them in color and you have a mobile. However you display them, the bird looks caught in the act of taking off, which is rather the point.
Things to prepare
1 sheet of standard origami paper (15 cm x 15 cm)
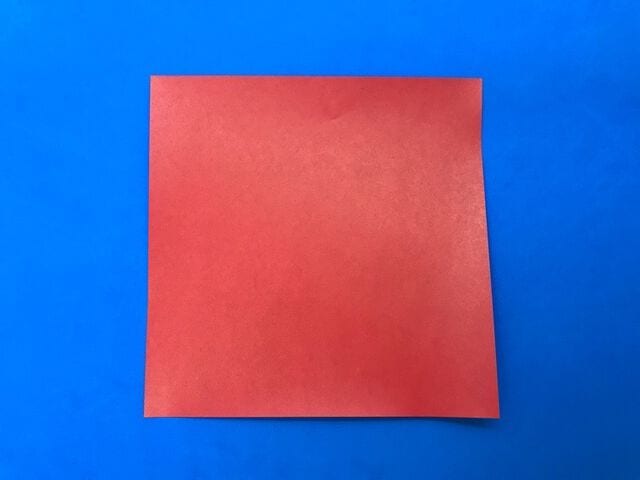
How to fold a celebration crane
STEP 1.
Place the colored side up and fold the paper in half sideways to make a crease.
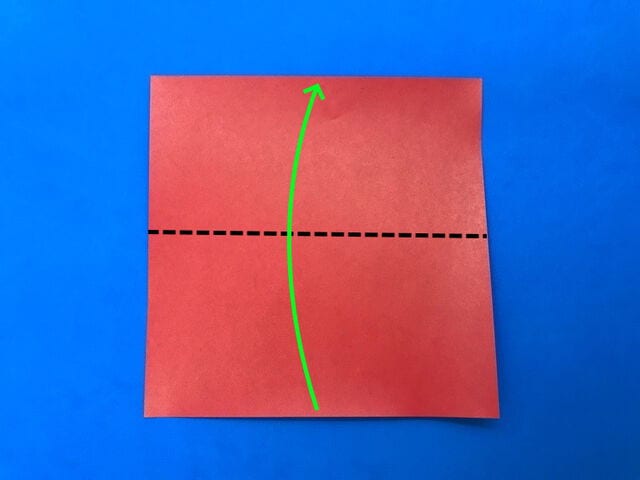
STEP 2.
Valley-fold it like this, then unfold.
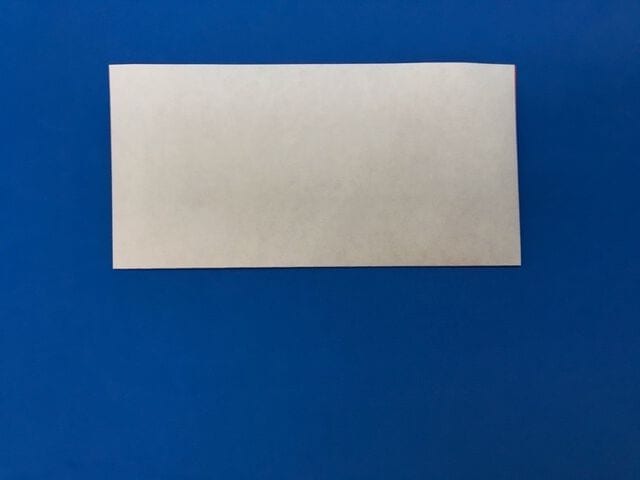
STEP 3.
After unfolding, fold in half vertically to make a crease.
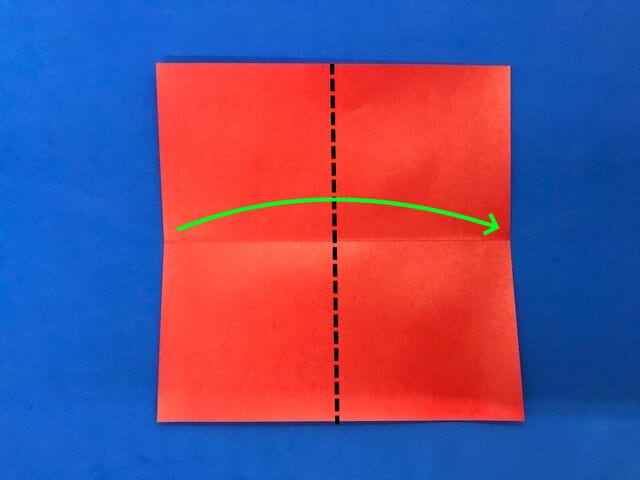
STEP 4.
Valley-fold it like this, then unfold.
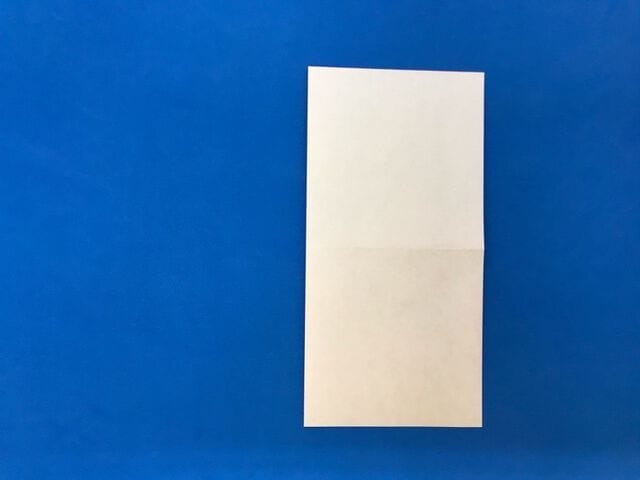
STEP 5.
After unfolding, fold diagonally to make a crease.
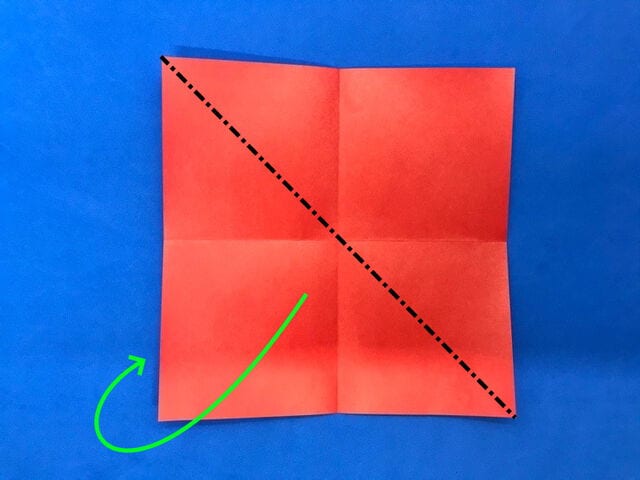
STEP 6.
Fold it up like this, then unfold.
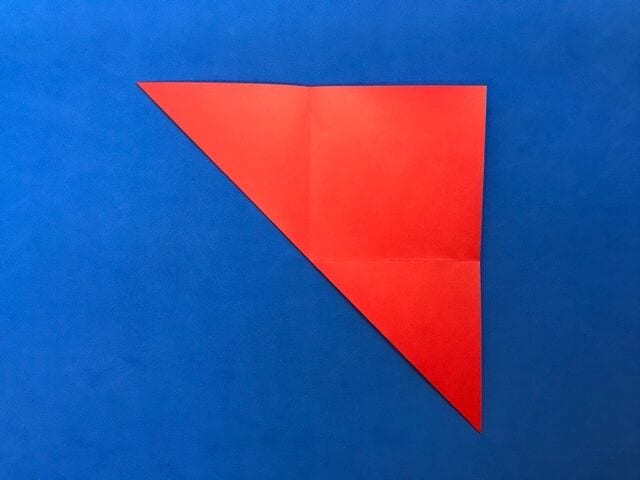
STEP 7.
After unfolding, mountain-fold along the line shown to make a crease.
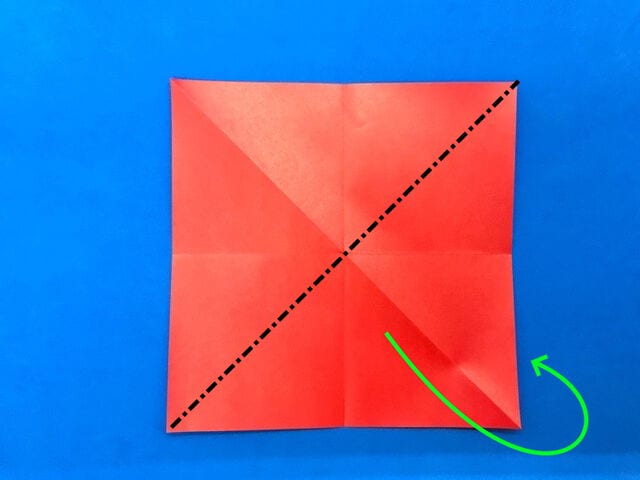
STEP 8.
Fold it up like this, then unfold.
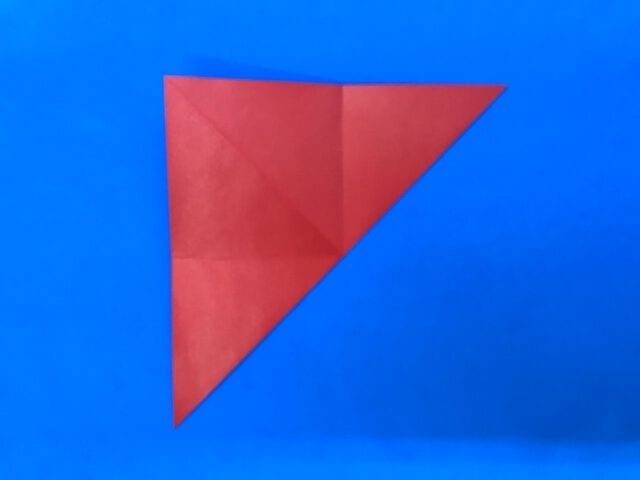
STEP 9.
Collapse the paper along the creases.
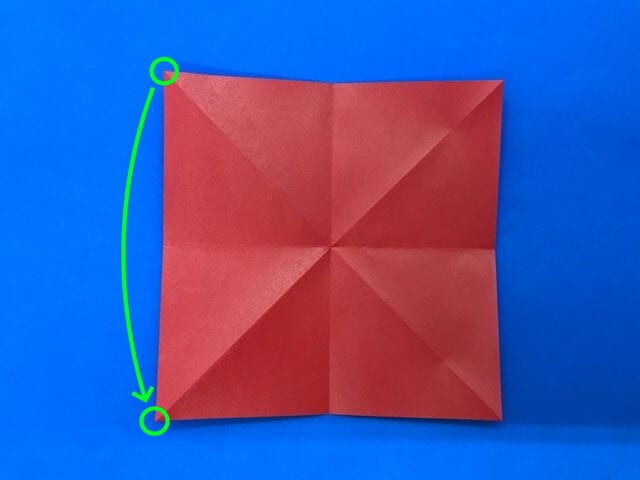
STEP 10.
Collapse the paper along the creases.
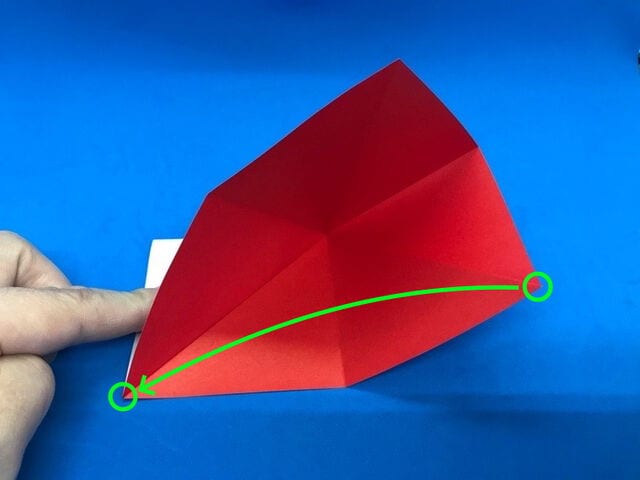
STEP 11.
Fold the layers over along the crease, following the arrows.
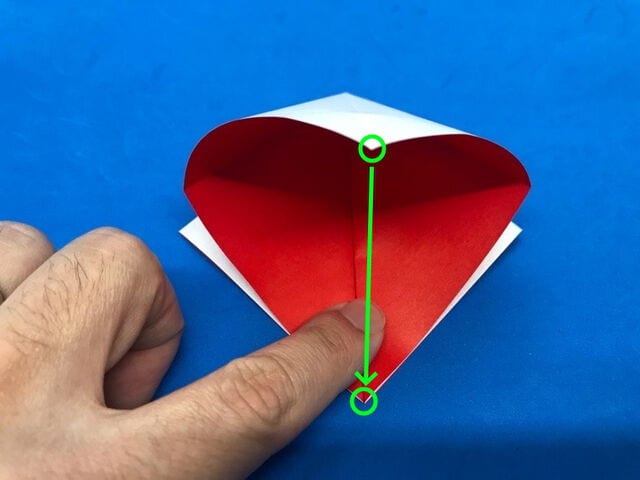
STEP 12.
Turn the model so the bottom edge is at the top.
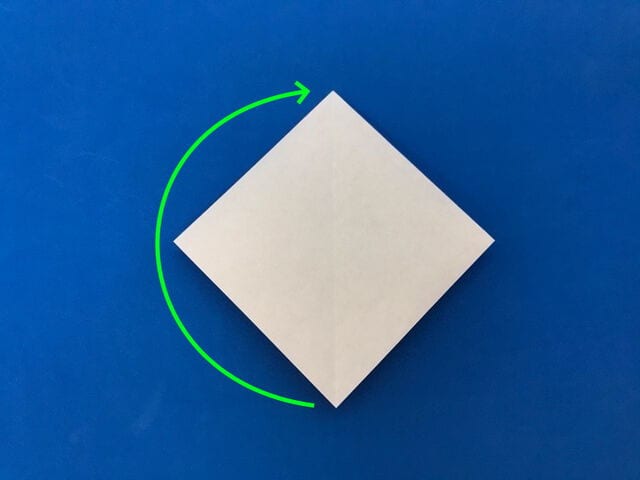
The side with the corners pointing up should face you.
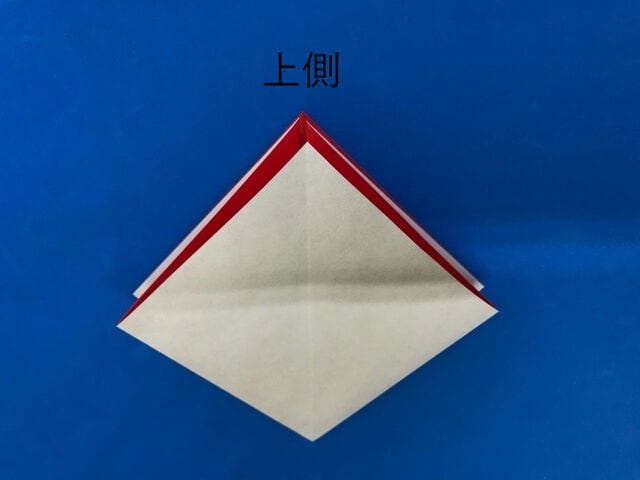
STEP 13.
Align the top flap with the center crease and valley-fold along the dotted line to make a crease.
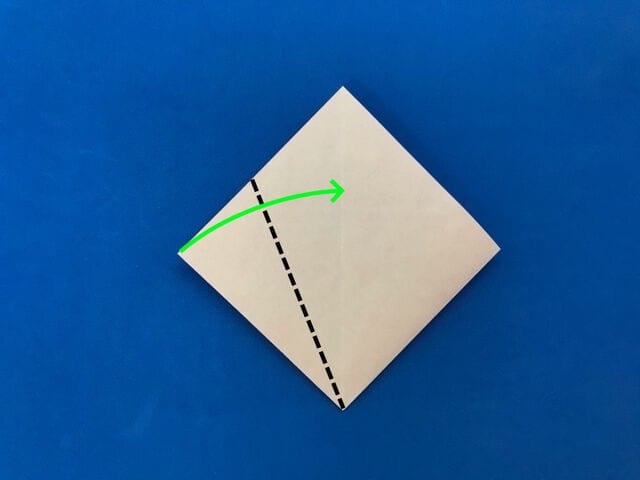
STEP 14.
After the valley fold, add a mountain fold to make a crease that makes the next step easier.
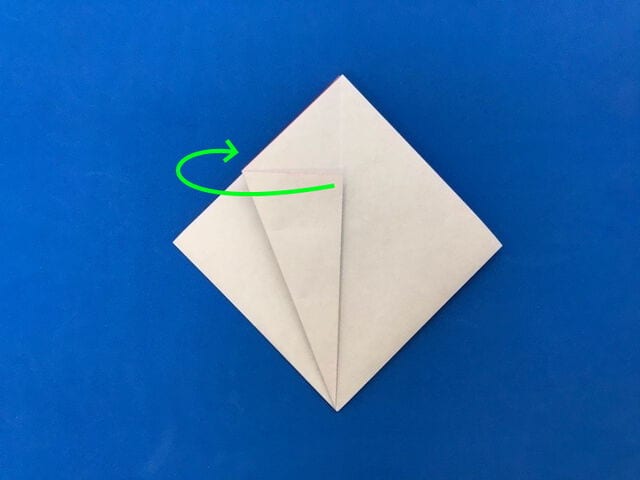
STEP 15.
After making the mountain crease, open the paper again as before.
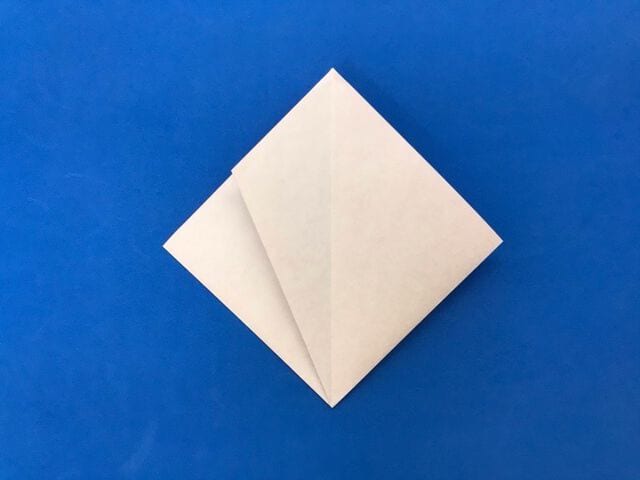
STEP 16.
Open the flap (the “bag”) and fold it along the crease you just made.
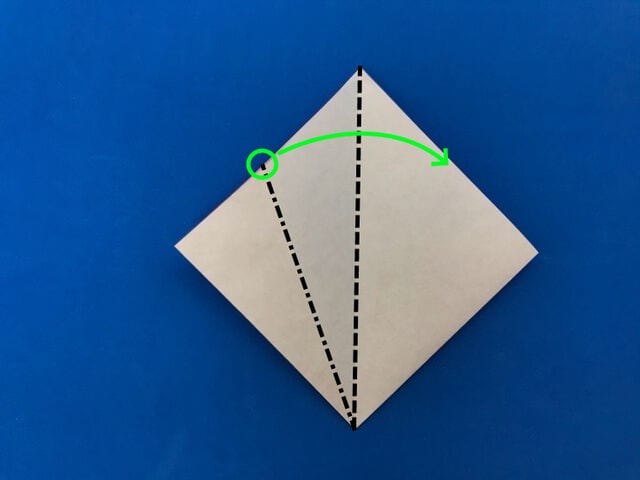
Open the bag this way and fold along the creases to flatten (squash) it.
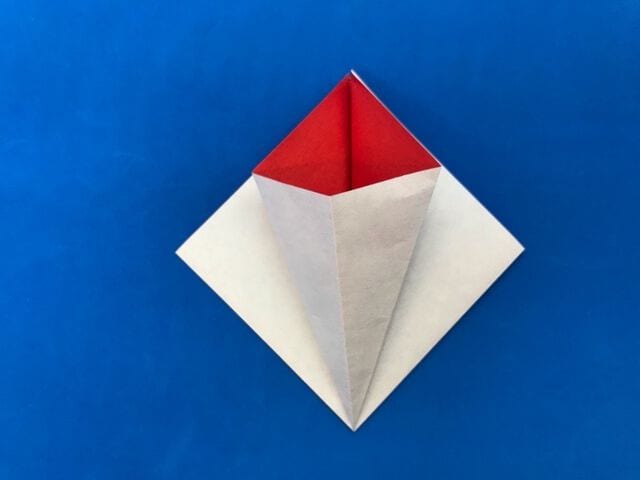
STEP 17.
On the right side, align the top flap with the center and valley-fold the left sheet along the dotted line.
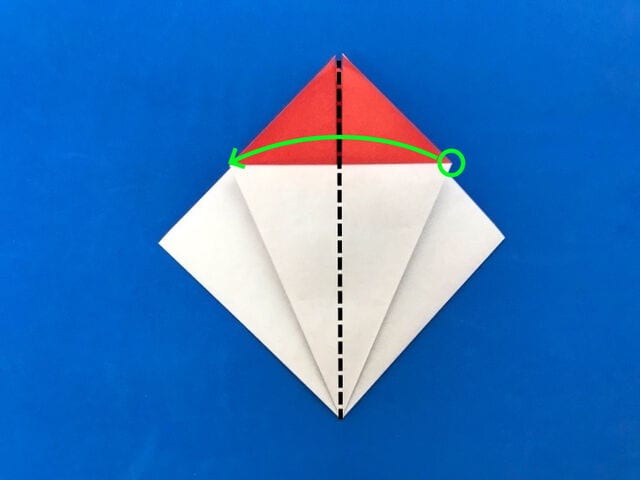
STEP 18.
Fold the top-right flap the same way as the left.
Align it with the center crease and valley-fold along the dotted line to make a crease.
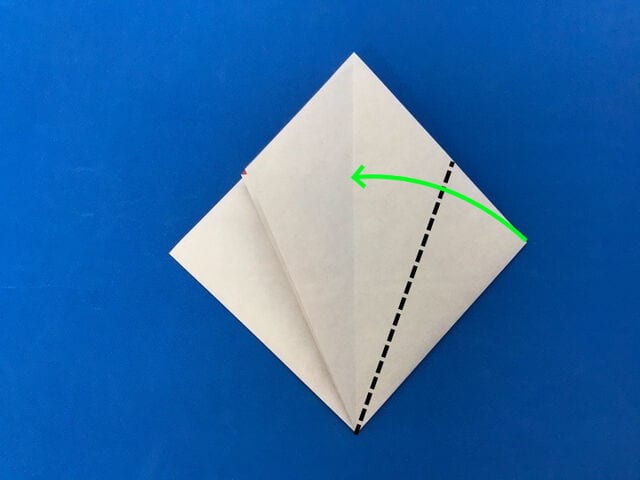
Valley-fold it like this, then add a mountain fold to make the next step easier.
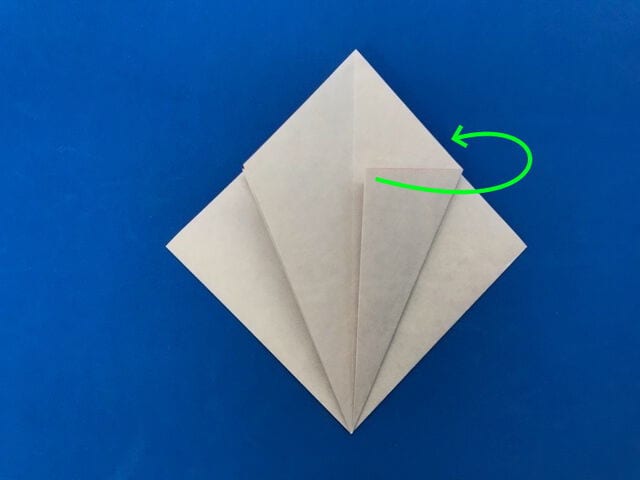
After the mountain crease, open it again as before.
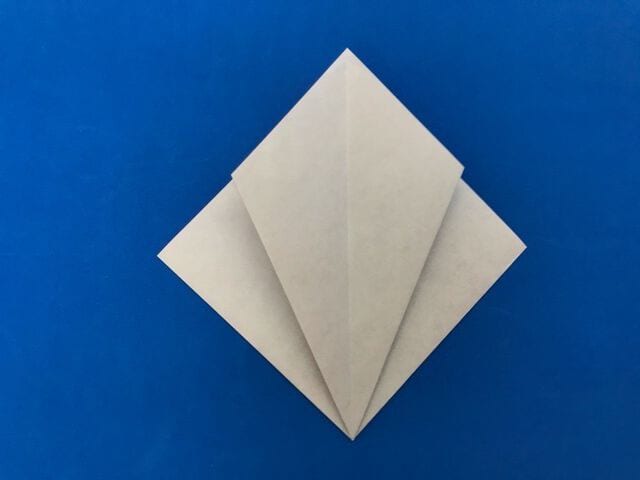
Open the bag and fold along the crease you just made.
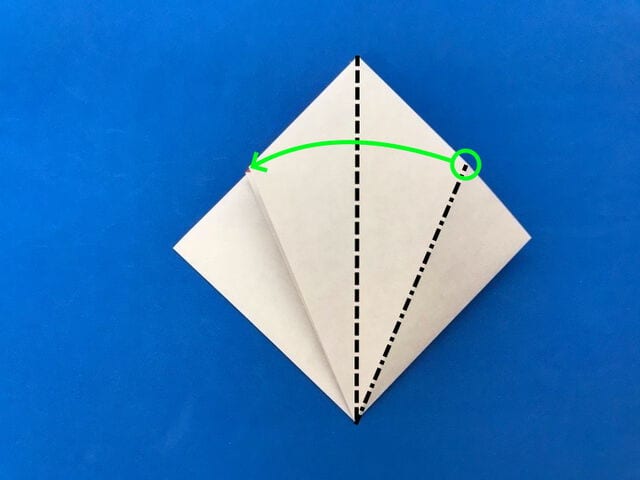
Open the bag this way and fold along the creases to flatten it.
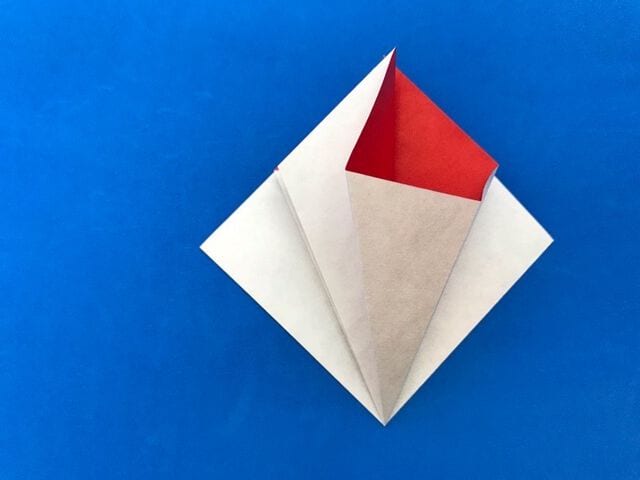
On the left side, align the top flap with the center and valley-fold the right sheet along the dotted line.
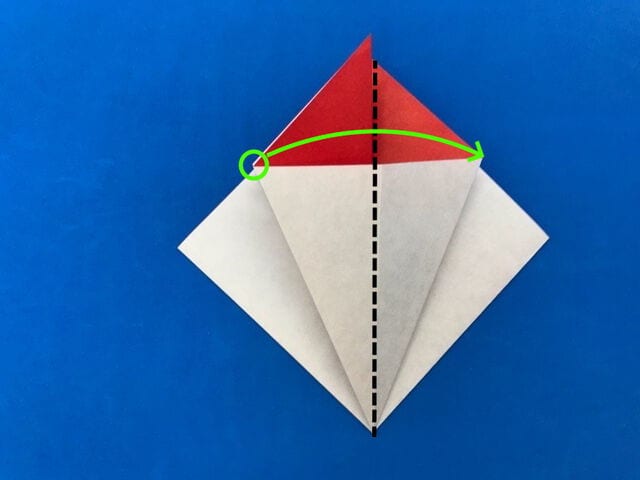
STEP 19.
Once folded, turn the model over.
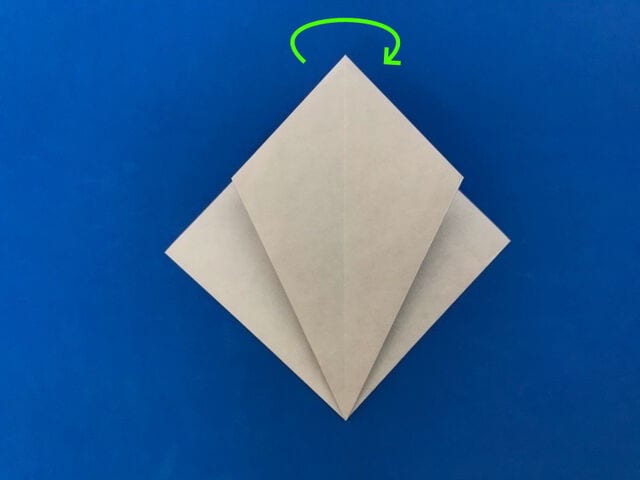
STEP 20.
Align it with the center crease and valley-fold along the dotted line to make a crease.
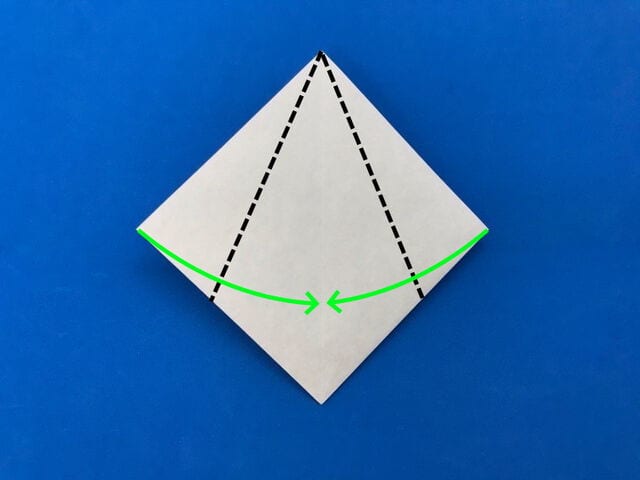
STEP 21.
Valley-fold along the dotted line to make a crease.
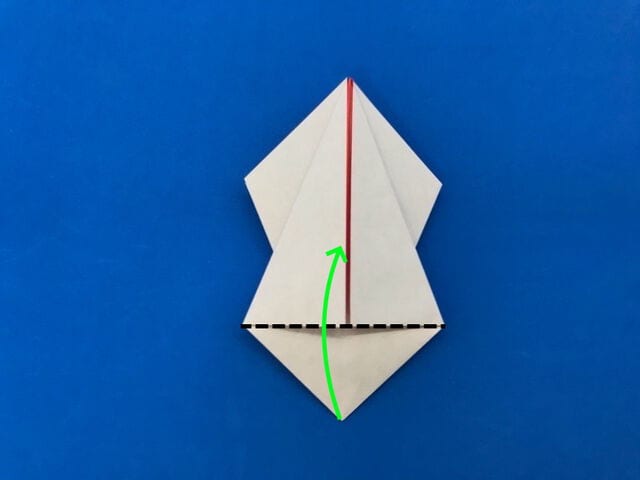
STEP 22.
Make a crease like this, then open it.
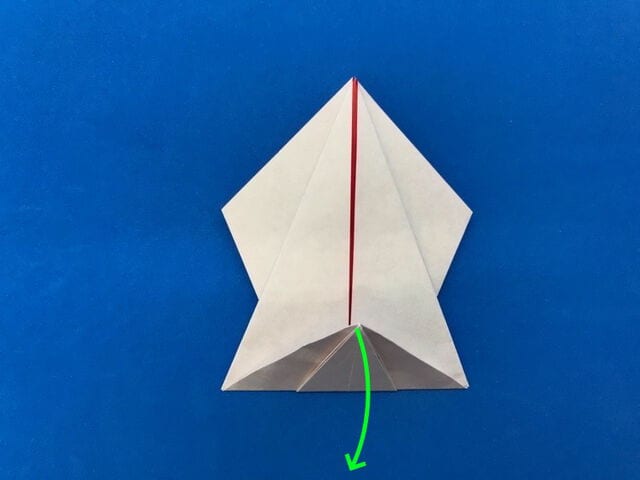
STEP 23.
When it opens, fold it in the same place and fold it to the back.
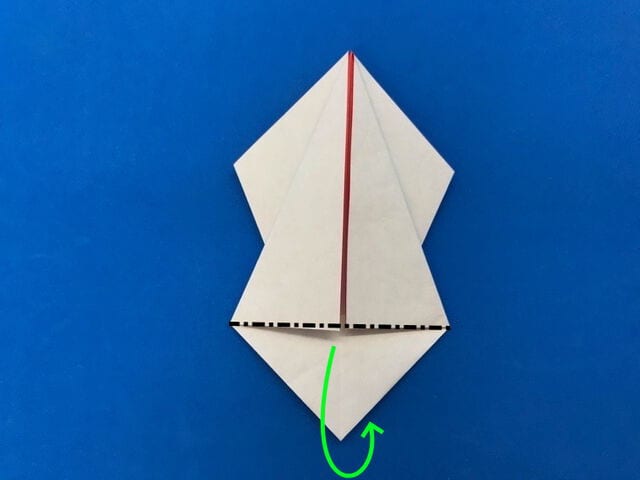
STEP 24.
Open the fold left and right to make a crease.
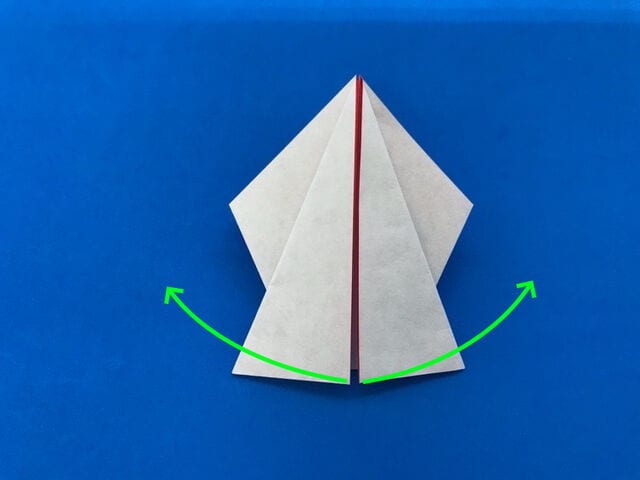
STEP 25.
Open the top flap downward and fold along the crease.
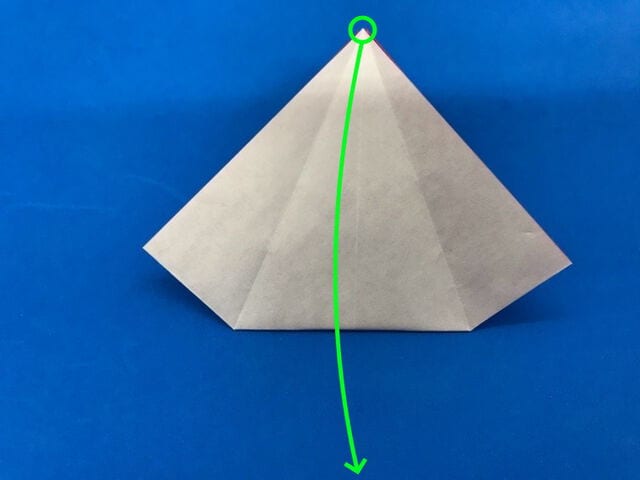
While opening it like this, fold along the crease.
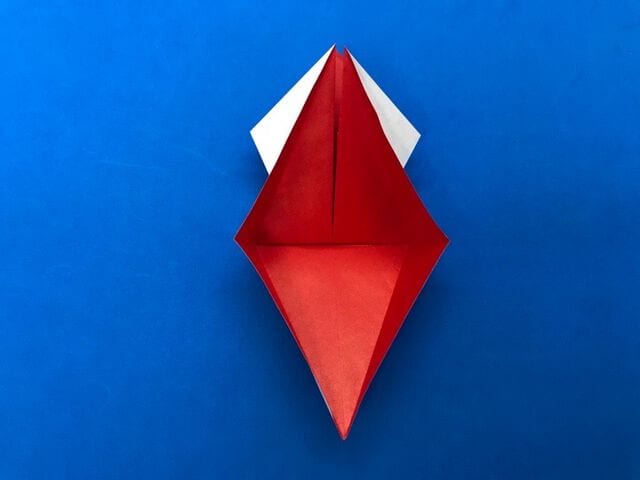
STEP 26.
Once folded, turn the model over.
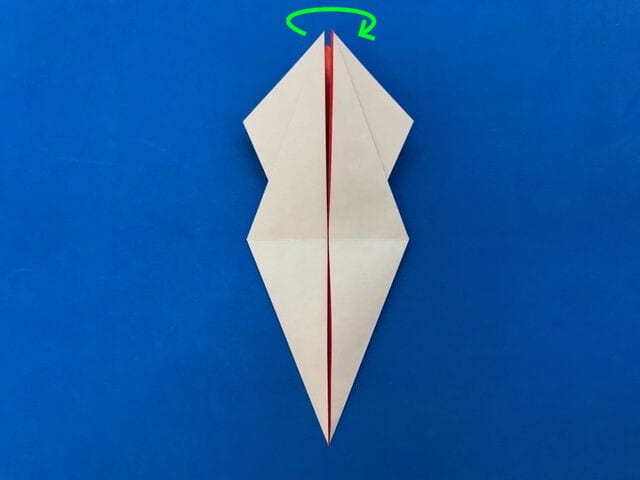
STEP 27.
Valley-fold along the dotted line.
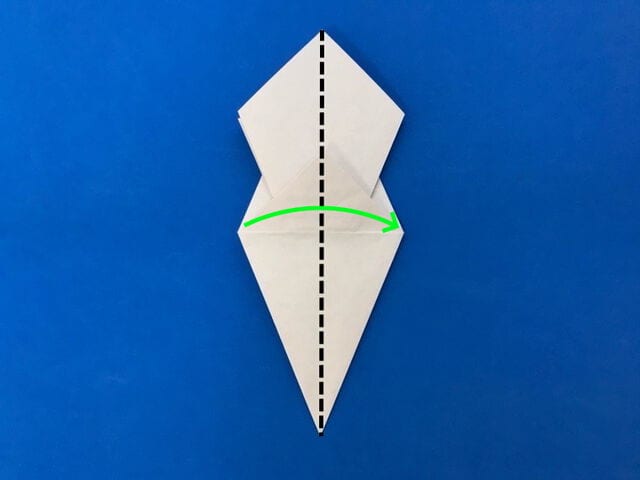
STEP 28.
Next, make a crease to fold it over. Valley-fold along the dotted line so the red line on the right matches the purple crease in the middle.
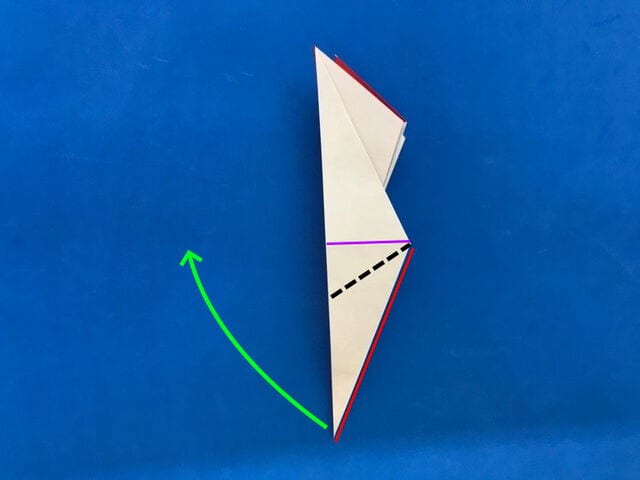
STEP 29.
Once folded, it opens.
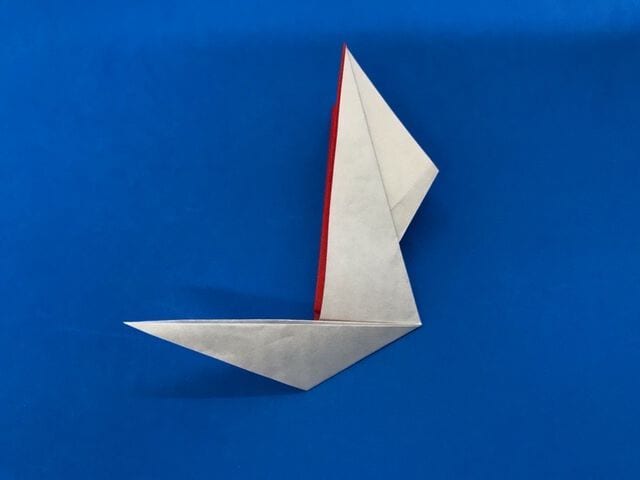
STEP 30.
Open it and fold the opposite side in the same place; this makes later folding easier.
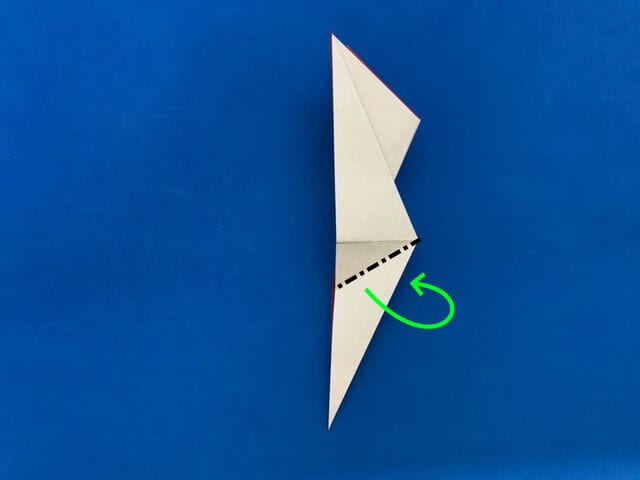
STEP 31.
Once folded, it opens.
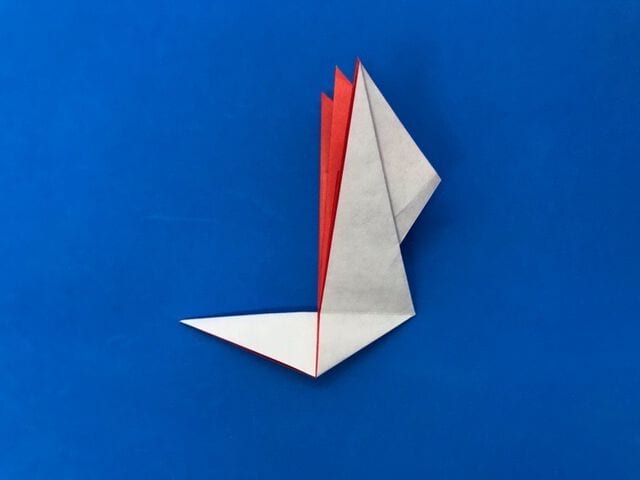
STEP 32.
Fold the flap over using the crease you just made.
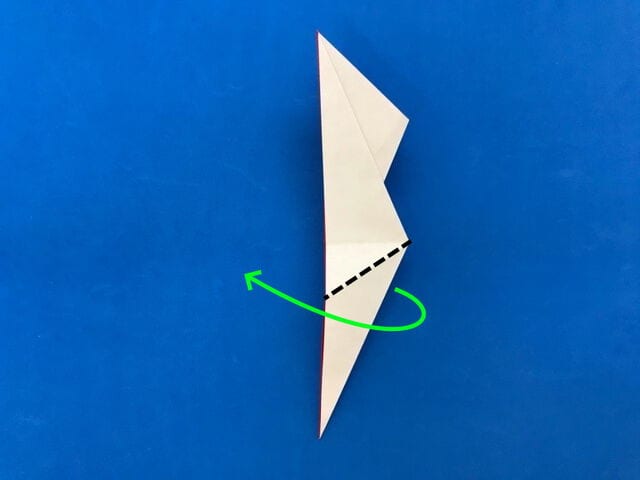
View from the upper left. Fold it over like this.
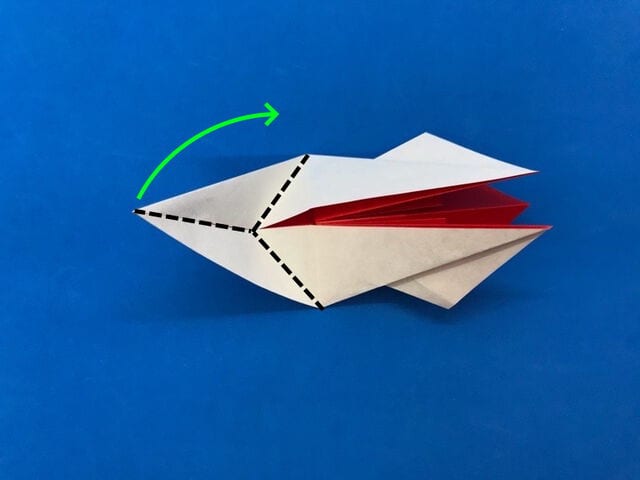
STEP 33.
Next, make a crease to fold it in half. Valley-fold along the dotted line so the red line at the bottom matches the vertical purple crease.
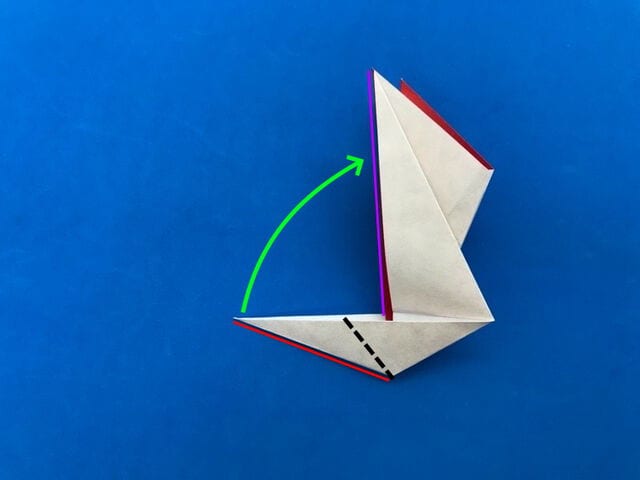
STEP 34.
Once folded, it opens.
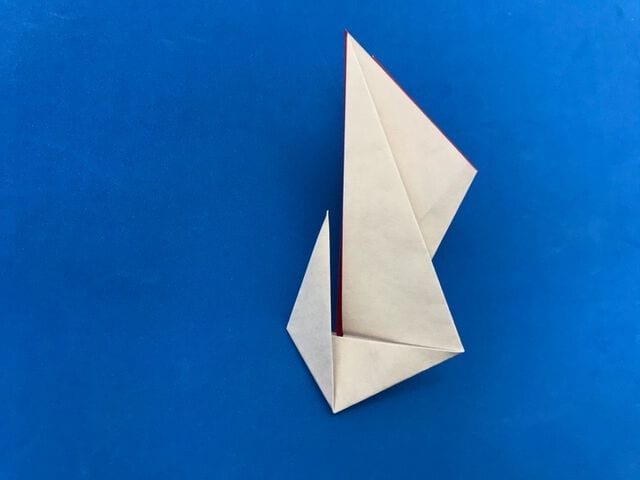
STEP 35.
Open it and fold the opposite side in the same place; this makes the middle fold easier.
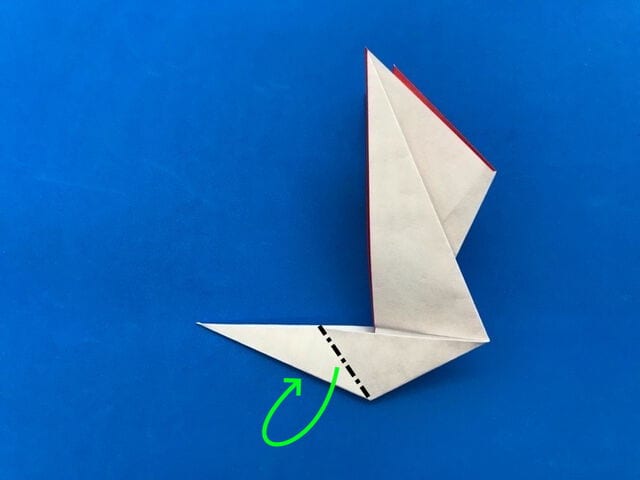
STEP 36.
Once folded, it opens.
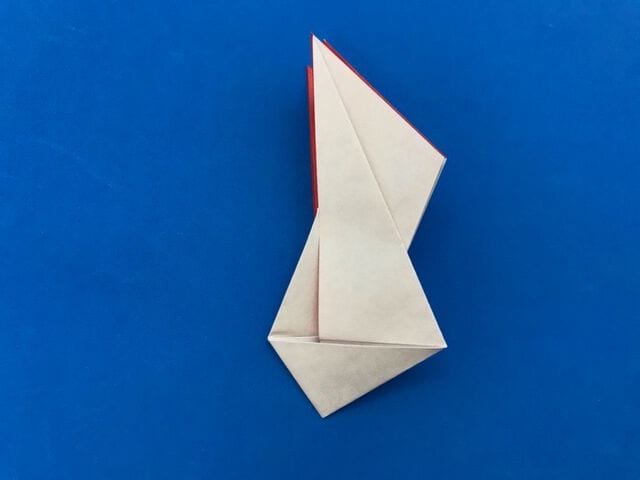
STEP 37.
Use the crease you just made to fold it in half.
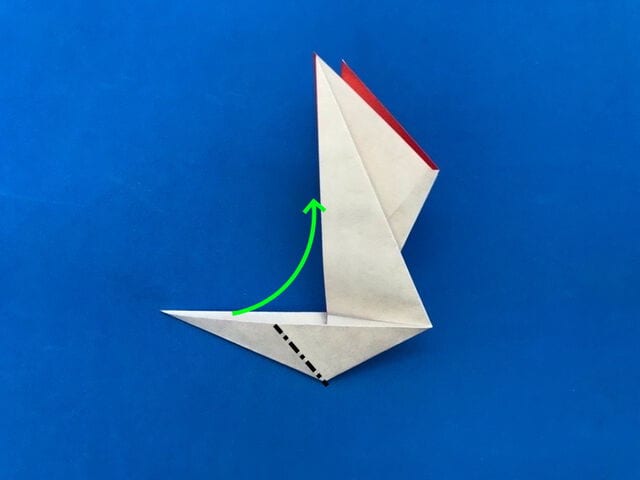
View from the left. Fold it in half while alternating mountain and valley folds.
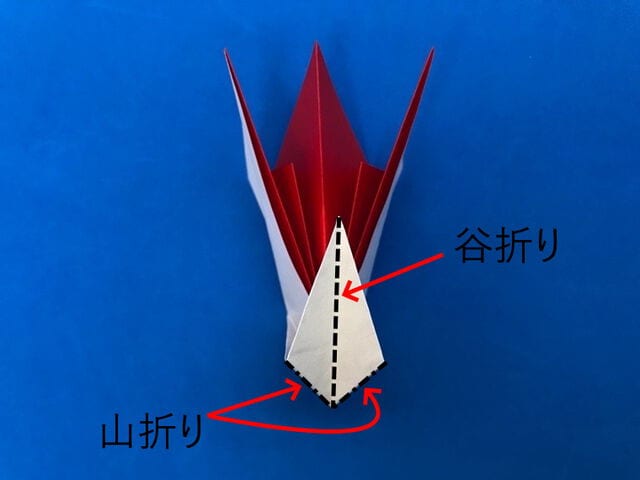
STEP 38.
Next, fold it in half and make a crease for the crane’s head. Fold from the center of the right side along the dotted line; after folding, the vertical and horizontal edges should meet at a right angle.
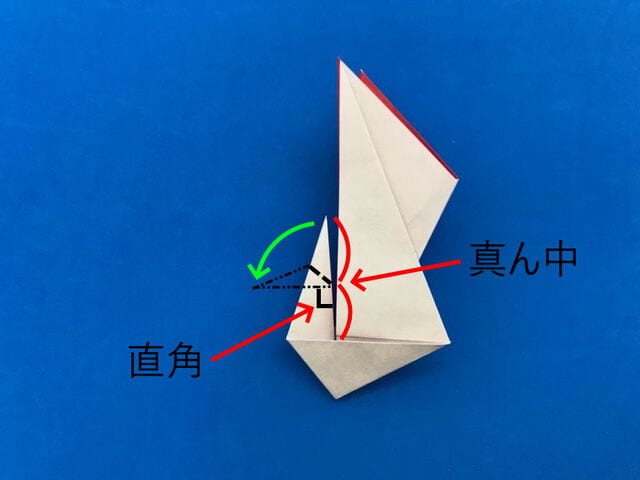
STEP 39.
Once folded, it opens.
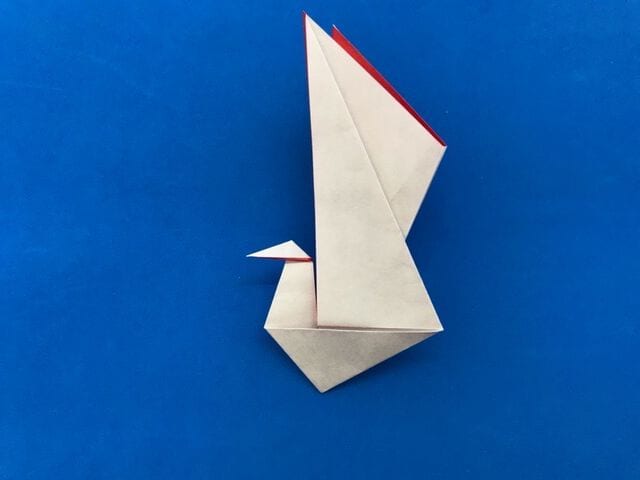
STEP 40.
Open it and fold the opposite side in the same place; this makes the middle fold easier.
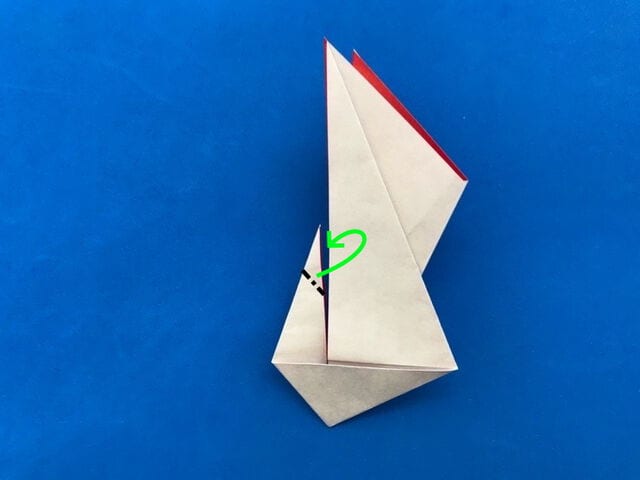
STEP 41.
Once folded, it opens.
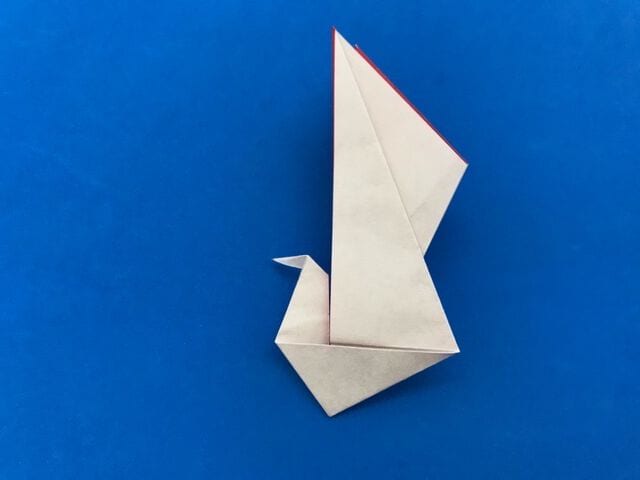
STEP 42.
Use the crease you just made to fold it in half.
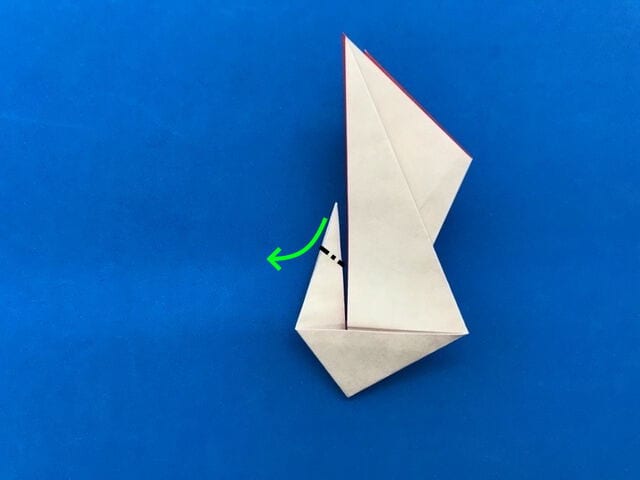
View from the left. Fold it in half while alternating mountain and valley folds.
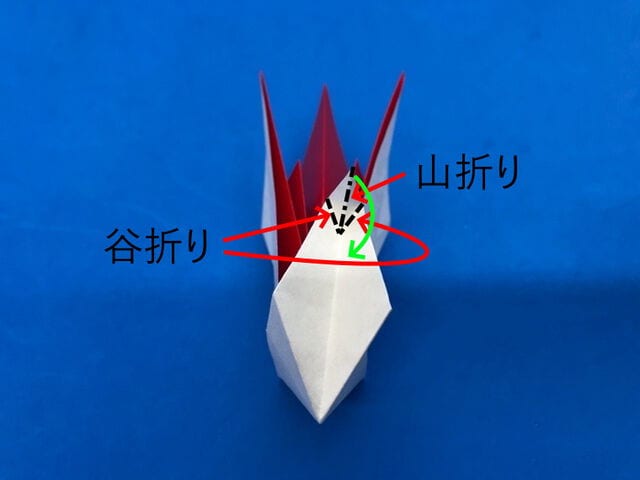
STEP 43.
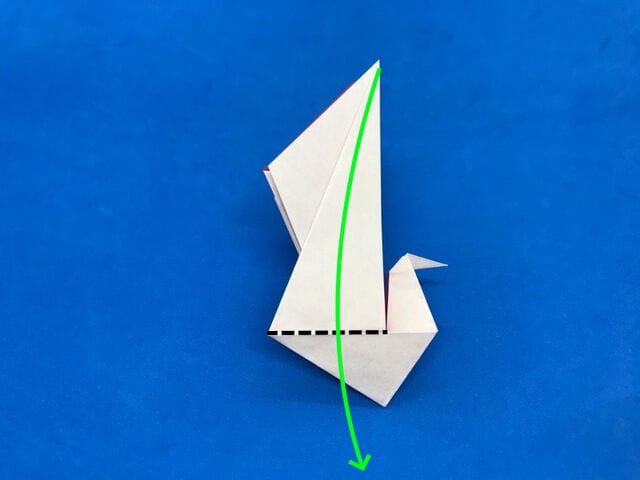
Now spread the crane’s wings. Fold the paper in front of the center along the dotted line and open the wings out.
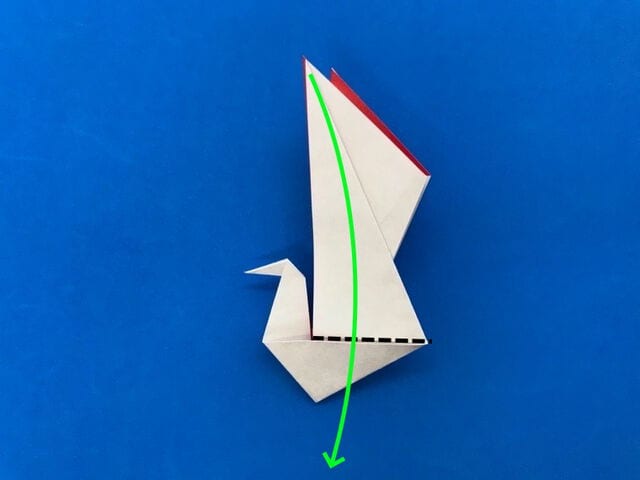
STEP 44.
Spread the wings on the front, then turn the model over.
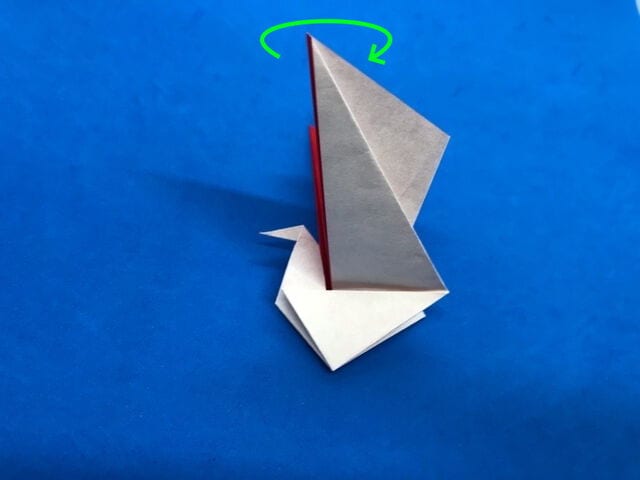
STEP 45.
On this side, do the same: fold the front paper from the center along the dotted line and open the wings out.
STEP 46.
This completes the celebration crane!